Scribus is a powerful open-source desktop publishing (DTP) application that allows you to design professional-quality printed materials such as brochures, magazines, newsletters, posters, and books. For users who work with graphic design or publishing projects, Scribus provides a free alternative to commercial DTP software. In FunOS, installing Scribus is straightforward because it’s available directly from the Ubuntu repositories or through the Panda Jim PPA, which provides newer versions of the software.
What is Scribus?
Scribus is a free and open-source desktop publishing (DTP) program that provides advanced layout and design capabilities for creating high-quality printed and digital documents. It supports professional publishing features such as CMYK color management, ICC color profiles, PDF/X-3 output, spot colors, and pre-press preparation. Scribus is widely used by designers, publishers, and organizations that want to produce print-ready materials without relying on proprietary software.
With Scribus, you can design everything from simple flyers and business cards to complex multi-page magazines and books. It offers tools for working with text frames, image frames, vector graphics, and page templates, as well as integration with professional fonts and color spaces. Because it’s open-source, Scribus runs on multiple platforms, including Linux, Windows, and macOS — making it an excellent choice for FunOS users who need robust desktop publishing tools.
How to Install Scribus on FunOS
You can install Scribus on FunOS using two methods: from the Ubuntu repositories or from the Panda Jim PPA (Personal Package Archive). The first method installs the stable version available in the Ubuntu base repository, while the second provides newer versions that may include the latest features and improvements.
Method 1: Installing from the Ubuntu Repositories
Work on: 22.04.5 ✅ | 24.04.4 ✅ | 25.10 ✅ | 26.04 ✅
Step 1: Open a Terminal
There are three ways to open a Terminal in FunOS:
- Click Menu in the left corner of the screen, then click Terminal
- Click the Terminal icon in the Tray
- Press Ctrl + Alt + T
Step 2: Update the Package List
Before installing new software, update the local package index to ensure you’re getting the latest version from the repositories:
sudo apt updateStep 3: Install Scribus
Run the following command to install Scribus from the Ubuntu repositories:
sudo apt install scribusStep 4: Reload the Menu
Note: Starting with FunOS 24.04.4 LTS (Build 20260618) and FunOS 26.04 LTS (Build 20260618), the menu updates automatically, so you can skip this step.
After installation, reload the menu so that Scribus appears in the application list:
- Click the Menu button in the lower-left corner.
- Click Reload menu.
Method 2: Installing from the Panda Jim PPA
Work on: 22.04.5 ✅ | 24.04.4 ✅ | 25.10 ✅ | 26.04 ✅
If you want to install a newer version of Scribus than the one included in the Ubuntu repositories, you can use the Panda Jim PPA, maintained by the Ubuntu Handbook team.
Step 1: Open a Terminal
There are three ways to open a Terminal in FunOS:
- Click Menu in the left corner of the screen, then click Terminal
- Click the Terminal icon in the Tray
- Press Ctrl + Alt + T
Step 2: Add the Panda Jim PPA
Add the official Panda Jim Scribus PPA with the following command:
sudo add-apt-repository ppa:ubuntuhandbook1/scribusStep 3: Update the Package List
After adding the PPA, update the package list so the system recognizes the new source:
sudo apt updateStep 4: Install Scribus
Now install Scribus from the PPA using this command:
sudo apt install scribusStep 5: Reload the Menu
Note: Starting with FunOS 24.04.4 LTS (Build 20260618) and FunOS 26.04 LTS (Build 20260618), the menu updates automatically, so you can skip this step.
Once the installation is complete, refresh the application menu:
- Click the Menu button in the lower-left corner.
- Click Reload menu.
Launching Scribus
After installation, you can launch Scribus by clicking the Menu button in the lower-left corner of the screen, then navigating to the Graphics category. Click Scribus to open the application.
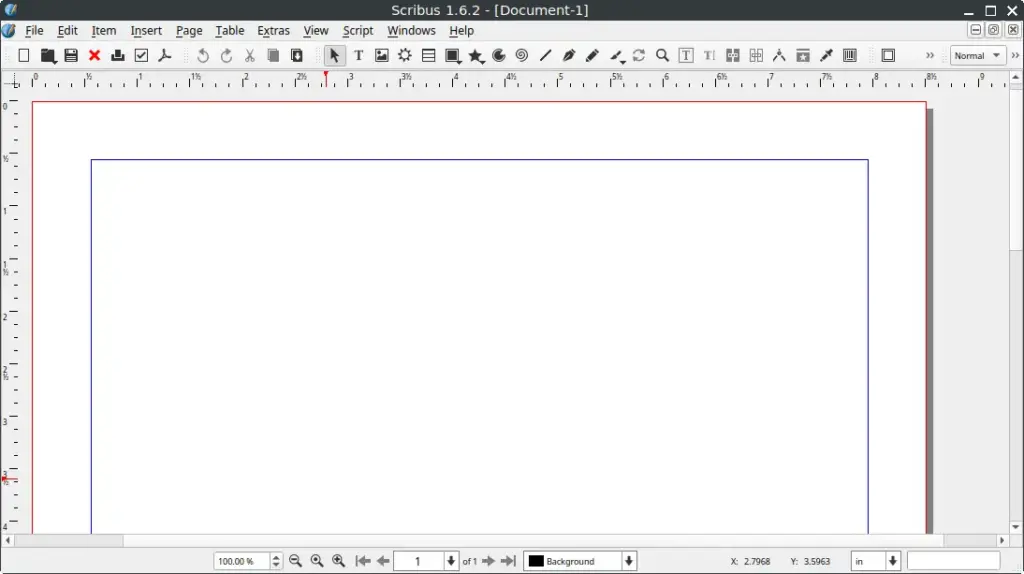
Once launched, Scribus will display its main workspace, where you can start a new document or open existing projects.
How to Uninstall Scribus on FunOS
If you no longer need Scribus or want to free up space on your system, you can easily uninstall it from FunOS. The uninstallation steps differ slightly depending on whether you installed Scribus from the Ubuntu repositories or from the Panda Jim PPA.
Uninstall Scribus Installed from the Ubuntu Repositories
Step 1: Open a Terminal
There are several ways to open a Terminal in FunOS:
- Click Menu in the left corner of the screen, then click Terminal
- Click the Terminal icon in the Tray
- Press Ctrl + Alt + T
Step 2: Remove Scribus
Run the following command to completely remove Scribus and its configuration files:
sudo apt remove --purge scribusStep 3: Remove Any Unused Dependencies
After removing Scribus, you can clean up unused packages to keep your system tidy:
sudo apt autoremove --purgeStep 4: Remove User Data (Optional)
If you want to remove all personal Scribus settings and preferences, delete the configuration directory from your home folder:
rm -rf $HOME/.config/scribusStep 5: Reload the Menu
Note: Starting with FunOS 24.04.4 LTS (Build 20260618) and FunOS 26.04 LTS (Build 20260618), the menu updates automatically, so you can skip this step.
After uninstalling, refresh the system menu to remove Scribus from the list:
- Click the Menu button in the lower-left corner.
- Click Reload menu.
Uninstall Scribus Installed from the Panda Jim PPA
If you installed Scribus from the Panda Jim PPA and want to completely remove it, follow these steps.
Step 1: Open a Terminal
There are several ways to open a Terminal in FunOS:
- Click Menu in the left corner of the screen, then click Terminal
- Click the Terminal icon in the Tray
- Press Ctrl + Alt + T
Step 2: Remove Scribus
Remove Scribus and its configuration files using this command:
sudo apt remove --purge scribusStep 3: Remove Any Unused Dependencies
Clean up unneeded dependencies to free up disk space:
sudo apt autoremove --purgeStep 4: Remove the Panda Jim PPA
If you no longer want to receive updates from the PPA, remove it with this command:
sudo add-apt-repository --remove ppa:ubuntuhandbook1/scribusStep 5: Update the Package List
After removing the PPA, update your package list so your system uses only the default repositories:
sudo apt updateStep 6: Remove User Data (Optional)
If you want to delete your Scribus user settings and preferences, remove the configuration folder:
rm -rf $HOME/.config/scribusStep 7: Reload the Menu
Note: Starting with FunOS 24.04.4 LTS (Build 20260618) and FunOS 26.04 LTS (Build 20260618), the menu updates automatically, so you can skip this step.
Finally, refresh the application menu to remove Scribus from the list:
- Click the Menu button in the lower-left corner.
- Click Reload menu.
Conclusion
Scribus is a feature-rich, open-source desktop publishing application that enables FunOS users to create professional print and digital documents with ease. Whether you’re designing magazines, posters, or brochures, Scribus offers a flexible layout engine and powerful publishing tools — all without the need for proprietary software.
Installing Scribus on FunOS is simple and can be done using either the official Ubuntu repositories or the Panda Jim PPA for access to the latest versions. Both installation methods integrate seamlessly with the FunOS environment, allowing you to launch the program easily from the menu.
If you ever need to remove Scribus, the uninstallation process is just as straightforward, giving you full control over your system’s software management.
By following this guide, you can confidently install, use, and uninstall Scribus on FunOS while keeping your system clean and organized — a hallmark of the FunOS experience.