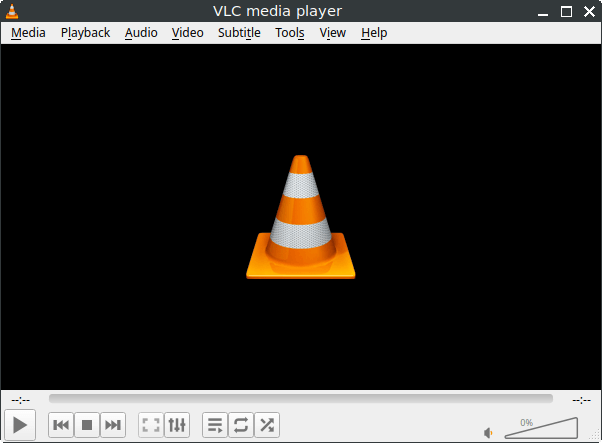
VLC Media Player is one of the most popular and versatile media players available today. Known for its ability to play almost any audio or video format without the need for additional codecs, VLC is a must-have application for many users. If you’re using FunOS and want to enjoy seamless multimedia playback, installing VLC is a straightforward process. This guide will walk you through how to install VLC on FunOS, how to launch it, and how to uninstall it if needed.
What is VLC?
VLC Media Player is a free and open-source multimedia player developed by the VideoLAN project. It supports a wide variety of file formats, including MP4, AVI, MKV, MP3, FLAC, and many others. In addition to playing local media files, VLC can also stream media from the internet, work as a media converter, and even function as a simple video editor. Its cross-platform availability, lightweight design, and powerful features make it a preferred choice for millions of users worldwide.

How to Install VLC on FunOS
Step 1: Open a Terminal
There are three different ways to open a Terminal in FunOS:
- Click Menu in the lower-left corner of the screen, then select Terminal.
- Click the Terminal icon in the Tray.
- Use the keyboard shortcut Ctrl + Alt + T.
Step 2: Update the Package List
Before installing VLC, it is recommended to update the package list to ensure you are installing the latest version available in the repository. Run the following command:
sudo apt updateStep 3: Install VLC
Once the package list is updated, install VLC by running:
sudo apt install vlcThis will download and install VLC along with its required dependencies.
Step 4: Reload the Menu
After installation, new applications will not appear in the FunOS menu until you reload it. To do this:
- Click the Menu button in the lower-left corner.
- Click Reload menu.
Launching VLC
To start VLC Media Player:
- Click the Menu button in the lower-left corner.
- Navigate to the Multimedia category.
- Click VLC media player to launch it.
VLC is now ready to use for playing videos, music, or streaming online content.
How to Uninstall VLC on FunOS
If you no longer need VLC, you can remove it completely from your system by following these steps:
Step 1: Open a Terminal
Use one of the three methods mentioned earlier to open the Terminal.
Step 2: Remove VLC
Run the following command to uninstall VLC and purge its configuration files:
sudo apt remove --purge vlcStep 3: Remove Any Unused Dependencies
To clean up unused packages that were installed with VLC but are no longer needed, run:
sudo apt autoremove --purgeStep 4: Remove User Data (Optional)
If you want to completely remove VLC’s user-specific data and settings, execute:
rm -rf $HOME/.config/vlc
rm -rf $HOME/.local/share/vlc
Step 5: Reload the Menu
As with installation, update the FunOS menu so VLC no longer appears:
- Click the Menu button in the lower-left corner.
- Click Reload menu.
Conclusion
VLC Media Player is a reliable and versatile media player that enhances your FunOS experience by supporting a wide range of multimedia formats and streaming capabilities. With just a few simple steps, you can install VLC, start enjoying your favorite media, and easily uninstall it if you no longer need it. Whether you’re watching movies, listening to music, or streaming online content, VLC is an essential tool for any FunOS user.

Leave a Reply