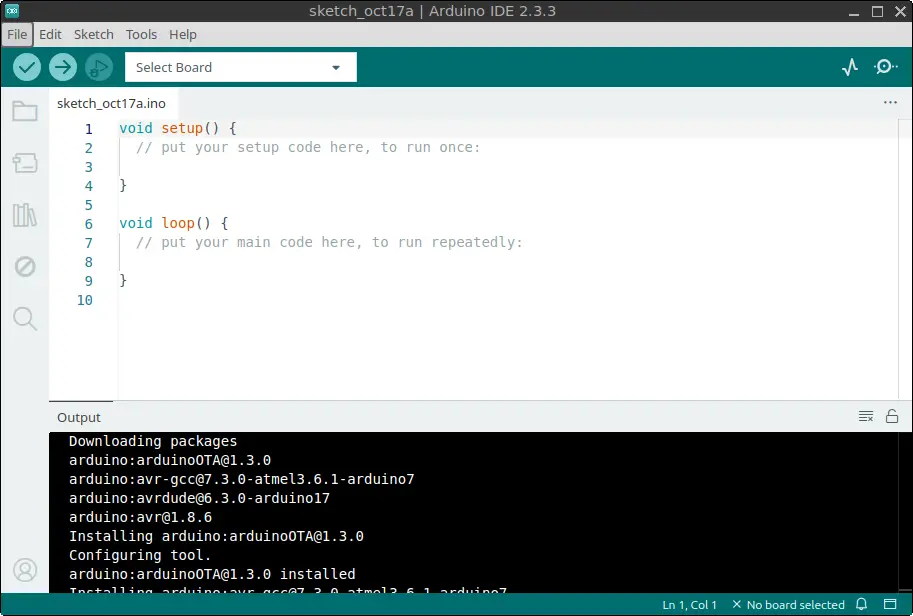
In this article, we’ll guide you step-by-step through the process of installing the Arduino IDE on FunOS. Whether you’re a beginner or an experienced developer, this IDE (Integrated Development Environment) will provide you with the tools to program Arduino boards. By the end of this guide, you’ll be ready to write, compile, and upload Arduino code directly from your FunOS system.
What is Arduino IDE?
The Arduino IDE is a software platform used to write, compile, and upload code to Arduino boards. It’s open-source and designed for makers, hobbyists, and professionals alike to prototype and build embedded systems. The IDE supports multiple programming languages, including C and C++, and integrates a simple interface to interact with connected Arduino hardware. Whether you’re working with microcontrollers, sensors, or actuators, the Arduino IDE provides an intuitive environment to develop and deploy your projects.

How to Install Arduino IDE on FunOS
Work on: 22.04.5 ✅ | 24.04.4 ✅ | 25.04 ✅ | 25.10 ✅ | 26.04 ✅
Follow these steps to install the Arduino IDE on FunOS:
Step 1: Download the Arduino IDE ZIP file
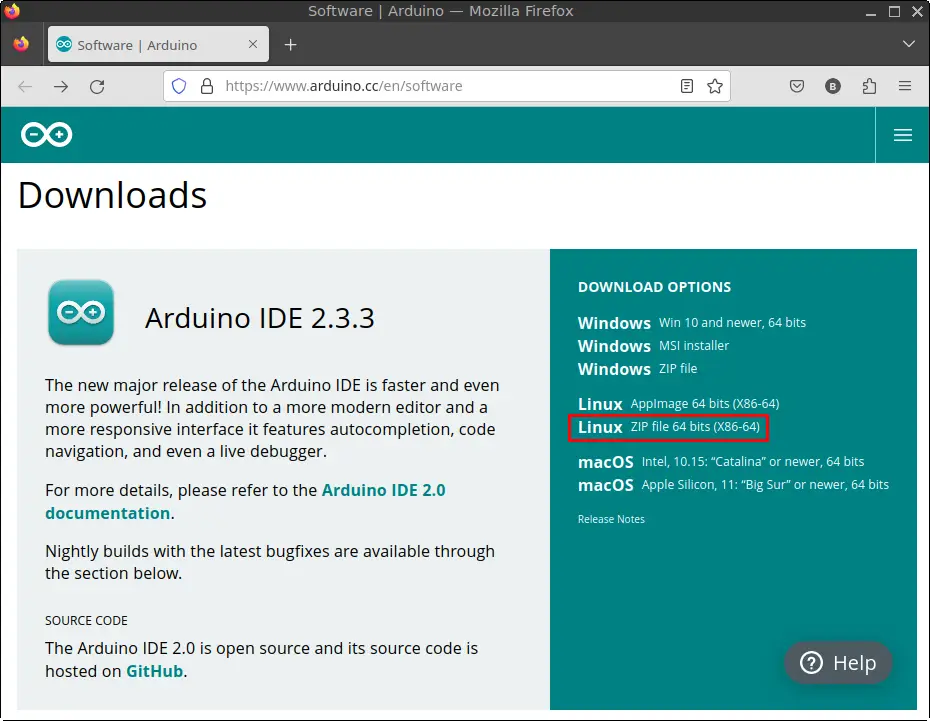
Open your web browser and go to the official Arduino software download page: Arduino Download Page.
Click Linux ZIP file 64 bits (X86-64).

Save the file to your Downloads directory.
Step 2: Open a Terminal
There are three ways to open the terminal in FunOS:
- Click the Menu in the lower-left corner of the screen, then select Terminal.
- Click the Terminal icon in the Tray.
- Use the shortcut: Ctrl + Alt + T.
Step 3: Extract the ZIP file
In the terminal, extract the downloaded ZIP file to the /opt directory using the following commands:
sudo unzip ~/Downloads/arduino-ide_*.zip -d /opt
sudo mv /opt/arduino-ide_* /opt/arduino-ide
This will extract the Arduino IDE and move it to the /opt/Arduino directory for system-wide installation.
Step 4: Create a Symbolic Link to Arduino
To easily launch Arduino from the terminal, create a symbolic link to the Arduino executable:
sudo ln -sf /opt/arduino-ide/arduino-ide /usr/bin/arduinoThis step will allow you to type arduino in the terminal to launch the IDE.
Step 5: Create a Desktop Entry for Arduino IDE
To add Arduino to the FunOS menu for easy access, create a desktop entry.
Run:
sudo mousepad /usr/share/applications/arduino.desktopPaste the following content into the editor:
[Desktop Entry]
Name=Arduino IDE
Comment=Open-source electronics prototyping platform
GenericName=Arduino IDE
Exec=/usr/bin/arduino %f
Icon=arduino
Type=Application
Terminal=false
Categories=Development;Engineering;Electronics;IDE;
MimeType=text/x-arduino
Keywords=embedded electronics;electronics;avr;microcontroller;
StartupWMClass=processing-app-Base
Save the file and close Mousepad.
This adds Arduino to the Development category in your menu.
Step 6: Set Permissions for Chrome Sandbox
Arduino IDE uses Chromium’s sandbox for its internal browser. Set the correct permissions for the sandbox to ensure the application runs securely:
sudo chmod 4755 /opt/arduino-ide/chrome-sandboxStep 7: Remove the Downloaded ZIP File
After installation, clean up by removing the ZIP file you downloaded:
rm -f ~/Downloads/arduino-ide_*.zipStep 8: Reload the Menu
To make the Arduino IDE appear in the menu, reload it:
- Click the Menu button in the lower-left corner.
- Click Reload menu.
Step 9: Add Your User to the Dialout Group
To allow communication with Arduino boards via serial ports, add your user to the dialout group:
sudo usermod -a -G dialout $USERYou will need to log out and log back in for this change to take effect:
- Click the Menu button in the lower-left corner.
- Click Log Out and then click Logout.
Launching Arduino IDE
Once installation is complete, you can launch the Arduino IDE by:
- Clicking the Menu button in the lower-left corner.
- Navigating to the Development section.
- Clicking on Arduino IDE.
How to Uninstall Arduino IDE on FunOS
If you decide to remove the Arduino IDE from FunOS, follow these steps:
Step 1: Open a Terminal
Use any of the methods mentioned above to open the terminal.
Step 2: Remove the Arduino Directory
To remove the installed Arduino IDE files, run:
sudo rm -rf /opt/arduino-ideStep 3: Remove the Symbolic Link
Next, remove the symbolic link for the Arduino executable:
sudo rm -f /usr/bin/arduinoStep 4: Remove the Desktop Entry
Delete the desktop entry created earlier:
sudo rm -f /usr/share/applications/arduino.desktopStep 5: Remove User Data (Optional)
If you want to delete all user data related to the Arduino IDE, use the following commands:
rm -rf $HOME/.arduino*
rm -rf $HOME/Arduino
rm -rf $HOME/.config/Arduino\ IDE
rm -rf $HOME/.config/arduino-ide
Step 6: Reload the Menu
Reload the menu to remove the Arduino IDE entry:
- Click the Menu button in the lower-left corner.
- Select Reload menu.
Conclusion
Installing the Arduino IDE on FunOS is straightforward and allows you to access a powerful platform for working with Arduino boards. Whether you’re creating complex projects or learning electronics, the Arduino IDE is a versatile tool. If you decide to uninstall it, the process is just as easy and leaves no traces behind. Enjoy coding with Arduino on FunOS!

Leave a Reply