TeamViewer is a popular remote access and remote control software used for screen sharing, file transfer, and managing computers from a distance. If you’re using FunOS and want to remotely control another device or provide technical support to someone else, TeamViewer is a reliable solution. This guide will walk you through the steps to install and uninstall TeamViewer on FunOS.
What is TeamViewer?
TeamViewer is a cross-platform software application that allows users to connect to other computers or mobile devices remotely via the internet. It’s widely used by IT professionals, customer support teams, and individuals who need to access systems from a remote location. Key features include:
- Remote control and access
- File transfer between devices
- Cross-platform compatibility (Linux, Windows, macOS, Android, iOS)
- Secure connection using AES 256-bit encryption
TeamViewer offers both free and paid versions. For personal use, the free version is typically sufficient.
How to Install TeamViewer on FunOS
Work on: 22.04.5 ✅ | 24.04.4 ✅ | 25.10 ✅ | 26.04 ✅
Follow these steps to install TeamViewer on your FunOS system:
Step 1: Open a Terminal
There are several ways to open a Terminal in FunOS:
- Click the Menu button in the lower-left corner of the screen, then click Terminal.
- Click the Terminal icon in the Tray.
- Use the keyboard shortcut Ctrl + Alt + T.
Step 2: Download the TeamViewer .deb File
Use the wget command to download the official TeamViewer installer:
wget https://download.teamviewer.com/download/linux/teamviewer_amd64.debStep 3: Update the Package List
Run the following command to make sure your system package list is up-to-date:
sudo apt updateStep 4: Install TeamViewer
Install the downloaded .deb file using the following command:
sudo apt install ./teamviewer_amd64.debNote: If there are missing dependencies, they will be resolved automatically.
Step 5: Remove the Downloaded .deb File
Once installed, you can delete the installer file to save space:
rm -f teamviewer_amd64.debStep 6: Reload the Menu
Note: Starting with FunOS 24.04.4 LTS (Build 20260618) and FunOS 26.04 LTS (Build 20260618), the menu updates automatically, so you can skip this step.
To make TeamViewer appear in the application menu:
- Click the Menu button in the lower-left corner.
- Click Reload menu.
Launching TeamViewer
After installation and menu reload:
- Click the Menu button in the lower-left corner.
- Navigate to the Internet category.
- Click TeamViewer to launch the application.
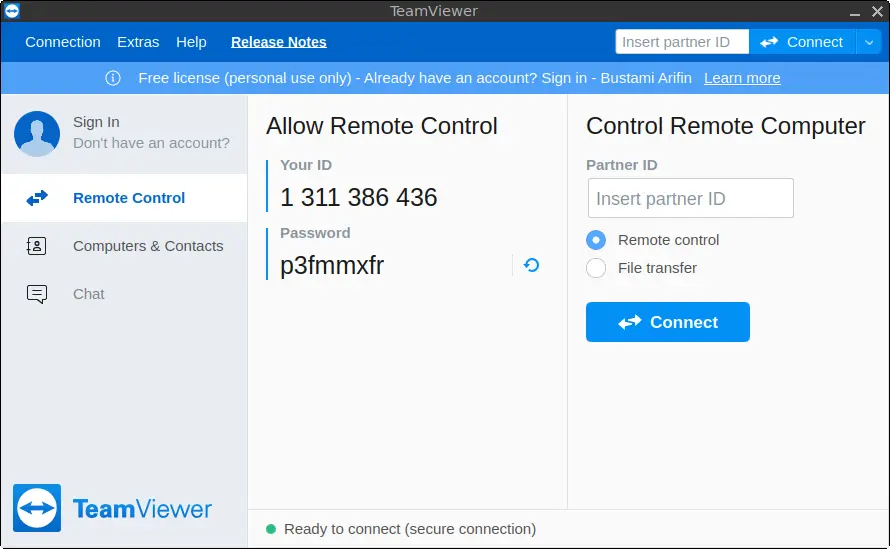
When you launch TeamViewer for the first time, accept the license agreement, and you’re ready to use remote desktop features.
How to Uninstall TeamViewer on FunOS
If you no longer need TeamViewer, follow these steps to uninstall it completely from your system.
Step 1: Open a Terminal
Use the Menu, Tray icon, or Ctrl + Alt + T to open a Terminal window.
Step 2: Remove TeamViewer
Run the following command to remove the application and its configuration files:
sudo apt remove --purge teamviewerStep 3: Remove Any Unused Dependencies
Clean up packages that were installed with TeamViewer but are no longer needed:
sudo apt autoremove --purgeStep 4: Remove the Key (Optional)
If you want to remove the TeamViewer GPG key:
sudo rm -f /usr/share/keyrings/teamviewer-keyring.gpgStep 5: Update the Package List
Run:
sudo apt updateStep 6: Remove User Data (Optional)
If you want to delete user-specific data:
rm -rf $HOME/.cache/TeamViewer
rm -rf $HOME/.config/teamviewer
rm -rf $HOME/.local/share/teamviewer*
Step 7: Reload the Menu
Note: Starting with FunOS 24.04.4 LTS (Build 20260618) and FunOS 26.04 LTS (Build 20260618), the menu updates automatically, so you can skip this step.
- Click the Menu button in the lower-left corner.
- Click Reload menu to remove TeamViewer from the application list.
Conclusion
Installing TeamViewer on FunOS is simple and fast, thanks to its .deb package and compatibility with Ubuntu-based systems. Whether you’re offering tech support or accessing your devices remotely, TeamViewer makes the process smooth and secure. Likewise, uninstalling it is just as straightforward if you no longer need the application. If you’re using FunOS as your daily driver, having TeamViewer ready could be a great addition to your toolkit.