In this tutorial, you will learn how to install Google Antigravity on FunOS. Because FunOS is based on Ubuntu and uses the APT package management system, the installation process is very similar to Ubuntu. However, there are a few FunOS-specific steps—such as reloading the JWM menu—so the application appears correctly in the menu.
This guide is written in a descriptive, step-by-step format so it is easy to follow, even for new Linux users.
What is Google Antigravity?
Google Antigravity is an AI-powered development environment (IDE) designed to help developers write, test, debug, and manage code using autonomous AI agents. Instead of only providing code suggestions, Antigravity can:
- Generate full project structures
- Install dependencies
- Run terminal commands
- Test applications in a browser
- Fix bugs automatically
- Create documentation
It works closely with Google’s Gemini AI models and integrates with tools like Google Chrome for browser-based workflows. In short, Antigravity acts like an AI coding partner that can plan and execute development tasks for you.
Because FunOS is lightweight and optimized for performance, it is a good platform for running modern development tools like Antigravity.
How to Install Google Antigravity on FunOS
Work on: 22.04.5 ✅ | 24.04.4 ✅ | 25.10 ✅ | 26.04 ✅
Follow the steps below carefully.
Step 1: Open a Terminal
There are three ways to open Terminal in FunOS:
- Click Menu in the lower-left corner of the screen, then click Terminal
- Click the Terminal icon in the Tray
- Press Ctrl + Alt + T on your keyboard
Once the Terminal window opens, you are ready to proceed.
Step 2: Update the Package List
Before installing new software, it is always recommended to update the package list.
sudo apt updateThis command refreshes your system’s repository information so it knows about the latest available packages.
Step 3: Install the Necessary Dependencies
Google Antigravity requires HTTPS transport support and curl to download repository keys.
Run the following command:
sudo apt install apt-transport-https curlapt-transport-httpsallows APT to download packages securely over HTTPS.curlis used to download the repository signing key.
Step 4: Install Google Chrome
Google Antigravity integrates with Google Chrome for browser-based automation features. Therefore, it is recommended to install Google Chrome first.
Please follow this detailed guide:
👉 How to Install Google Chrome on FunOS
https://funos.org/install-google-chrome-ubuntu/
After installing Google Chrome, return to this tutorial and continue with the next step.
Step 5: Add the GPG Key
Now we will add the official GPG signing key for the Antigravity repository. This ensures that packages installed from the repository are verified and secure.
Run:
curl -fsSL https://us-central1-apt.pkg.dev/doc/repo-signing-key.gpg | sudo gpg --dearmor --yes -o /etc/apt/keyrings/antigravity-repo-key.gpgThis command:
- Downloads the repository key
- Converts it into a format APT can use
- Saves it in
/etc/apt/keyrings/
Step 6: Add the Repository
Next, add the Antigravity repository to your system:
echo "deb [signed-by=/etc/apt/keyrings/antigravity-repo-key.gpg] https://us-central1-apt.pkg.dev/projects/antigravity-auto-updater-dev/ antigravity-debian main" | sudo tee /etc/apt/sources.list.d/antigravity.list > /dev/nullThis tells APT where to download the Antigravity package from.
Step 7: Update the Package List Again
After adding a new repository, update the package list once more:
sudo apt updateNow your system will detect the antigravity package.
Step 8: Install Google Antigravity
Install the application with:
sudo apt install antigravityAPT will download and install all required files automatically.
Wait until the installation process finishes successfully.
Step 9: Reload the Menu
Because FunOS uses JWM, newly installed applications may not immediately appear in the menu.
To refresh the menu:
- Click the Menu button in the lower-left corner of the screen.
- Click Reload menu.
This will update the application list.
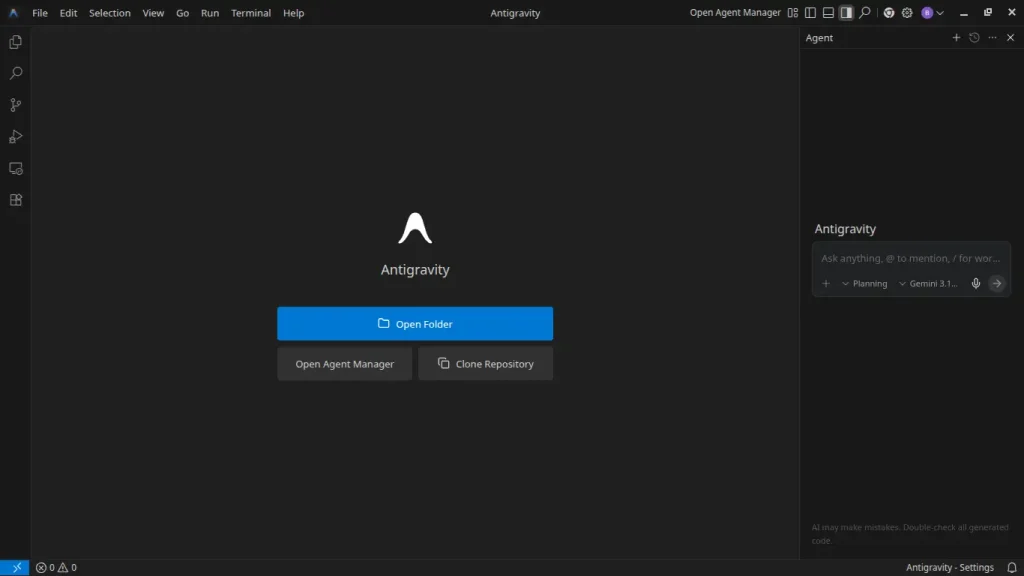
Launching Google Antigravity
To launch Antigravity:
- Click the Menu button.
- Navigate to the Development section.
- Click Antigravity.
The first time you open it, you may be asked to sign in with your Google account. After signing in, you can start using its AI-powered development features.
How to Uninstall Google Antigravity on FunOS
If you no longer need Google Antigravity, follow these steps to completely remove it.
Step 1: Open a Terminal
You can open Terminal in one of three ways:
- Click Menu → Terminal
- Click the Terminal icon in the Tray
- Press Ctrl + Alt + T
Step 2: Remove Google Antigravity
Run:
sudo apt remove --purge antigravityThis removes the application and its configuration files installed by the package.
Step 3: Remove Any Unused Dependencies
Clean up unnecessary packages:
sudo apt autoremove --purgeThis helps keep your system clean and lightweight.
Step 4: Remove the Repository and Key (Optional)
If you no longer plan to install Antigravity again, remove its repository and key:
sudo rm -f /etc/apt/sources.list.d/antigravity.list
sudo rm -f /etc/apt/keyrings/antigravity-repo-key.gpg
Step 5: Update the Package List
Refresh the package list:
sudo apt updateStep 6: Remove User Data (Optional)
To completely remove user configuration and cached data:
rm -rf $HOME/.antigravity
rm -rf $HOME/.config/Antigravity
Be careful: this permanently deletes your Antigravity settings and local data.
Step 7: Reload the Menu
Finally:
- Click Menu
- Click Reload menu
This removes the application entry from the menu.
Conclusion
In this article, you learned how to install Google Antigravity on FunOS step by step, including adding the official repository, installing required dependencies, and refreshing the JWM menu so the application appears correctly.
Because FunOS is based on Ubuntu, installing modern development tools like Antigravity is straightforward. With Antigravity installed, you can take advantage of AI-powered coding assistance directly from your FunOS system.