Claude Desktop brings Anthropic’s AI assistant to your Linux desktop, allowing you to interact with Claude through a native application instead of a web browser. The official Linux beta supports Ubuntu and Debian, making it compatible with recent versions of FunOS based on Ubuntu LTS. Installing Claude Desktop through Anthropic’s official APT repository also ensures that you receive future updates automatically through the standard package management system.
This guide will walk you through the entire installation process, explain each command, show you how to launch the application, and provide instructions for completely uninstalling Claude Desktop if you no longer need it.
What is Claude Desktop?
Claude Desktop is the official desktop application developed by Anthropic for interacting with Claude, an advanced AI assistant capable of helping with writing, programming, research, data analysis, and many other everyday tasks.
Unlike using Claude in a web browser, Claude Desktop provides a native desktop experience and integrates more closely with your operating system. It supports features such as file uploads, drag-and-drop, desktop notifications, and access to local files (with your permission). The application also supports the Model Context Protocol (MCP), allowing Claude to connect to external tools and services, making it especially useful for developers and technical users.
The Linux version is currently available in beta and officially supports Ubuntu 22.04 LTS or later and Debian 12 or later. Since FunOS is based on Ubuntu LTS, Claude Desktop can be installed using Anthropic’s official APT repository.
How to Install Claude Desktop on FunOS
Work on: 22.04.5 ✅ | 24.04.4 ✅ | 25.10 ✅ | 26.04 ✅
Step 1: Open a Terminal
Before installing Claude Desktop, open a Terminal window.
You can do this in any of the following ways:
- Click Menu in the lower-left corner of the screen, then click Terminal.
- Click the Terminal icon in the Tray.
- Press Ctrl + Alt + T on your keyboard.
Step 2: Update the Package List
Updating the package list ensures that APT has the latest information about available software packages from all configured repositories.
Run:
sudo apt updateAfter entering the command, type your password if prompted.
Step 3: Install the Necessary Dependencies
Claude Desktop’s repository uses HTTPS, so you’ll first need to install the required packages.
Run:
sudo apt install apt-transport-https curlThis command installs:
- apt-transport-https — allows APT to securely download packages over HTTPS.
- curl — downloads files from the internet, including Anthropic’s repository signing key.
If these packages are already installed, APT will simply report that they are already the newest versions.
Step 4: Add the GPG Key
APT verifies software packages using cryptographic signatures. Before adding Anthropic’s repository, import its official GPG signing key.
Run:
sudo curl -fsSLo /usr/share/keyrings/claude-desktop-archive-keyring.asc https://downloads.claude.ai/claude-desktop/key.ascThis command downloads the signing key and stores it in the system keyring directory, allowing APT to verify packages downloaded from the Claude Desktop repository.
Step 5: Add the Repository
Next, add Anthropic’s official APT repository to your system.
Run:
echo "deb [arch=amd64,arm64 signed-by=/usr/share/keyrings/claude-desktop-archive-keyring.asc] https://downloads.claude.ai/claude-desktop/apt/stable stable main" | sudo tee /etc/apt/sources.list.d/claude-desktop.listThis command creates a new repository configuration file in: /etc/apt/sources.list.d/
From now on, APT will be able to download Claude Desktop updates directly from Anthropic’s repository.
Step 6: Update the Package List Again
Since you’ve added a new software repository, refresh the package list once more.
Run:
sudo apt updateAPT will download package information from the newly added Claude Desktop repository.
Step 7: Install Claude Desktop
Now you’re ready to install Claude Desktop.
Run:
sudo apt install claude-desktopAPT will download the required packages and install Claude Desktop on your system.
Depending on your internet connection, this process may take a few minutes.
Once the installation is complete, Claude Desktop is ready to use.
Step 8: Reload the Menu
Note: Starting with FunOS 24.04.4 LTS (Build 20260618) and FunOS 26.04 LTS (Build 20260618), the menu updates automatically, so you can skip this step.
FunOS uses the JWM desktop environment. After installing new applications, you’ll need to reload the application menu so the new launcher appears.
To reload the menu:
- Click the Menu button in the lower-left corner of the screen.
- Click Reload menu.
After the menu has been reloaded, Claude Desktop should appear in the application menu.
Launching Claude Desktop
To start Claude Desktop:
- Click the Menu button in the lower-left corner.
- Look for Claude in either the Development or Accessories section.
- Click Claude to launch the application.
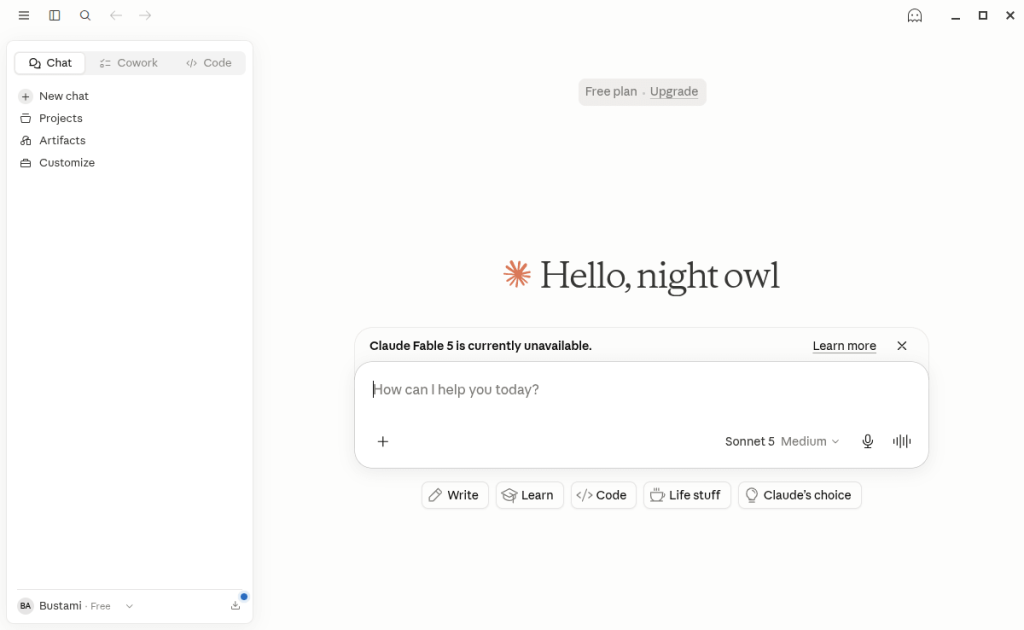
The first time you open Claude Desktop, you may be prompted to sign in with your Anthropic account before you can begin using the application.
After signing in, you’ll have access to Claude’s desktop interface, where you can start conversations, upload files, and use supported desktop features.
How to Uninstall Claude Desktop on FunOS
If you decide that you no longer need Claude Desktop, you can completely remove it from your system.
Step 1: Open a Terminal
Open a Terminal using one of the following methods:
- Click Menu → Terminal
- Click the Terminal icon in the Tray
- Press Ctrl + Alt + T
Step 2: Remove Claude Desktop
Remove the application by running:
sudo apt remove --purge claude-desktopThe --purge option removes both the application and its system-wide configuration files.
Step 3: Remove Any Unused Dependencies
After removing Claude Desktop, it’s a good idea to remove packages that are no longer needed.
Run:
sudo apt autoremove --purgeThis helps keep your system clean by removing unnecessary dependencies.
Step 4: Remove the Repository and Key (Optional)
If you do not plan to install Claude Desktop again, you can also remove Anthropic’s repository configuration and signing key.
Run:
sudo rm -f /etc/apt/sources.list.d/claude-desktop.list
sudo rm -f /usr/share/keyrings/claude-desktop-archive-keyring.asc
This prevents APT from checking the Claude Desktop repository during future updates.
Step 5: Update the Package List
After removing the repository, refresh the package list.
Run:
sudo apt updateAPT will update its package database without the Claude Desktop repository.
Step 6: Remove User Data (Optional)
Claude Desktop stores user-specific settings and configuration files in your home directory.
To remove them completely, run:
rm -rf ~/.config/ClaudeThis step is optional but useful if you want to completely reset Claude Desktop or free up disk space.
Warning: This command permanently deletes Claude Desktop’s local configuration and preferences for your user account.
Step 7: Reload the Menu
Note: Starting with FunOS 24.04.4 LTS (Build 20260618) and FunOS 26.04 LTS (Build 20260618), the menu updates automatically, so you can skip this step.
Finally, reload the JWM application menu so that the Claude Desktop launcher is removed.
- Click the Menu button in the lower-left corner.
- Click Reload menu.
The Claude Desktop entry will no longer appear in the application menu.
Conclusion
Claude Desktop provides a convenient way to use Anthropic’s AI assistant directly from your FunOS desktop. By installing it through Anthropic’s official APT repository, you’ll receive new versions and updates automatically using the standard APT package manager.
Whether you’re writing documents, programming, analyzing files, or exploring AI-powered workflows, Claude Desktop offers a native Linux experience that integrates well with FunOS. And if you ever decide to remove it, you can easily uninstall the application, remove its repository, and delete its configuration files using the steps provided in this guide.