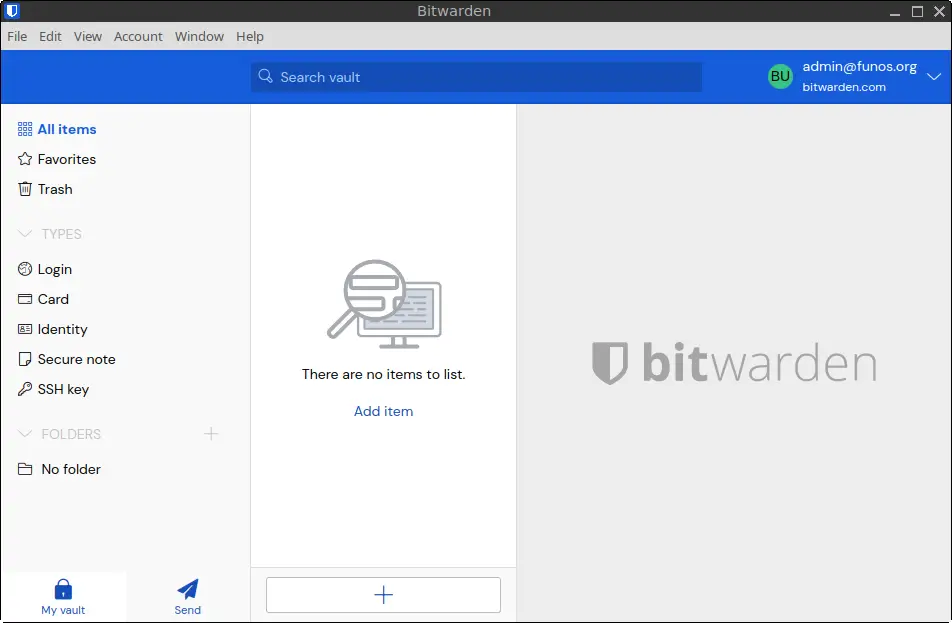
Bitwarden is one of the most trusted and popular open-source password managers available today. With Bitwarden, you can securely store and manage your passwords, notes, and other sensitive data—all in an encrypted vault. In this guide, we’ll show you step-by-step how to install Bitwarden on FunOS, how to launch it from the menu, and how to remove it completely if needed.
What is Bitwarden?
Bitwarden is a free and open-source password management solution that allows users to store and access login credentials across multiple platforms in a secure and encrypted way. It offers browser extensions, mobile apps, desktop clients, and web access. All your data is fully encrypted before it ever leaves your device, and you control your own vault with a master password. Bitwarden is especially popular among Linux users due to its commitment to open-source principles and cross-platform compatibility.

How to Install Bitwarden on FunOS
Work on: 22.04.5 ✅ | 24.04.3 ✅ | 25.04 ✅ | 25.10 ✅ | 26.04 ✅
Step 1: Download the Bitwarden .deb File
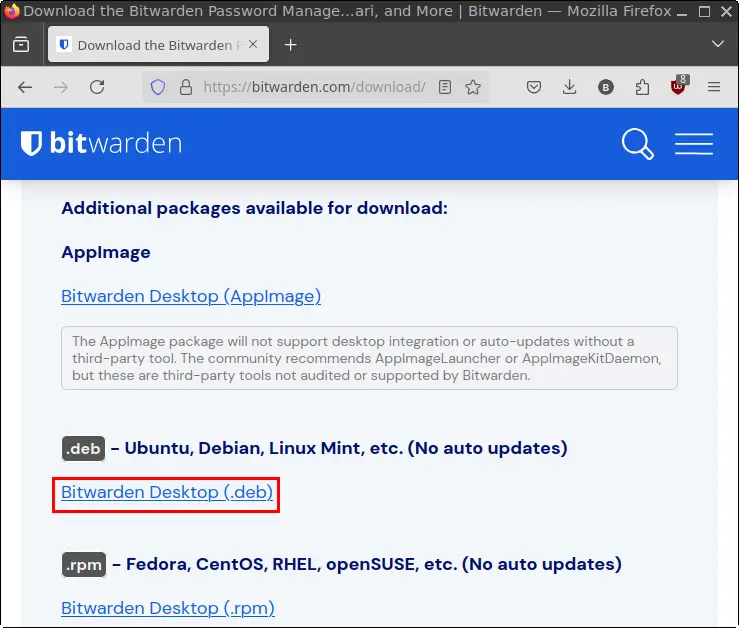
1. Open your web browser and go to the Bitwarden download page.
2. Click Bitwarden Desktop (.deb)

3. Save the file in your Downloads directory.
Step 2: Open a Terminal
There are three ways to open a Terminal in FunOS:
- Click the Menu in the lower-left corner of the screen, then select Terminal.
- Click the Terminal icon in the tray.
- Press Ctrl + Alt + T on your keyboard.
Step 3: Navigate to the Downloads Directory
In the terminal, type the following command and press Enter:
cd ~/DownloadsStep 4: Update the Package List
To ensure your system is up to date, run:
sudo apt updateStep 5: Install Bitwarden
To install Bitwarden using the .deb file, enter:
sudo apt install ./Bitwarden-*.debThis command installs the downloaded Bitwarden package using the APT package manager.
Step 6: Remove the Downloaded .deb File
After installation, you can remove the .deb file to save disk space:
rm -f Bitwarden-*.debStep 7: Reload the Menu
After installation, Bitwarden may not immediately appear in the system menu. To refresh it:
- Click the Menu button in the lower-left corner.
- Click Reload menu.
Launching Bitwarden
To start using Bitwarden:
- Click the Menu button in the lower-left corner of the screen.
- Navigate to the Accessories category.
- Click Bitwarden to launch the application.
You can now log in or create a new account, and begin managing your passwords securely.
How to Uninstall Bitwarden on FunOS
If you decide to remove Bitwarden, follow these steps:
Step 1: Open a Terminal
Use any of the methods mentioned earlier to open the terminal.
Step 2: Remove Bitwarden
To uninstall Bitwarden completely, run:
sudo apt remove --purge bitwardenStep 3: Remove Any Unused Dependencies
Clean up leftover packages that are no longer needed:
sudo apt autoremove --purgeStep 4: Remove User Data (Optional)
If you want to remove all Bitwarden-related data from your system, including saved settings and cache, run:
rm -rf $HOME/.cache/com.bitwarden.desktop
rm -rf $HOME/.config/Bitwarden
Step 5: Reload the Menu
To refresh the system menu and remove the Bitwarden shortcut:
- Click the Menu button.
- Click Reload menu.
Conclusion
Installing Bitwarden on FunOS is a straightforward process thanks to its .deb installer and FunOS’s compatibility with Ubuntu packages. Bitwarden offers a secure, user-friendly way to manage your passwords across devices. Whether you’re looking to enhance your digital security or just want an efficient way to manage your logins, Bitwarden is a great addition to your FunOS setup. If you ever decide to uninstall it, you can easily remove both the application and all its data by following the steps above.

Leave a Reply