If you’re looking for a simple and user-friendly way to record audio on your computer, GNOME Sound Recorder is a great choice. It provides an intuitive interface for recording voice memos, audio notes, and other sounds using your system’s microphone. This guide will walk you through the steps to install, launch, and uninstall GNOME Sound Recorder on FunOS, a lightweight and minimal Linux distribution based on Ubuntu LTS.
What is GNOME Sound Recorder?
GNOME Sound Recorder is a lightweight audio recording application developed by the GNOME Project. It supports recording in various audio formats such as Ogg Vorbis, FLAC, MP3, and Opus, depending on your system’s installed codecs. It offers a clean and minimalistic interface that makes it easy to start, stop, and manage your audio recordings. It is ideal for users who want a straightforward recording tool without the complexity of advanced audio editors.
How to Install GNOME Sound Recorder on FunOS
Work on: 22.04.5 ✅ | 24.04.3 ✅ | 25.04 ✅ | 25.10 ✅ | 26.04 ✅
Follow the steps below to install GNOME Sound Recorder on your FunOS system.
Step 1: Open a Terminal
You can open a terminal using one of the following methods:
- Click the Menu in the lower-left corner of the screen, then select Terminal
- Click the Terminal icon in the Tray
- Press Ctrl + Alt + T on your keyboard
Step 2: Update the Package List
Before installing any software, it’s a good idea to update the local package index:
sudo apt updateThis command ensures that your system knows about the latest available versions of packages in the repository.
Step 3: Install GNOME Sound Recorder
Now install the GNOME Sound Recorder package using the following command:
sudo apt install gnome-sound-recorderWait for the installation to complete. This may take a few moments depending on your internet speed.
Step 4: Reload the Menu
After installation, GNOME Sound Recorder may not appear in the application menu right away. To make it visible, you need to reload the menu:
- Click the Menu button in the lower-left corner of the screen
- Click Reload menu
This will refresh the menu and include any newly installed applications.
Launching GNOME Sound Recorder
To launch the application:
- Click the Menu button in the lower-left corner
- Navigate to the Multimedia category
- Click Sound Recorder
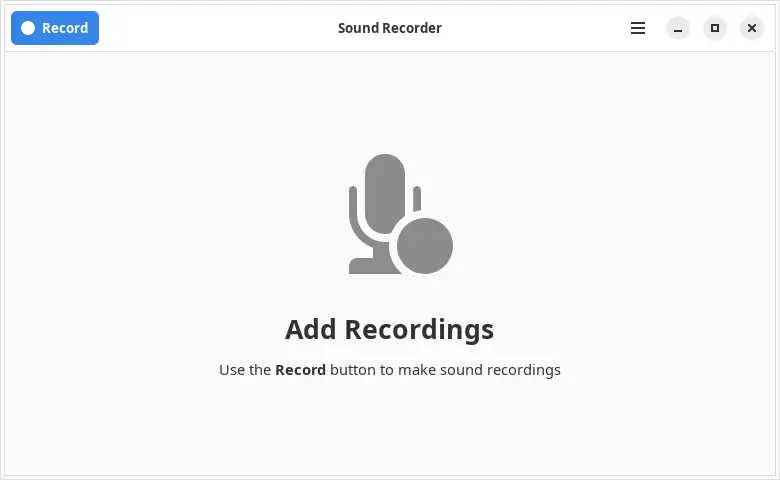
Once opened, you can start recording immediately by clicking the record button. All recordings will be saved and listed within the application for playback or export.
How to Uninstall GNOME Sound Recorder on FunOS
If you no longer need the GNOME Sound Recorder, you can completely remove it from your system by following these steps:
Step 1: Open a Terminal
Use any method mentioned earlier to open the terminal.
Step 2: Remove GNOME Sound Recorder
Use the following command to remove the application and its configuration files:
sudo apt remove --purge gnome-sound-recorderStep 3: Remove Any Unused Dependencies
To clean up any unused libraries that were installed along with GNOME Sound Recorder, run:
sudo apt autoremove --purgeStep 4: Remove User Data (Optional)
To delete cached files and user data related to GNOME Sound Recorder, execute:
rm -rf $HOME/.cache/org.gnome.SoundRecorder
rm -rf $HOME/.local/share/org.gnome.SoundRecorder
This step is optional but recommended if you want to completely erase all traces of the application from your user profile.
Step 5: Reload the Menu
Once again, refresh the menu to remove the application entry:
- Click the Menu button in the lower-left corner
- Click Reload menu
Conclusion
GNOME Sound Recorder is a convenient tool for anyone who needs quick audio recordings without the need for complex software. Whether you’re creating voice notes, recording lectures, or capturing sound samples, it offers a simple yet effective solution. By following this guide, you can easily install, use, or remove GNOME Sound Recorder on your FunOS system.
Leave a Reply