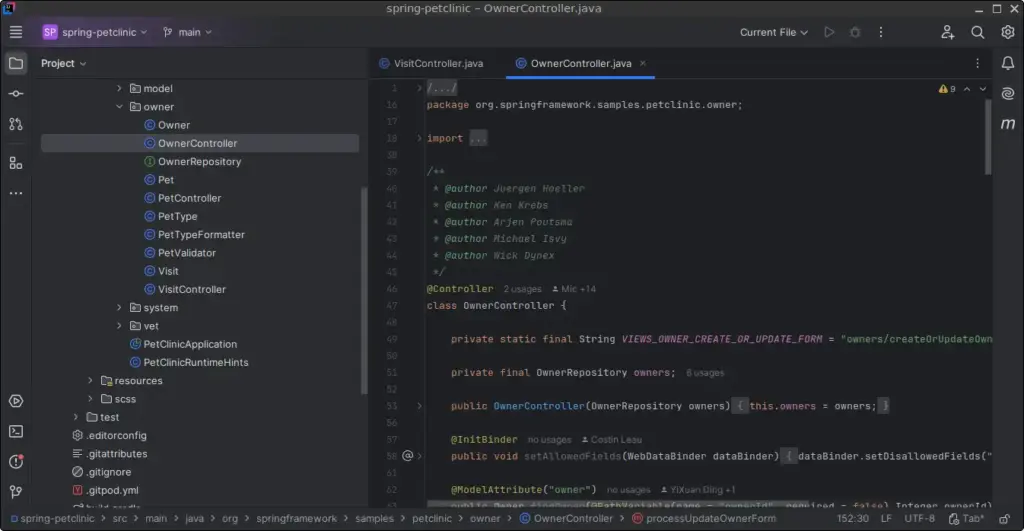
IntelliJ IDEA Community Edition is a popular integrated development environment (IDE) developed by JetBrains. It is highly regarded for its smart code completion, powerful debugging tools, and support for various programming languages such as Java, Kotlin, and more. This guide will walk you through the steps to install IntelliJ IDEA Community Edition on FunOS, ensuring a smooth setup for your development environment.
What is IntelliJ IDEA Community Edition?
IntelliJ IDEA Community Edition is a free and open-source IDE designed for Java development and other programming languages. It provides features like intelligent code editing, version control integration, and tools for building, testing, and debugging applications. With its intuitive interface and extensive plugin ecosystem, IntelliJ IDEA is a favorite choice for developers worldwide.

How to Install IntelliJ IDEA Community Edition on FunOS
Step 1: Open a Terminal
You can open a terminal in any of the following ways:
- Click the Menu in the lower-left corner of the screen, then select Terminal.
- Click the Terminal icon in the Tray.
- Use the keyboard shortcut
Ctrl + Alt + T.
Step 2: Update the Package List
To ensure your system has the latest package information, run:
sudo apt updateStep 3: Install the Necessary Dependencies
Install essential dependencies for adding external repositories:
sudo apt install apt-transport-https curlStep 4: Add the GPG Key
Add the JetBrains repository GPG key to your system:
curl -s https://s3.eu-central-1.amazonaws.com/jetbrains-ppa/0xA6E8698A.pub.asc | gpg --dearmor | sudo tee /usr/share/keyrings/jetbrains-ppa-archive-keyring.gpg > /dev/nullStep 5: Add the Repository
Add the JetBrains repository to your system:
echo "deb [signed-by=/usr/share/keyrings/jetbrains-ppa-archive-keyring.gpg] http://jetbrains-ppa.s3-website.eu-central-1.amazonaws.com any main" | sudo tee /etc/apt/sources.list.d/jetbrains-ppa.list > /dev/nullStep 6: Update the Package List Again
Update the package list to include the newly added repository:
sudo apt updateStep 7: Install Git
Git is required for version control and integration within IntelliJ IDEA. Install it using:
sudo apt install gitStep 8: Install IntelliJ IDEA Community Edition
Install the IDE by running:
sudo apt install intellij-idea-communityStep 9: Reload the Menu
After installation, reload the menu to make IntelliJ IDEA appear:
- Click the Menu button in the lower-left corner.
- Click Reload menu.
Launching IntelliJ IDEA Community Edition
You can launch IntelliJ IDEA Community Edition in two ways:
- Click the Menu button in the lower-left corner, then look for IntelliJ IDEA under the Development section.
- Open a terminal and type:
intellij-idea-community
How to Uninstall IntelliJ IDEA Community Edition on FunOS
Step 1: Open a Terminal
Open the terminal using one of the methods mentioned earlier.
Step 2: Remove IntelliJ IDEA Community Edition
Uninstall the application by running:
sudo apt remove --purge intellij-idea-communityStep 3: Remove Git (Optional)
If Git is no longer needed, remove it:
sudo apt remove --purge gitStep 4: Remove Any Unused Dependencies
Clean up unnecessary dependencies:
sudo apt autoremove --purgeStep 5: Remove the Repository and Key (Optional)
If you no longer wish to keep the JetBrains repository, remove it:
sudo rm -f /etc/apt/sources.list.d/jetbrains-ppa.list
sudo rm -f /usr/share/keyrings/jetbrains-ppa-archive-keyring.gpg
Step 6: Update the Package List
Update the package list to remove references to the deleted repository:
sudo apt updateStep 7: Remove User Data (Optional)
If you want to completely remove IntelliJ IDEA data, delete the following directories:
rm -rf $HOME/.cache/JetBrains
rm -rf $HOME/.config/JetBrains
rm -rf $HOME/.java
rm -rf $HOME/.jdks
rm -rf $HOME/.local/share/JetBrains
rm -rf $HOME/IdeaProjects
Step 8: Reload the Menu
Reload the menu to reflect the uninstallation:
- Click the Menu button in the lower-left corner.
- Click Reload menu.
Conclusion
Installing IntelliJ IDEA Community Edition on FunOS is a straightforward process that provides you with a powerful IDE for your development projects. Whether you are a beginner or an experienced developer, IntelliJ IDEA offers a robust set of tools to enhance your coding experience. By following this guide, you can easily set up, use, and uninstall IntelliJ IDEA Community Edition on FunOS as needed.

Leave a Reply