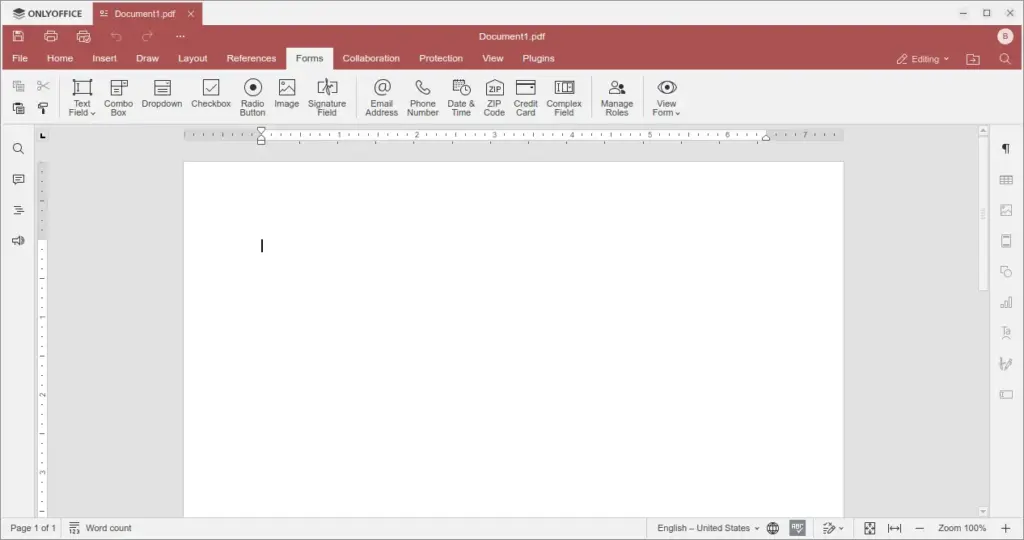
If you’re looking for a powerful, modern, and Microsoft Office-compatible office suite for FunOS, ONLYOFFICE Desktop Editors is an excellent choice. This guide will walk you through the steps to install ONLYOFFICE Desktop Editors on FunOS, including how to properly add the repository, install the application, and remove it completely if needed.
What is ONLYOFFICE Desktop Editors?
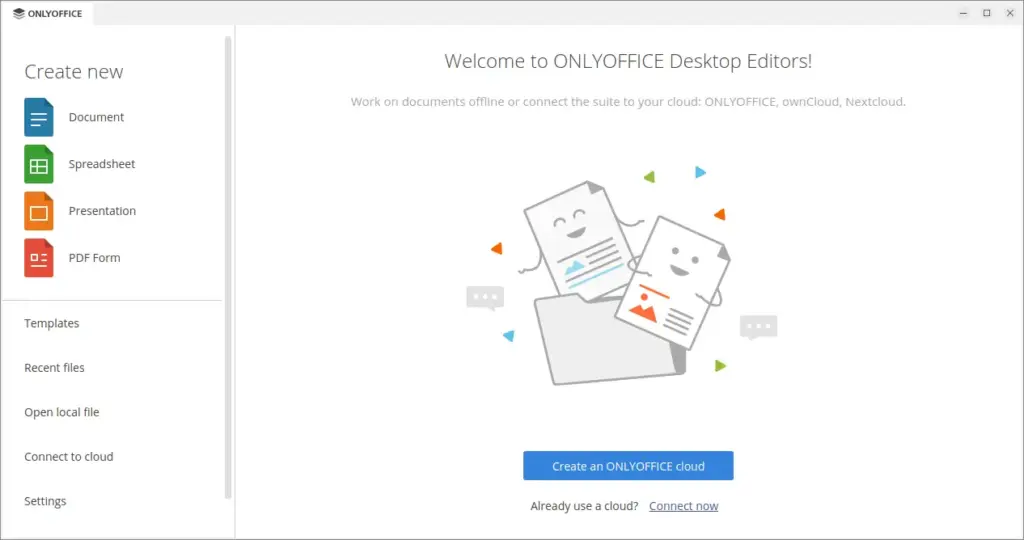
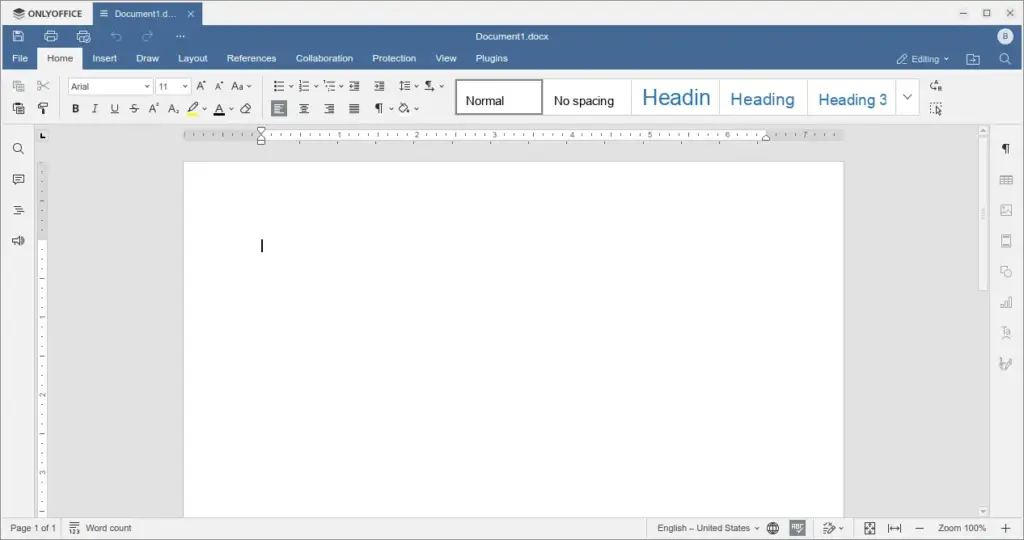
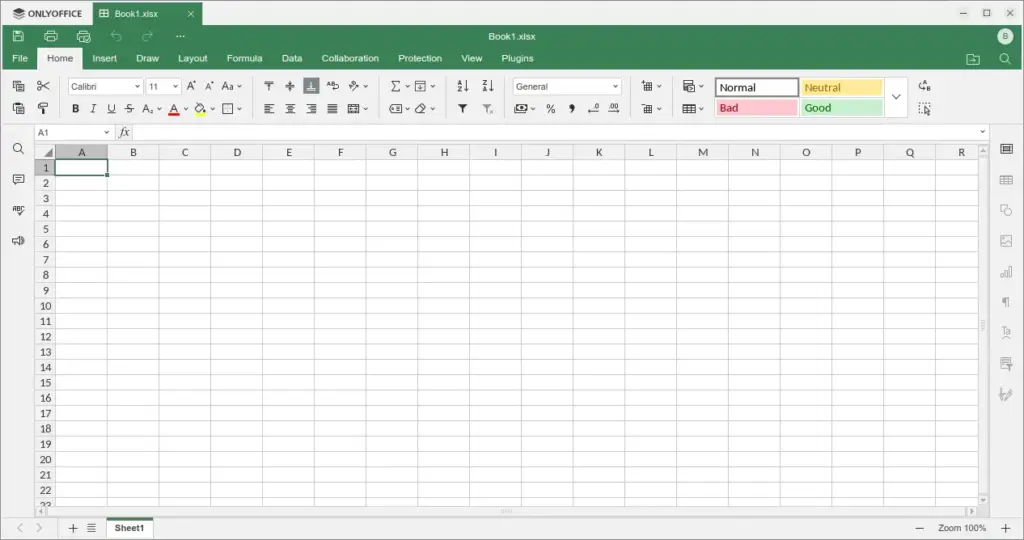
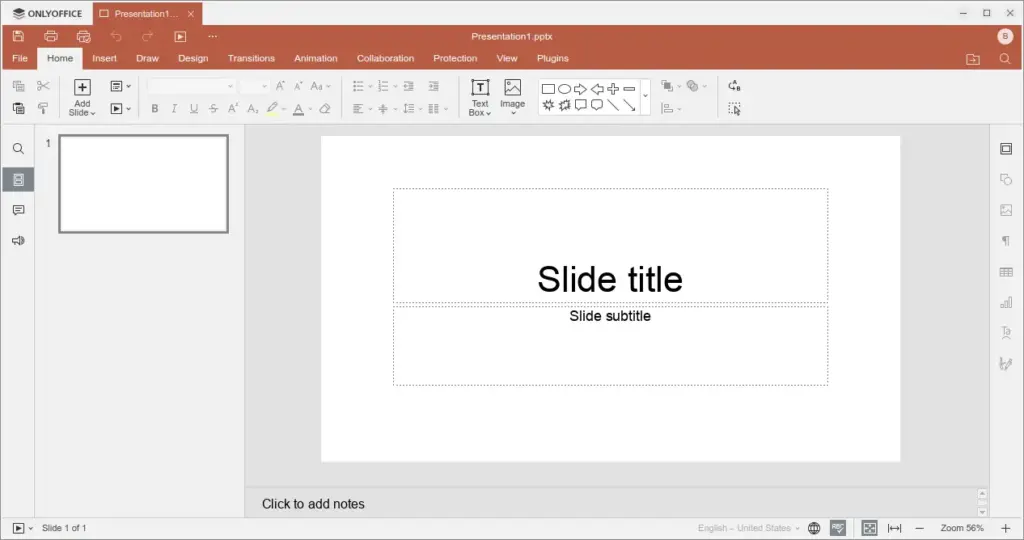
ONLYOFFICE Desktop Editors is a free and open-source office suite developed by Ascensio System SIA. It includes a word processor, spreadsheet editor, and presentation editor—all fully compatible with Microsoft Office formats such as .docx, .xlsx, and .pptx.
Key features of ONLYOFFICE Desktop Editors include:
- A clean and modern tabbed interface
- High compatibility with Microsoft Office formats
- Local file editing with no cloud requirement
- Integration capability with self-hosted platforms like Nextcloud and ownCloud
This makes ONLYOFFICE an ideal alternative to proprietary office suites and a powerful companion for your productivity needs on FunOS.
How to Install ONLYOFFICE Desktop Editors on FunOS
Work on: 22.04.5 ✅ | 24.04.3 ✅ | 25.04 ✅ | 25.10 ✅ | 26.04 ✅
Follow these steps to install ONLYOFFICE Desktop Editors on FunOS.
Step 1: Open a Terminal
You can open the Terminal in three different ways:
- Click the Menu button in the lower-left corner, then click Terminal
- Click the Terminal icon in the Tray
- Press Ctrl + Alt + T on your keyboard
Step 2: Add the GPG Key
Run the following commands in the Terminal to add the official GPG key used to verify ONLYOFFICE packages:
mkdir -p -m 700 ~/.gnupg
gpg --no-default-keyring --keyring gnupg-ring:/tmp/onlyoffice.gpg --keyserver hkp://keyserver.ubuntu.com:80 --recv-keys CB2DE8E5
chmod 644 /tmp/onlyoffice.gpg
sudo chown root:root /tmp/onlyoffice.gpg
sudo mv /tmp/onlyoffice.gpg /usr/share/keyrings/onlyoffice.gpg
Step 3: Add the Repository
Add the ONLYOFFICE repository to your system:
echo 'deb [signed-by=/usr/share/keyrings/onlyoffice.gpg] https://download.onlyoffice.com/repo/debian squeeze main' | sudo tee -a /etc/apt/sources.list.d/onlyoffice.listStep 4: Update the Package List
Update the package list to include the new ONLYOFFICE repository:
sudo apt updateStep 5: Install ONLYOFFICE Desktop Editors
Now install the application with the following command:
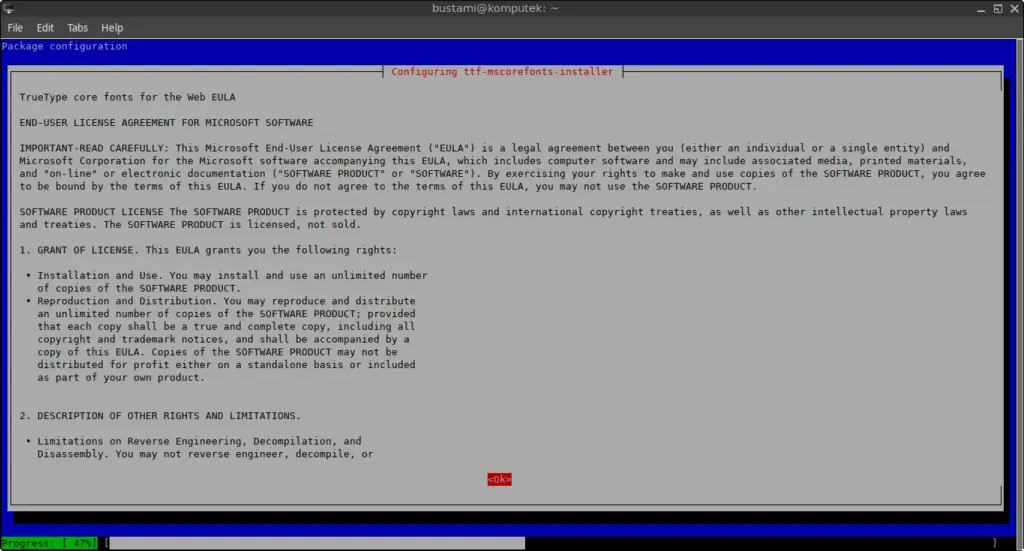
sudo apt install onlyoffice-desktopeditorsDuring installation, a Debconf dialog (a blue terminal-based interface) will appear showing the “TrueType core fonts for the web EULA”. This is needed because ONLYOFFICE recommends installing Microsoft core fonts for better compatibility.
When the dialog appears, press the Tab key until the OK button is highlighted in red, then press Enter.
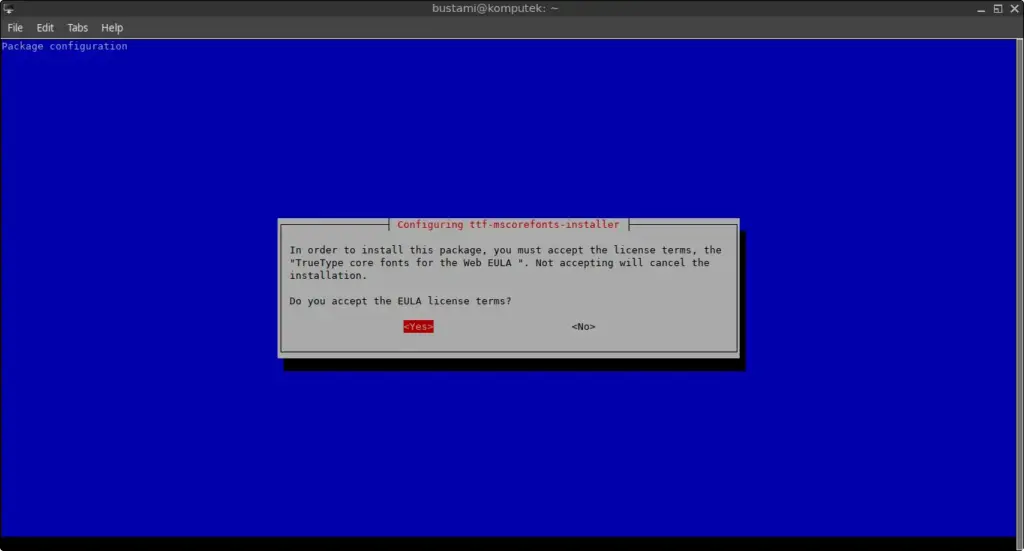
In the next screen, you will be asked whether you accept the EULA. Press Tab again until Yes is highlighted in red, then press Enter.
Step 6: Reload the Menu
Once installation is complete, reload the menu so ONLYOFFICE Desktop Editors appears:
- Click the Menu button in the lower-left corner
- Click Reload menu
Launching ONLYOFFICE Desktop Editors
To launch ONLYOFFICE Desktop Editors:
- Click the Menu button in the lower-left corner
- Navigate to the Office category
- Click ONLYOFFICE
How to Uninstall ONLYOFFICE Desktop Editors on FunOS
If you decide to remove ONLYOFFICE Desktop Editors from your system, follow the steps below.
Step 1: Open a Terminal
Use any of the methods listed earlier to open the Terminal.
Step 2: Remove ONLYOFFICE Desktop Editors
Use the following command to remove the application and its configuration files:
sudo apt remove --purge onlyoffice-desktopeditorsStep 3: Remove Any Unused Dependencies
Clean up any packages that are no longer needed:
sudo apt autoremove --purgeStep 4: Remove the Repository and Key (Optional)
If you no longer want to keep the ONLYOFFICE repository and GPG key, remove them with:
sudo rm -f /etc/apt/sources.list.d/onlyoffice.list
sudo rm -f /usr/share/keyrings/onlyoffice.gpg
Step 5: Update the Package List
Update your package list again to reflect the removal of the repository:
sudo apt updateStep 6: Remove User Data (Optional)
To completely delete all user-specific ONLYOFFICE settings and data, run:
rm -rf $HOME/.config/onlyoffice
rm -rf $HOME/.local/share/onlyoffice
Step 7: Reload the Menu
As a final step, reload the menu:
- Click the Menu button in the lower-left corner
- Click Reload menu
Conclusion
ONLYOFFICE Desktop Editors is a robust and user-friendly office suite that brings excellent compatibility with Microsoft Office formats to FunOS. Whether you’re editing documents, creating presentations, or managing spreadsheets, ONLYOFFICE provides a powerful set of tools that can be used offline and integrated with cloud services if needed. With this guide, installing and removing ONLYOFFICE Desktop Editors on FunOS is a straightforward process.
Leave a Reply