Proton VPN is a powerful, privacy-focused VPN service developed by the team behind Proton Mail. With strong encryption, a strict no-logs policy, and secure servers based in privacy-friendly countries like Switzerland and Iceland, Proton VPN is a great option for users who value security and anonymity online. Although the Proton VPN app officially supports only Ubuntu LTS with the GNOME desktop environment, it also works well on FunOS, which is based on Ubuntu. This article will guide you step by step through the process of installing Proton VPN on FunOS.
What is Proton VPN?
Proton VPN is a secure, open-source virtual private network service that encrypts your internet connection and hides your IP address to ensure your online privacy. It was created by Proton AG, the same organization that developed Proton Mail, and is headquartered in Switzerland—a country known for its strong privacy protections.
Key Features:
- No-logs policy – Proton VPN does not track or store your browsing activity.
- Strong encryption – Utilizes AES-256 encryption and secure VPN protocols.
- Secure Core – Routes traffic through privacy-friendly servers for added security.
- Free plan available – Includes unlimited data on a limited number of servers.
- Open-source – The client apps are open-source and independently audited.
- Cross-platform – Available for Linux, Windows, macOS, iOS, and Android.
Whether you want to bypass censorship, access geo-restricted content, or simply keep your data secure on public Wi-Fi, Proton VPN is an excellent choice.
How to Install Proton VPN on FunOS
Work on: 22.04.5 ✅ | 24.04.4 ✅ | 25.04 ✅ | 25.10 ✅ | 26.04 ✅
Follow the steps below to install the official Proton VPN app on FunOS using the terminal.
Step 1: Open a Terminal
You can open the terminal in three ways:
- Click the Menu in the lower-left corner of the screen, then click Terminal.
- Click the Terminal icon in the Tray.
- Press Ctrl + Alt + T on your keyboard.
Step 2: Add the GPG Key and Repository
First, download the Proton VPN repository package:
wget https://repo.protonvpn.com/debian/dists/stable/main/binary-all/protonvpn-stable-release_1.0.8_all.debThen, update your package list and install the repository:
sudo apt update
sudo apt install ./protonvpn-stable-release_1.0.8_all.deb
Step 3: Update the Package List Again
Now update your package list to include the new Proton VPN repository:
sudo apt updateStep 4: Install Proton VPN
Install the Proton VPN desktop application:
sudo apt install proton-vpn-gnome-desktopThis will install the full Proton VPN app along with its required dependencies.
Step 5: Install Application Indicators (for Tray Icon Support)
To enable tray icon functionality in FunOS (which does not use GNOME), you may still need additional libraries:
sudo apt install libayatana-appindicator3-1 gir1.2-ayatanaappindicator3-0.1These packages help display tray icons in lightweight desktop environments like JWM.
Step 6: Remove the Downloaded .deb File
You can safely delete the downloaded installer file:
rm -f protonvpn-stable-release_1.0.8_all.debStep 7: Reload the Menu
After installing new applications, you need to refresh the JWM menu:
- Click the Menu button in the lower-left corner.
- Click Reload menu.
Launching Proton VPN
To launch Proton VPN:
- Click the Menu button in the lower-left corner.
- Navigate to the Internet category.
- Click Proton VPN.
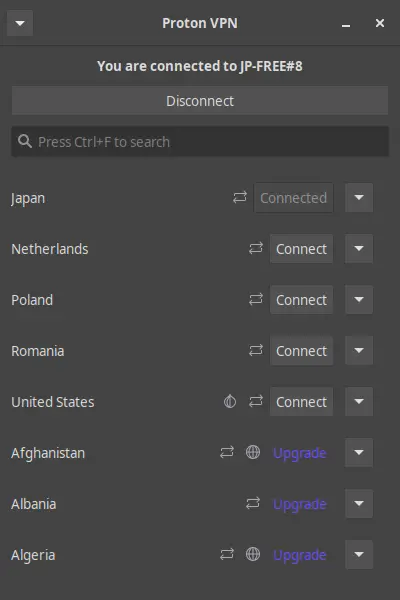
You can now log in with your Proton account and connect to secure VPN servers.
How to Uninstall Proton VPN on FunOS
If you no longer need Proton VPN, you can remove it completely using the steps below.
Step 1: Open a Terminal
Open a terminal using any of the methods mentioned above.
Step 2: Remove Proton VPN
Remove the main application:
sudo apt remove --purge proton-vpn-gnome-desktopStep 3: Remove the Repository and Key (Optional)
Remove the Proton VPN repository package:
sudo apt remove --purge protonvpn-stable-releaseStep 4: Remove Any Unused Dependencies
Clean up any packages that were automatically installed and are no longer needed:
sudo apt autoremove --purgeStep 5: Update the Package List
Update your package index to reflect the removal:
sudo apt updateStep 6: Remove User Data (Optional)
Delete user-specific cache and configuration files:
rm -rf $HOME/.cache/Proton
rm -rf $HOME/.config/Proton
Step 7: Reload the Menu
After uninstalling the application, refresh the menu:
- Click the Menu button in the lower-left corner.
- Click Reload menu.
Conclusion
Installing Proton VPN on FunOS is straightforward and only takes a few minutes using the terminal. While the application is designed for Ubuntu with the GNOME desktop, it works well on FunOS with some adjustments. After completing the steps above, you’ll be able to enjoy a secure, private, and encrypted internet connection using one of the most trusted VPN services available today.