FunOS provides access to a wide range of multimedia applications through its package manager, making it easy for users to install the tools they need. One of the most popular free and open-source video editors available is Shotcut. Whether you’re editing simple clips or creating professional-quality projects, Shotcut is a powerful tool that runs smoothly on FunOS. This guide will walk you through the steps of installing, launching, and uninstalling Shotcut on FunOS.
What is Shotcut?
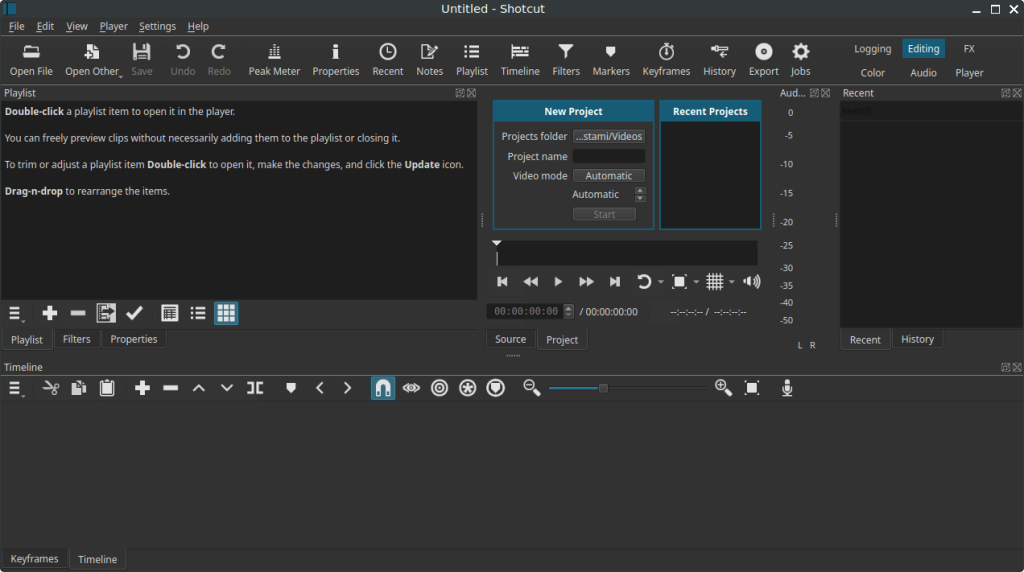
Shotcut is a free, open-source, cross-platform video editor developed by Meltytech. It supports a wide variety of audio, video, and image formats thanks to FFmpeg, which is integrated by default. Shotcut comes with a modern, intuitive interface and offers features such as:
- Wide format support (thanks to FFmpeg integration).
- Native timeline editing with drag-and-drop support.
- Advanced audio and video filters.
- Hardware acceleration options for faster rendering.
- Cross-platform availability (Linux, Windows, macOS).
Because it is lightweight yet powerful, Shotcut is suitable for both beginners who need basic video editing and advanced users who want more control over their projects.
How to Install Shotcut on FunOS
Work on: 22.04.5 ✅ | 24.04.4 ✅ | 25.10 ✅ | 26.04 ✅
Step 1: Open a Terminal
There are several ways to open the terminal in FunOS:
- Click Menu in the lower-left corner of the screen, then click Terminal.
- Click the Terminal icon in the Tray.
- Press Ctrl + Alt + T on your keyboard.
Step 2: Update the Package List
Before installing new software, it’s a good idea to update your package list to ensure you get the latest available version:
sudo apt updateStep 3: Install Shotcut
Now, install Shotcut with the following command:
sudo apt install shotcutStep 4: Reload the Menu
Note: Starting with FunOS 24.04.4 LTS (Build 20260618) and FunOS 26.04 LTS (Build 20260618), the menu updates automatically, so you can skip this step.
After installation, you need to refresh the JWM menu so that Shotcut appears:
- Click the Menu button in the lower-left corner.
- Select Reload menu.
Launching Shotcut
Once installed, you can open Shotcut by:
- Clicking the Menu button in the lower-left corner.
- Navigating to the Multimedia category.
- Clicking Shotcut.
How to Uninstall Shotcut on FunOS
If you no longer need Shotcut, you can completely remove it from your system by following these steps:
Step 1: Open a Terminal
Open the terminal using one of the methods described earlier.
Step 2: Remove Shotcut
Run the following command to remove Shotcut:
sudo apt remove --purge shotcutStep 3: Remove Any Unused Dependencies
To clean up unnecessary packages that were installed with Shotcut, run:
sudo apt autoremove --purgeStep 4: Remove User Data (Optional)
If you want to delete all Shotcut-related configuration files and cached data from your home directory, use:
rm -rf $HOME/.cache/Meltytech
rm -rf $HOME/.config/Meltytech
rm -rf $HOME/.local/share/Meltytech
Step 5: Reload the Menu
Note: Starting with FunOS 24.04.4 LTS (Build 20260618) and FunOS 26.04 LTS (Build 20260618), the menu updates automatically, so you can skip this step.
Finally, refresh the JWM menu so that Shotcut no longer appears:
- Click the Menu button in the lower-left corner.
- Select Reload menu.
Conclusion
Installing and using Shotcut on FunOS is straightforward thanks to its availability in the default repositories. With just a few terminal commands, you can set up a powerful video editor ready to handle projects of any complexity. Should you no longer need it, uninstalling Shotcut is equally simple, and you can even remove all user data to keep your system clean.
Shotcut is a great choice for FunOS users who want a reliable, open-source video editing solution that balances performance with a rich feature set.