Thunderbird is one of the most popular and trusted open-source email clients in the world. Whether you use email for personal or professional communication, Thunderbird provides a simple, secure, and customizable way to manage multiple email accounts. In this guide, you’ll learn how to install Thunderbird on FunOS, how to launch it, and how to remove it completely if you ever need to.
What is Thunderbird?
Thunderbird is a free and open-source email application developed by the Mozilla Foundation — the same organization behind Firefox.
It offers features such as:
- Support for multiple email accounts (IMAP, POP3, and SMTP)
- Message encryption and digital signing
- Smart folders, filters, and tags
- Built-in calendar and task management (via Lightning)
- Add-ons and themes for customization
- Cross-platform support for Linux, macOS, and Windows
Thunderbird is known for its stability, flexibility, and respect for user privacy, making it a great choice for both home and business users.
How to Install Thunderbird on FunOS
Installing Thunderbird on FunOS is simple. Since FunOS is based on Ubuntu, you can use the same APT commands as on Ubuntu.
Step 1: Open a Terminal
There are three ways to open the Terminal in FunOS:
- Click Menu in the lower-left corner of the screen, then click Terminal
- Click the Terminal icon in the Tray
- Press Ctrl + Alt + T on your keyboard
Step 2: Add the Mozilla Team PPA (if needed)
The Mozilla Team PPA is already added by default in FunOS.
However, if it was accidentally removed, you can re-add it with this command:
sudo add-apt-repository ppa:mozillateam/ppaThis PPA ensures that you always get the latest stable version of Thunderbird and Firefox directly from Mozilla’s official Ubuntu repository.
Step 3: Configure APT to Prioritize Mozilla Team Packages
To make sure your system always installs Thunderbird and Firefox from the Mozilla Team PPA instead of Ubuntu’s default repository, run this command:
echo '
Package: *
Pin: release o=LP-PPA-mozillateam
Pin-Priority: 1001
' | sudo tee /etc/apt/preferences.d/mozillateam
This gives Mozilla Team packages the highest installation priority.
Step 4: Update the Package List
Update the APT package index to ensure your system recognizes the latest available versions:
sudo apt updateStep 5: Install Thunderbird
Now, install Thunderbird by running:
sudo apt install thunderbirdAPT will automatically download and install Thunderbird along with its required dependencies.
Step 6: Reload the Menu
After installation, reload the menu so that Thunderbird appears in the application list:
- Click the Menu button in the lower-left corner.
- Click Reload menu.
Launching Thunderbird
Once installed, you can start Thunderbird in one of the following ways:
- Click Menu → Internet → Thunderbird Mail
- Or, open the Terminal and type:
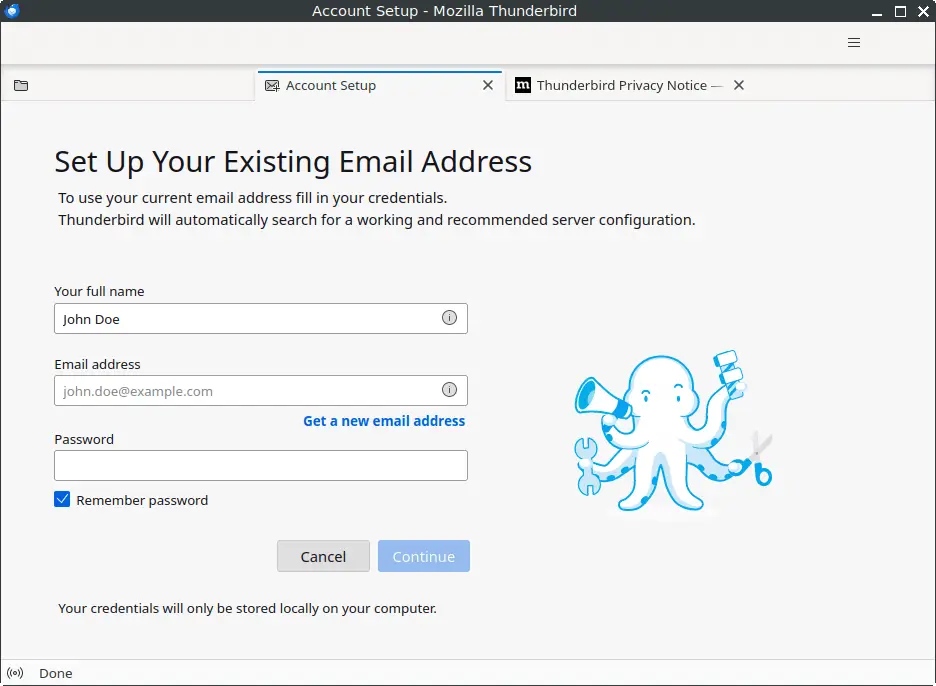
thunderbird &When you first launch Thunderbird, you’ll be guided through an easy setup wizard to add your email account(s). Simply enter your name, email address, and password, and Thunderbird will automatically detect your server settings for most major email providers.
How to Uninstall Thunderbird on FunOS
If you decide to remove Thunderbird, follow these steps to cleanly uninstall it.
Note: The Mozilla Team PPA should not be removed, as it is also used for Firefox ESR — which is installed by default in FunOS.
Step 1: Open a Terminal
Open a Terminal using one of the methods mentioned earlier.
Step 2: Remove Thunderbird
Run the following command to remove Thunderbird and its configuration files:
sudo apt remove --purge thunderbirdStep 3: Remove Any Unused Dependencies
Clean up any packages that were automatically installed but are no longer needed:
sudo apt autoremove --purgeStep 4: Remove the Mozilla Team Preferences File
If you no longer want to prioritize packages from the Mozilla Team PPA, remove the preferences file:
sudo rm -f /etc/apt/preferences.d/mozillateamStep 5: Remove User Data (Optional)
If you want to completely remove all Thunderbird user data and cache, use the following commands:
rm -rf $HOME/.thunderbird
rm -rf $HOME/.cache/thunderbird
Warning: This will permanently delete all your Thunderbird profiles, settings, and stored emails.
Step 6: Reload the Menu
After uninstalling, reload the menu to remove Thunderbird from the application list:
- Click the Menu button in the lower-left corner.
- Click Reload menu.
Conclusion
Thunderbird is a reliable, open-source email client that integrates perfectly with FunOS. Whether you’re managing multiple email accounts, organizing messages with filters, or adding calendar functionality, Thunderbird provides a powerful and customizable communication platform.
If you ever decide to remove it, FunOS makes it just as easy to uninstall and clean up.
With this guide, you can confidently install, configure, and manage Thunderbird on your FunOS system.
Leave a Reply