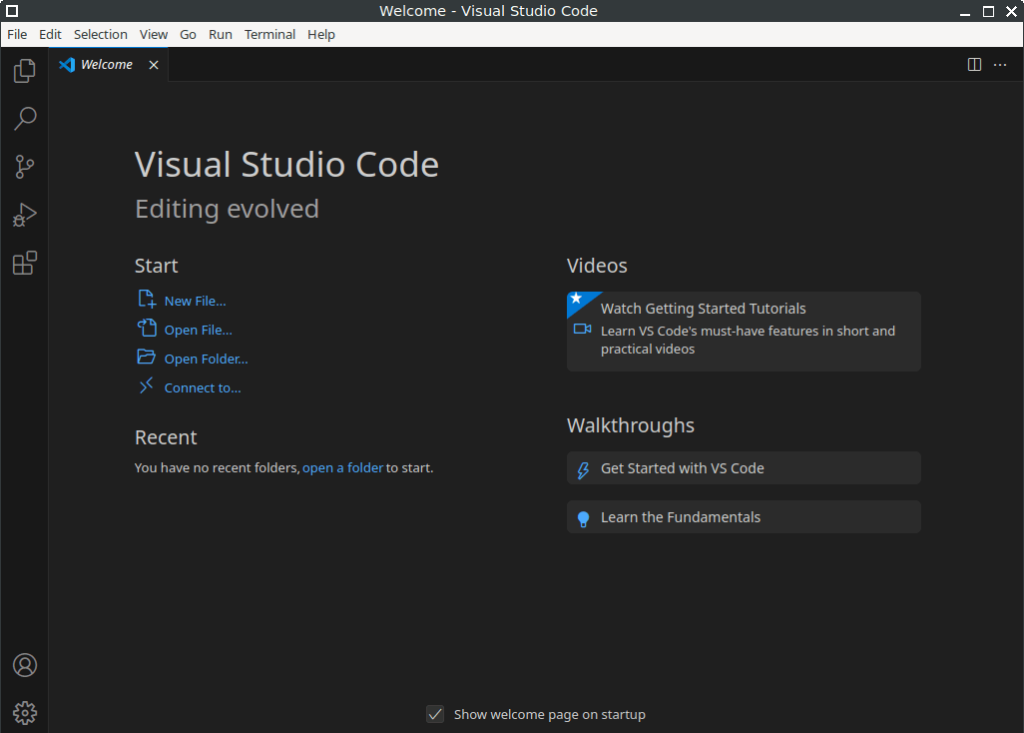
If you’re looking for a powerful, modern, and customizable code editor, Visual Studio Code (VS Code) is one of the best choices available. Whether you’re a web developer, system administrator, or software engineer, VS Code offers robust features such as IntelliSense, debugging, integrated Git control, and thousands of extensions. In this article, we’ll guide you step-by-step on how to install and uninstall Visual Studio Code on FunOS, a lightweight and fast Linux distribution based on Ubuntu LTS.
What is Visual Studio Code?
Visual Studio Code is a free, open-source, cross-platform code editor developed by Microsoft. It is designed to be lightweight yet powerful, offering support for a wide range of programming languages such as JavaScript, Python, C++, Go, Rust, and more.
Key features of Visual Studio Code include:
- IntelliSense: Smart code completion based on variable types, function definitions, and imported modules.
- Built-in Debugger: A powerful debugging tool that supports breakpoints, call stacks, watch expressions, and interactive consoles.
- Version Control: Integrated Git and support for other SCM providers.
- Extensibility: Thousands of extensions available for language support, theming, linters, Docker, Kubernetes, remote development, and more.
- Cross-platform: Runs on Linux, Windows, and macOS.
It is widely used by developers around the world due to its speed, flexibility, and deep integration with cloud services and developer tools.

How to Install Visual Studio Code on FunOS
Work on: 22.04.5 ✅ | 24.04.3 ✅ | 25.04 ✅ | 25.10 ✅ | 26.04 ✅
Follow these steps to install Visual Studio Code on FunOS:
Step 1: Open a Terminal
You can open the Terminal in one of the following ways:
- Click Menu in the lower-left corner of the screen, then click Terminal
- Click the Terminal icon in the Tray
- Press Ctrl + Alt + T on your keyboard
Step 2: Update the Package List
To ensure your system has the latest package list, run:
sudo apt updateStep 3: Install the Necessary Dependencies
Before adding external repositories, install the required packages:
sudo apt install apt-transport-httpsStep 4: Add the Microsoft GPG Key
Run the following commands to download and install the GPG key for the Microsoft repository:
wget -qO- https://packages.microsoft.com/keys/microsoft.asc | gpg --dearmor > microsoft.gpg
sudo install -D -o root -g root -m 644 microsoft.gpg /usr/share/keyrings/microsoft.gpg
rm -f microsoft.gpg
Step 5: Add the Visual Studio Code Repository
Add the official Microsoft VS Code repository.
Run:
sudo mousepad /etc/apt/sources.list.d/vscode.sourcesPaste the following into the file:
Types: deb
URIs: https://packages.microsoft.com/repos/code
Suites: stable
Components: main
Architectures: amd64,arm64,armhf
Signed-By: /usr/share/keyrings/microsoft.gpg
Save and close Mousepad.
Step 6: Update the Package List Again
Now that the repository has been added, update the package list:
sudo apt updateStep 7: Install Visual Studio Code
Install Visual Studio Code using the following command:
sudo apt install codeStep 8: Reload the Menu
To make sure Visual Studio Code appears in the FunOS menu:
- Click the Menu button in the lower-left corner
- Click Reload menu
Launching Visual Studio Code
After installation, you can launch Visual Studio Code from the FunOS menu:
- Click the Menu button in the lower-left corner
- Navigate to the Development section
- Click Visual Studio Code
You can also launch it via the Terminal by typing:
codeHow to Uninstall Visual Studio Code on FunOS
If you decide to remove Visual Studio Code from your system, follow these steps:
Step 1: Open a Terminal
Open the Terminal using one of the methods mentioned earlier.
Step 2: Remove Visual Studio Code
Run the following command to uninstall the application:
sudo apt remove --purge codeStep 3: Remove Any Unused Dependencies
To clean up additional packages that are no longer needed:
sudo apt autoremove --purgeStep 4: Remove the Repository and GPG Key (Optional)
If you no longer wish to keep the repository and key, remove them:
sudo rm -f /etc/apt/sources.list.d/vscode.sources
sudo rm -f /usr/share/keyrings/microsoft.gpg
Step 5: Update the Package List
Refresh your system’s package list:
sudo apt updateStep 6: Remove User Data (Optional)
To completely remove user-specific configuration and data:
rm -rf $HOME/.config/Code
rm -rf $HOME/.vscode
Step 7: Reload the Menu
- Click the Menu button in the lower-left corner
- Click Reload menu
Conclusion
Visual Studio Code is an excellent choice for coding on FunOS, thanks to its speed, features, and broad language support. By following the simple steps above, you can quickly install and start using this powerful editor on your system. And if you ever need to remove it, the uninstallation process is just as straightforward.

Leave a Reply