If you need a powerful image editing tool on FunOS, GIMP (GNU Image Manipulation Program) is one of the best options available. It’s a free and open-source alternative to professional image editing software, making it an excellent choice for designers, photographers, and anyone who needs to edit or manipulate images. Since FunOS is based on Ubuntu, installing GIMP is simple and straightforward using the APT package manager.
In this guide, you will learn what GIMP is, how to install it on FunOS, how to launch it, and how to completely uninstall it if needed.
What is GIMP?
GIMP (GNU Image Manipulation Program) is a free and open-source raster graphics editor. It is often compared to Adobe Photoshop because it offers a wide range of tools for:
- Photo retouching – Correct colors, fix imperfections, and enhance image quality.
- Image composition – Combine multiple images and elements into a single design.
- Graphic design – Create icons, UI elements, digital art, and more.
- File format support – Open and export images in popular formats like PNG, JPEG, TIFF, PSD, and many others.
- Customizability – Extend its features using plugins and scripts.
GIMP is cross-platform, works on Linux, Windows, and macOS, and is widely supported by the open-source community. For FunOS users, it’s available directly from the official repository, making installation seamless.
How to Install GIMP on FunOS
Work on: 22.04.5 ✅ | 24.04.4 ✅ | 25.10 ✅ | 26.04 ✅
Step 1: Open a Terminal
You can open the Terminal in three different ways:
- Click Menu in the lower-left corner of the screen, then click Terminal.
- Click the Terminal icon in the Tray.
- Press Ctrl + Alt + T on your keyboard.
Step 2: Update the Package List
Before installing any software, it’s a good practice to update your package list to ensure you get the latest available version from the repository:
sudo apt updateStep 3: Install GIMP
Run the following command to install GIMP:
sudo apt install gimpAPT will automatically download and install GIMP along with its required dependencies.
Step 4: Reload the Menu
Note: Starting with FunOS 24.04.4 LTS (Build 20260618) and FunOS 26.04 LTS (Build 20260618), the menu updates automatically, so you can skip this step.
In FunOS, newly installed applications may not appear in the menu until you refresh it. To do this:
- Click the Menu button in the lower-left corner.
- Click Reload menu.
Now, GIMP will be added to your application menu.
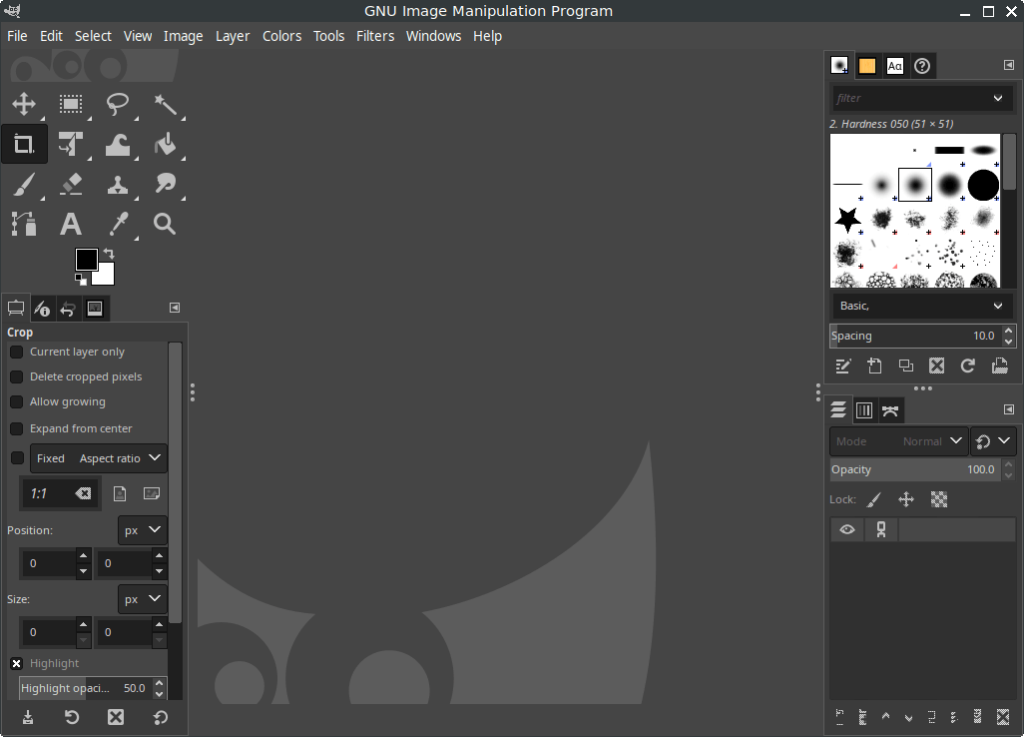
Launching GIMP
After installation, you can launch GIMP by:
- Clicking the Menu button in the lower-left corner.
- Navigating to the Graphics category.
- Clicking GNU Image Manipulation Program.
Alternatively, you can type:
gimpin the Terminal to start it.
How to Uninstall GIMP on FunOS
If you no longer need GIMP, you can uninstall it completely by following these steps:
Step 1: Open a Terminal
Use one of the methods mentioned earlier to open the Terminal.
Step 2: Remove GIMP
To remove the main GIMP package, run:
sudo apt remove --purge gimpStep 3: Remove Any Unused Dependencies
APT may leave behind unused dependencies. Clean them up with:
sudo apt autoremove --purgeStep 4: Remove User Data (Optional)
If you want to delete all user configuration and cache files related to GIMP, run:
rm -rf $HOME/.config/GIMP
rm -rf $HOME/.cache/gimp
rm -rf $HOME/.cache/gegl-*
This step is optional. Skip it if you plan to reinstall GIMP in the future and want to keep your settings.
Step 5: Reload the Menu
Note: Starting with FunOS 24.04.4 LTS (Build 20260618) and FunOS 26.04 LTS (Build 20260618), the menu updates automatically, so you can skip this step.
Just like after installation, you should refresh the menu:
- Click the Menu button in the lower-left corner.
- Click Reload menu.
This ensures that GIMP is removed from your application list.
Conclusion
GIMP is one of the most versatile and widely used image editing applications available for Linux. On FunOS, installing it is quick and easy thanks to the Ubuntu-based repositories. Whether you’re editing photos, creating digital artwork, or designing graphics, GIMP provides all the tools you need—completely free and open source.
If you ever decide you don’t need it anymore, uninstalling GIMP and cleaning up its files is just as simple.
With this guide, you now have full control over installing, using, and removing GIMP on FunOS.