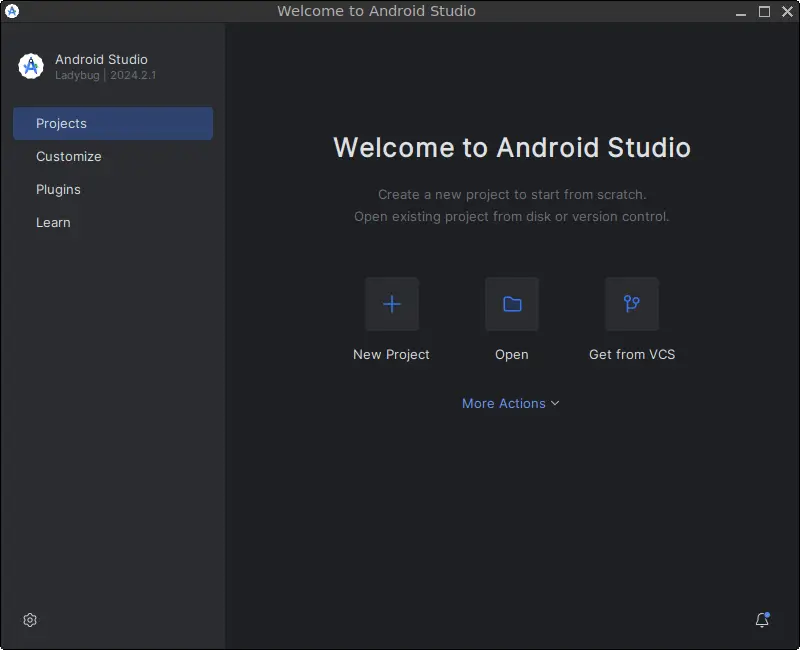
In this article, we’ll guide you step-by-step through the process of installing Android Studio on FunOS, setting up the necessary libraries, and handling any specific requirements for different versions of FunOS. Additionally, you’ll learn how to uninstall Android Studio when it’s no longer needed. Follow along for an in-depth explanation of each method.
What is Android Studio?
Android Studio is the official Integrated Development Environment (IDE) for Android development. Built on JetBrains’ IntelliJ IDEA software, Android Studio provides the tools needed to build, test, and debug Android apps. With its robust features like code completion, layout preview, and debugging tools, it’s an essential tool for Android developers.

Prerequisite: Installing OpenJDK
Before installing Android Studio, it’s important to ensure that OpenJDK is installed on your system. OpenJDK is a free and open-source implementation of the Java Platform, which is a requirement for Android Studio.
To install OpenJDK on FunOS, please refer to the detailed tutorial: How to Install OpenJDK on FunOS.
How to Install Android Studio on FunOS
Step 1: Open a Terminal
You can open the terminal using one of the following methods:
- Click Menu in the lower-left corner of the screen, then click Terminal.
- Click the Terminal icon in the Tray.
- Use the keyboard shortcut
Ctrl + Alt + T.
Step 2: Enable 32-bit Architecture
For compatibility with Android Studio, you need to enable 32-bit architecture. Run the following command:
sudo dpkg --add-architecture i386Step 3: Update the Package List
To make sure your package lists are up-to-date, run:
sudo apt updateStep 4: Install Required 32-bit Libraries
Depending on your version of FunOS, the process differs slightly.
For FunOS 22.04:
Install libtinfo5:i386 and libncurses5:i386:
sudo apt install libtinfo5:i386 libncurses5:i386For FunOS 24.04, 24.10, and 25.04:
Some required libraries are not available in the default repositories. You’ll need to download them manually.
- Download and install
libtinfo5:i386:
wget http://security.ubuntu.com/ubuntu/pool/universe/n/ncurses/libtinfo5_6.3-2ubuntu0.1_i386.deb
sudo apt install ./libtinfo5_6.3-2ubuntu0.1_i386.deb
rm -f libtinfo5_6.3-2ubuntu0.1_i386.deb- Download and install
libncurses5:i386:
wget http://security.ubuntu.com/ubuntu/pool/universe/n/ncurses/libncurses5_6.3-2ubuntu0.1_i386.deb
sudo apt install ./libncurses5_6.3-2ubuntu0.1_i386.deb
rm -f libncurses5_6.3-2ubuntu0.1_i386.deb
Finally, install additional required libraries for all FunOS versions:
sudo apt install libc6:i386 libstdc++6:i386 lib32z1 libbz2-1.0:i386Step 5: Add the Android Studio PPA
You’ll now add the PPA maintained by Maarten Fonville, which contains Android Studio packages.
Run the following command:
sudo add-apt-repository ppa:maarten-fonville/android-studioStep 6: Update the Package List
After adding the PPA, update the package list again:
sudo apt updateStep 7: Install Git
sudo apt install gitStep 8: Install Android Studio
With everything ready, install Android Studio with the following command:
sudo apt install android-studioStep 9: Reload the Menu
Once the installation is complete, reload the FunOS menu to ensure that Android Studio appears.
- Click the Menu button in the lower-left corner.
- Select Reload menu.
Launching Android Studio
To launch Android Studio:
- Click the Menu button in the lower-left corner.
- Look in the Development section for Android Studio.
How to Uninstall Android Studio on FunOS
If you no longer need Android Studio, follow these steps to remove it completely from FunOS.
Step 1: Open a Terminal
You can open a terminal using one of the previously mentioned methods.
Step 2: Remove Android Studio
To remove Android Studio, run the following command:
sudo apt remove --purge android-studioStep 3: Remove Git (Optional)
sudo apt remove --purge gitStep 4: Remove Any Unused Dependencies
To clean up any unused dependencies, run:
sudo apt autoremove --purgeStep 5: Remove Unused 32-bit Libraries (Optional)
If you don’t plan on using 32-bit libraries, you can remove them as well:
sudo apt remove --purge libtinfo5:i386 libncurses5:i386 libstdc++6:i386 lib32z1 libbz2-1.0:i386
sudo apt autoremove --purge
Step 6: Remove the Android Studio PPA (Optional)
If you no longer need the Android Studio PPA, you can remove it using:
sudo add-apt-repository --remove ppa:maarten-fonville/android-studioStep 7: Update the Package List
To ensure your system is clean, update the package list again:
sudo apt updateStep 8: Remove User Data (Optional)
To remove all Android Studio-related data, including user settings and projects, run the following commands:
rm -rf $HOME/.android
rm -rf $HOME/.cache/Google
rm -rf $HOME/.config/Google
rm -rf $HOME/.java
rm -rf $HOME/Android
rm -rf $HOME/AndroidStudioProjects
Step 9: Reload the Menu
Finally, reload the menu to reflect the changes:
- Click the Menu button in the lower-left corner.
- Select Reload menu.
Conclusion
This guide has walked you through the complete process of installing and uninstalling Android Studio on FunOS, along with setting up the required 32-bit libraries. Android Studio provides a powerful development environment for Android apps, and following these steps will ensure that it’s properly configured on your FunOS system.

Leave a Reply