Android Studio is the official integrated development environment (IDE) for Android application development, created by Google. It provides everything needed to build Android applications, including a code editor, visual layout editor, emulator, debugger, Gradle build system integration, and SDK management tools.
On FunOS, Android Studio can be installed using a PPA repository, making the installation process straightforward and easy to maintain through the package manager. This tutorial explains the complete installation process, including enabling hardware virtualization for improved Android Emulator performance.
What is Android Studio?
Android Studio is a professional IDE designed specifically for Android development. It is based on IntelliJ IDEA and includes many tools tailored for Android application creation.
Some features of Android Studio include:
- Intelligent code editor with auto-completion
- Android Emulator for testing applications
- Visual layout editor
- APK analysis tools
- Git integration
- Gradle-based build system
- Performance profiling tools
- Support for Kotlin, Java, and C++
Android Studio is widely used by Android developers for creating applications for smartphones, tablets, TVs, wearables, and other Android-powered devices.
Prerequisites: Enable Hardware Virtualization (Recommended)
Running the Android Emulator without hardware acceleration can be very slow. Enabling hardware virtualization allows the emulator to use KVM acceleration, resulting in significantly better performance.
This section is highly recommended if you plan to use the Android Emulator.
Step 1: Enable Virtualization in BIOS/UEFI
First, make sure virtualization technology is enabled in your BIOS/UEFI settings.
Depending on your processor, the setting may be called:
- Intel VT-x
- Intel Virtualization Technology
- AMD-V
- SVM Mode
To access the BIOS/UEFI settings:
- Restart your computer.
- During startup, press the BIOS/UEFI key repeatedly.
- Common keys include:
- F2
- F10
- Delete
- Esc
After entering the BIOS/UEFI settings:
- Look for CPU, Advanced, Security, or Virtualization settings.
- Enable virtualization.
- Save the settings and restart the computer.
Step 2: Verify Hardware Virtualization Support
After rebooting into FunOS, verify that your CPU supports virtualization.
First, open Terminal then run the following command to update the package list and install the cpu-checker package:
sudo apt update
sudo apt install cpu-checker
Then execute:
egrep -c '(vmx|svm)' /proc/cpuinfoIf the output is:
1or greater → virtualization is supported0→ your CPU does not support hardware virtualization
Alternatively, you may run:
sudo kvm-okExample output:
INFO: /dev/kvm exists
KVM acceleration can be used
If you see this message instead:
INFO: Your CPU does not support KVM extensions
KVM acceleration can NOT be used
you can still run virtual machines and the Android Emulator, but performance will be much slower.
Step 3: Install KVM for Hardware Acceleration
Install the required KVM and virtualization packages:
sudo apt install qemu-system-x86 libvirt-daemon-system libvirt-clients bridge-utilsThese packages provide virtualization support and allow the Android Emulator to use hardware acceleration.
Step 4: Enable libvirtd
Enable and start the libvirtd service:
sudo systemctl enable --now libvirtdThis command ensures the virtualization service starts automatically during boot.
Step 5: Add Users to Groups
Add your user account to the required groups:
sudo adduser $USER libvirt
sudo adduser $USER kvm
newgrp libvirt
After doing this, logging out and logging back in is recommended to ensure the group changes are fully applied.
How to Install Android Studio on FunOS
Work on: 22.04.5 ✅ | 24.04.4 ✅ | 25.10 ✅ | 26.04 ✅
Step 1: Open a Terminal
You can open Terminal using one of the following methods:
- Click Menu in the lower-left corner of the screen, then click Terminal
- Click the Terminal icon in the Tray
- Press Ctrl + Alt + T
Step 2: Enable 32-bit Architecture
Enable support for 32-bit packages:
sudo dpkg --add-architecture i386Some Android development tools still require certain 32-bit libraries.
Step 3: Update the Package List
Update the package repository information:
sudo apt updateStep 4: Install Required 32-bit Libraries
For FunOS 22.04
Install the required libraries:
sudo apt install libc6:i386 libncurses5:i386 libstdc++6:i386 lib32z1 libbz2-1.0:i386For FunOS 24.04, 25.10, and 26.04
Newer Ubuntu-based releases no longer include some older compatibility libraries in the standard repositories. Because of that, you must manually install libtinfo5 and libncurses5.
Download and install libtinfo5:
wget http://security.ubuntu.com/ubuntu/pool/universe/n/ncurses/libtinfo5_6.3-2ubuntu0.1_i386.deb
sudo apt install ./libtinfo5_6.3-2ubuntu0.1_i386.deb
rm -f libtinfo5_6.3-2ubuntu0.1_i386.deb
Then download and install libncurses5:
wget http://security.ubuntu.com/ubuntu/pool/universe/n/ncurses/libncurses5_6.3-2ubuntu0.1_i386.deb
sudo apt install ./libncurses5_6.3-2ubuntu0.1_i386.deb
rm -f libncurses5_6.3-2ubuntu0.1_i386.deb
Finally, install the remaining required libraries:
sudo apt install libc6:i386 libstdc++6:i386 lib32z1 libbz2-1.0:i386Step 5: Install Git
Install Git:
sudo apt install gitGit is commonly used for version control in Android development projects.
Step 6: Add the Android Studio PPA
This PPA is maintained by Maarten Fonville.
PPA page: Maarten Fonville Android Studio PPA
Add the repository:
sudo add-apt-repository ppa:maarten-fonville/android-studioPress Enter when prompted.
Step 7: Update the Package List
Update the package list again so FunOS can recognize the newly added repository:
sudo apt updateStep 8: Install Android Studio
Install Android Studio:
sudo apt install android-studioThe installation process may take some time depending on your internet speed.
Step 9: Reload the Menu
Note: Starting with FunOS 24.04.4 LTS (Build 20260618) and FunOS 26.04 LTS (Build 20260618), the menu updates automatically, so you can skip this step.
After installation finishes:
- Click the Menu button in the lower-left corner of the screen.
- Click Reload menu.
This step refreshes the JWM application menu so Android Studio appears correctly.
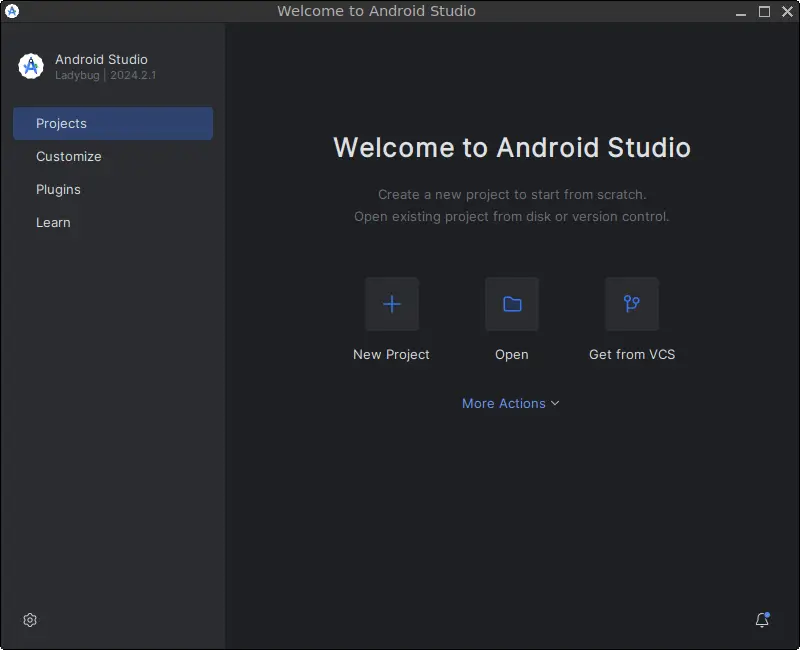
Launching Android Studio
To launch Android Studio:
- Click the Menu button in the lower-left corner.
- Open the Development category.
- Click Android Studio.
When running Android Studio for the first time, you may be asked to:
- Download additional Android SDK components
- Configure the Android SDK location
- Install the Android Emulator
- Install Android platform tools
Follow the on-screen instructions to complete the initial setup.
How to Uninstall Android Studio on FunOS
Step 1: Open a Terminal
Open Terminal using one of the available methods.
Step 2: Remove Android Studio
Remove Android Studio completely:
sudo apt remove --purge android-studioStep 3: Remove Git (Optional)
If you no longer need Git:
sudo apt remove --purge gitStep 4: Remove KVM and Virtualization Packages (Optional)
If you no longer need virtualization support:
sudo apt remove --purge qemu-system-x86 libvirt-daemon-system libvirt-clients bridge-utils cpu-checkerStep 5: Remove Unused 32-bit Libraries (Optional)
Remove the compatibility libraries:
sudo apt remove --purge libtinfo5:i386 libncurses5:i386 libstdc++6:i386 lib32z1 libbz2-1.0:i386
sudo apt remove --allow-remove-essential --purge libc6:i386
Step 6: Remove Any Unused Dependencies
Clean up unnecessary packages:
sudo apt autoremove --purgeStep 7: Remove the Android Studio PPA
Remove the PPA repository:
sudo add-apt-repository --remove ppa:maarten-fonville/android-studioStep 8: Update the Package List
Refresh the package information:
sudo apt updateStep 9: Remove User Data (Optional)
To completely remove Android Studio settings, SDKs, caches, and projects:
rm -rf $HOME/.android
rm -rf $HOME/.cache/Google
rm -rf $HOME/.config/Google
rm -rf $HOME/.config/Android\ Open\ Source\ Project
rm -rf $HOME/.java
rm -rf $HOME/Android
rm -rf $HOME/AndroidStudioProjects
Be careful when executing these commands because they permanently remove Android Studio configuration files and projects.
Step 10: Reload the Menu
Note: Starting with FunOS 24.04.4 LTS (Build 20260618) and FunOS 26.04 LTS (Build 20260618), the menu updates automatically, so you can skip this step.
Finally:
- Click the Menu button in the lower-left corner of the screen.
- Click Reload menu.
Conclusion
Android Studio is a powerful development environment for creating Android applications on FunOS. By enabling hardware virtualization and installing KVM acceleration, the Android Emulator can run much faster and provide a smoother development experience.
Using the PPA repository method also makes it easier to install and manage Android Studio through the APT package manager. Once installed, you can begin creating Android applications using Kotlin or Java directly on FunOS.