Monitoring your system’s hardware information can be important for many reasons—whether you’re troubleshooting a performance issue, checking CPU specs, or simply exploring your system internals. One popular and lightweight tool for this purpose is CPU-X. In this article, we will walk you through the steps to install CPU-X on FunOS, as well as how to launch and uninstall it when needed.
What is CPU-X?
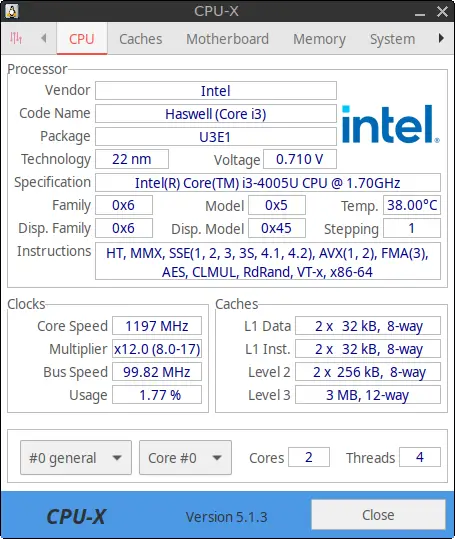
CPU-X is a free and open-source application that gathers information about your system’s CPU, motherboard, RAM, GPU, and other components. It is similar in purpose to CPU-Z on Windows but is designed for Linux and BSD-based systems. CPU-X provides both a graphical user interface (GUI) and a text-based interface (CLI), making it suitable for both desktop users and terminal enthusiasts.
Key features of CPU-X include:
- Displays detailed processor information such as model, cache, and frequency.
- Shows motherboard details including chipset and BIOS version.
- Monitors system temperature, voltage, and fan speeds (when supported).
- Provides real-time updates on clock speeds and usage.
- Supports remote monitoring via a daemon mode.
How to Install CPU-X on FunOS
Work on: 22.04.5 ✅ | 24.04.4 ✅ | 25.10 ✅ | 26.04 ✅
Follow these simple steps to install CPU-X on FunOS:
Step 1: Open a Terminal
You can open the Terminal in any of the following ways:
- Click the Menu button in the bottom-left corner of the screen, then select Terminal.
- Click the Terminal icon in the Tray.
- Use the keyboard shortcut Ctrl + Alt + T.
Step 2: Update the Package List
Before installing new software, it’s a good idea to update your package list to ensure you’re getting the latest version from the repositories.
sudo apt updateStep 3: Install CPU-X
Once the package list is updated, install CPU-X with the following command:
sudo apt install cpu-xThis will download and install CPU-X along with any required dependencies.
Step 4: Reload the Menu
After installation, CPU-X might not immediately appear in the menu. To fix this:
- Click the Menu button in the bottom-left corner.
- Click Reload menu.
This will update the application menu to include newly installed programs.
Launching CPU-X
To launch CPU-X:
- Click the Menu button in the bottom-left corner.
- Navigate to the System category.
- Click on CPU-X.
CPU-X will open and begin displaying real-time hardware information in its GUI interface. If you prefer using the terminal, you can also run:
cpu-x -NThe -N flag launches the application in a text-based user interface (TUI) without requiring root privileges. If you want full access to sensors and other privileged data, run:
sudo cpu-x -N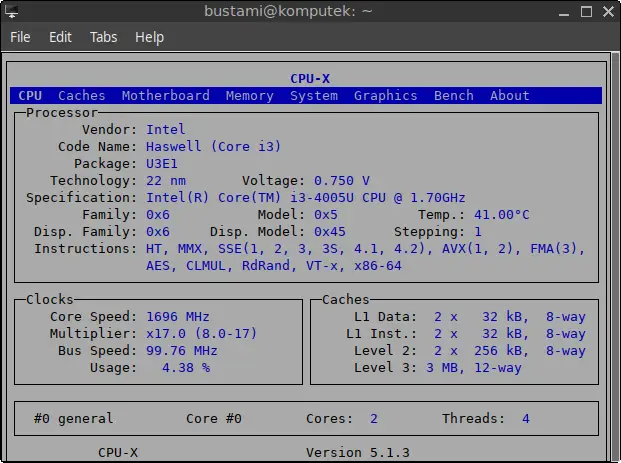
In text-based user interface (TUI) mode:
- To move between tabs, press the tab key on the keyboard.
- To exit, press q.
How to Uninstall CPU-X on FunOS
If you no longer need CPU-X, you can uninstall it with the following steps:
Step 1: Open a Terminal
Refer to Step 1 in the installation section to open a Terminal.
Step 2: Remove CPU-X
To uninstall CPU-X and remove its configuration files:
sudo apt remove --purge cpu-xStep 3: Remove Any Unused Dependencies
Clean up any packages that were installed with CPU-X but are no longer needed:
sudo apt autoremove --purgeStep 4: Reload the Menu
To refresh the application menu and remove the CPU-X entry:
- Click the Menu button in the bottom-left corner.
- Click Reload menu.
Conclusion
CPU-X is a powerful yet lightweight tool that provides detailed information about your system hardware. Installing it on FunOS is straightforward using the terminal and package manager. Whether you’re monitoring system performance or learning more about your PC’s internals, CPU-X is a valuable addition to your toolkit. And if you decide it’s no longer needed, removing it is just as easy. We hope this guide helps you manage your system more effectively on FunOS!