
Installing FunOS in OEM (Original Equipment Manufacturer) mode allows system builders and hardware vendors to pre-install FunOS on computers before shipping them to customers. When the end user turns on the computer for the first time, they will be greeted with a setup wizard to configure their own user account, location, and keyboard settings.
This guide is divided into three parts. Parts 1 and 2 are performed by the manufacturer, while Part 3 is completed by the end user.
Part 1: OEM Install (Run by Manufacturer)
Step 1: Prepare Your Installation Media
Before you begin the installation, you need to create a bootable USB stick with the FunOS ISO file. If you haven’t done this yet, follow our guide on how to create a FunOS bootable USB stick.
Step 2: Boot from the USB Stick
- Insert the USB Stick: Plug the bootable USB stick into your computer.
- Restart Your Computer: Power on your computer and immediately press the key to enter the BIOS/UEFI settings (this key is usually F2, F10, F12, ESC, or DEL, depending on your computer’s manufacturer).
- Change the Boot Order: In the BIOS/UEFI settings, change the boot order to prioritize booting from the USB stick.
- Save and Exit: Save the changes and exit the BIOS/UEFI settings. Your computer will now boot from the USB stick.
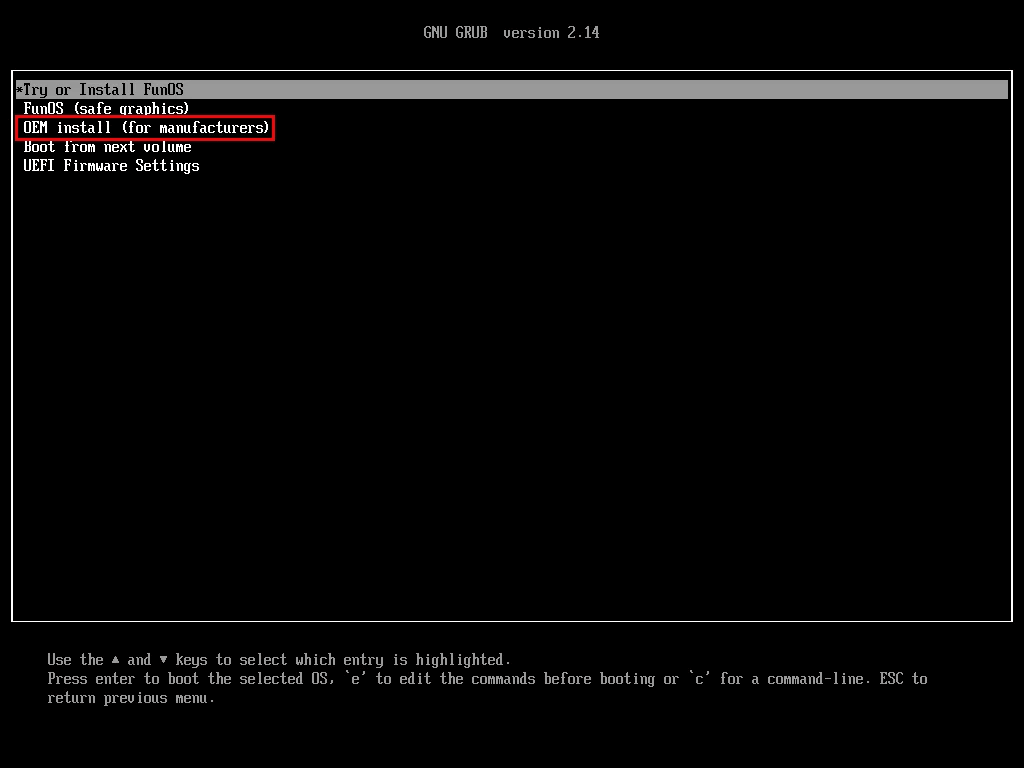
Once your computer boots from the USB stick, you’ll see the FunOS boot menu.
Step 3: Access the OEM Installer
There are two ways to access the FunOS installer in OEM Mode from the live USB.
Option A: Select OEM install (for manufacturers) directly from the GRUB boot menu (as shown above).
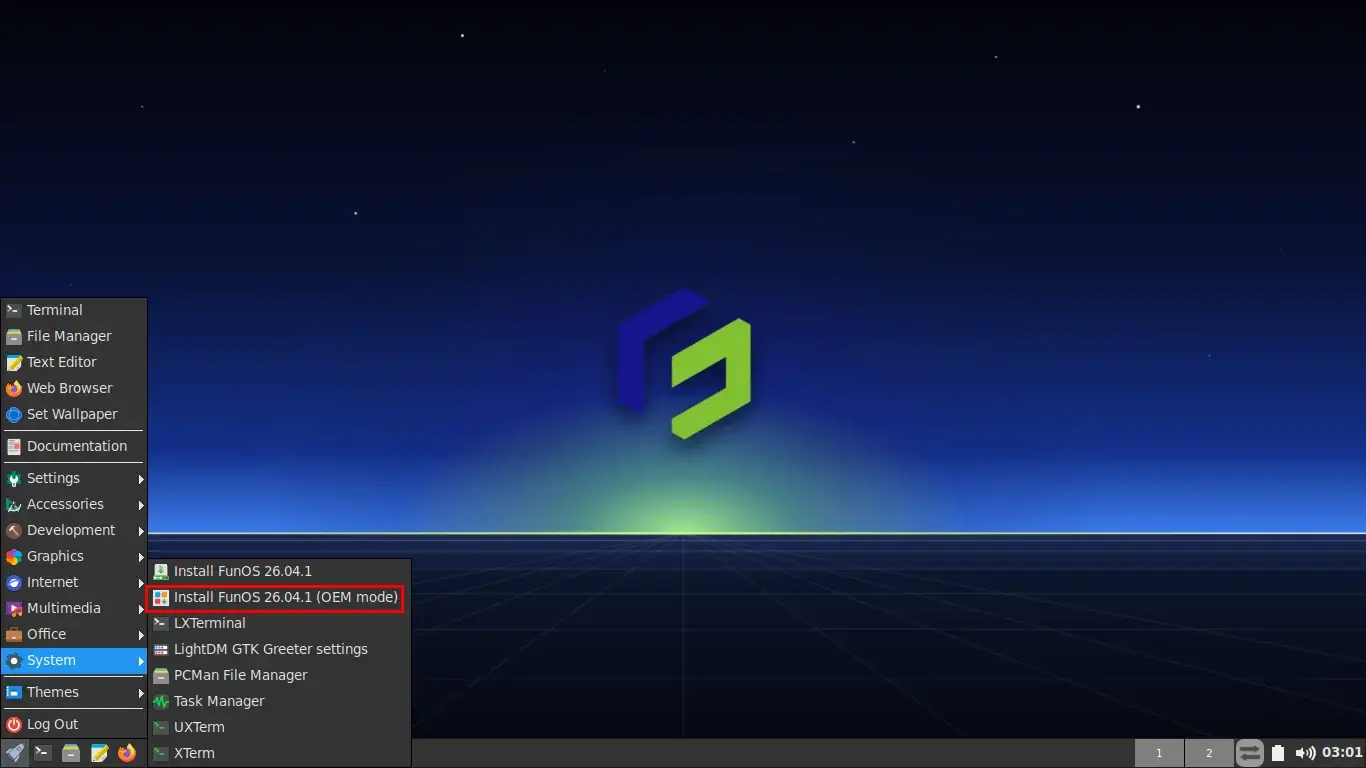
Option B: If you are already in the FunOS live environment, click on the Menu at the bottom left, navigate to System, and select Install FunOS (OEM Mode).
Step 4: Start the OEM Installation
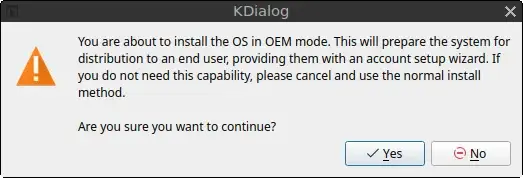
Once you launch the OEM installer, a warning dialog will appear to confirm you are installing in OEM mode. Click Yes to continue.
Step 5: Welcome Screen
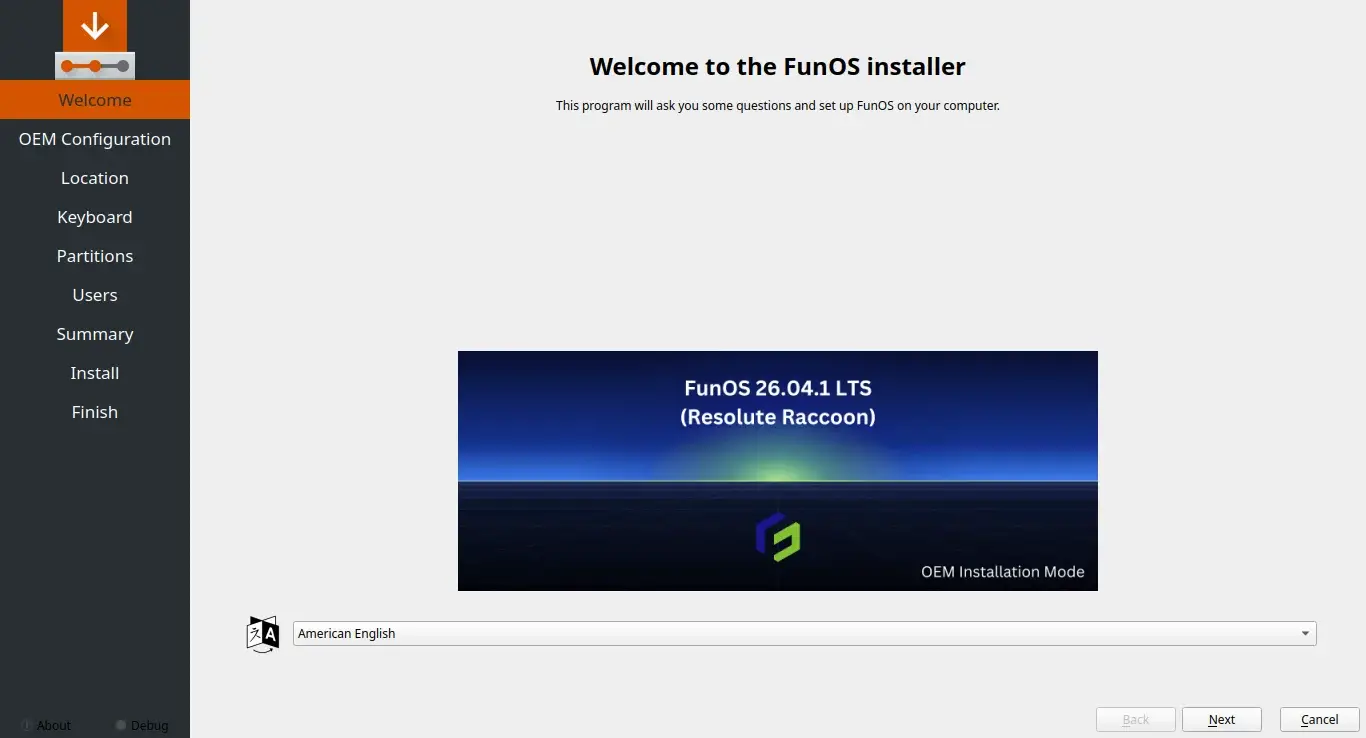
The Calamares OEM installer will open. Select your language and click Next.
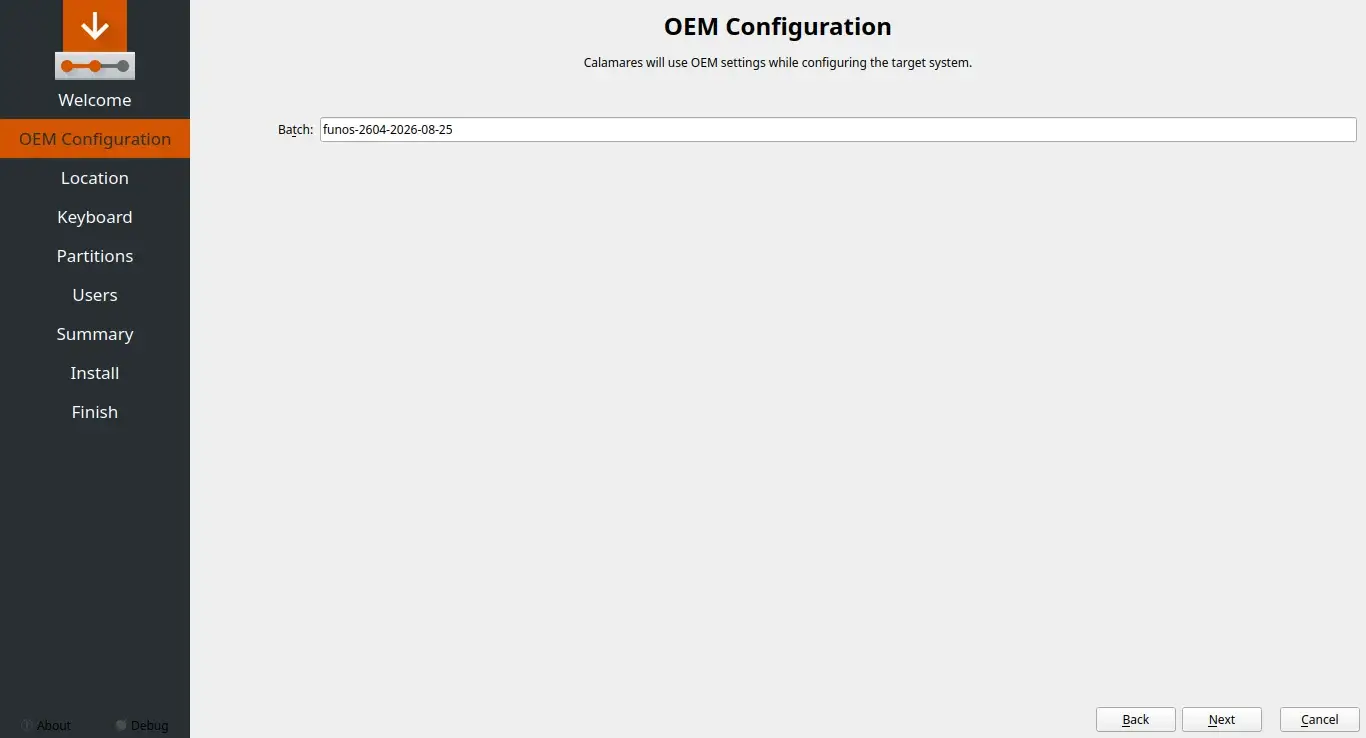
Step 6: OEM Configuration (Batch Name)
Enter a batch name for this installation. This can be used to identify the specific hardware or installation batch. Click Next.
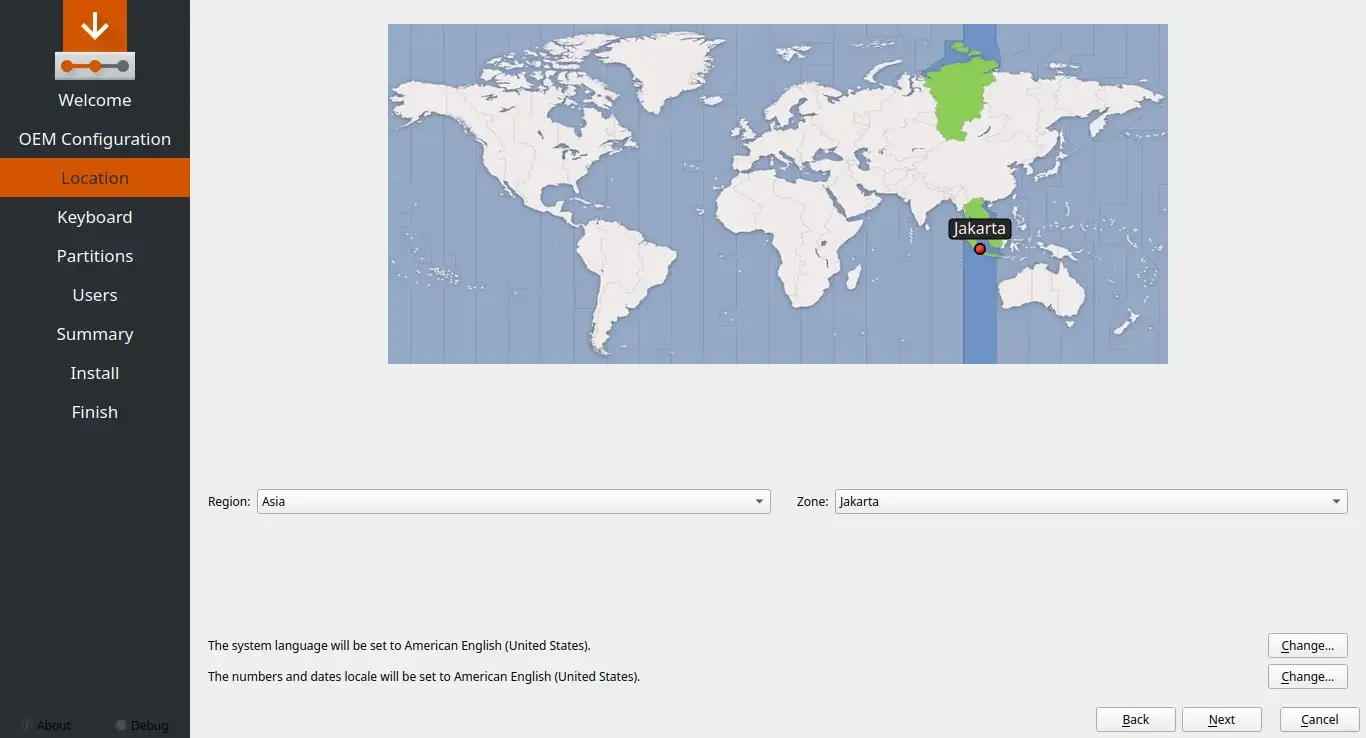
Step 7: Select Location
Set the time zone for the installation. The end user will be able to change this later. Click Next.
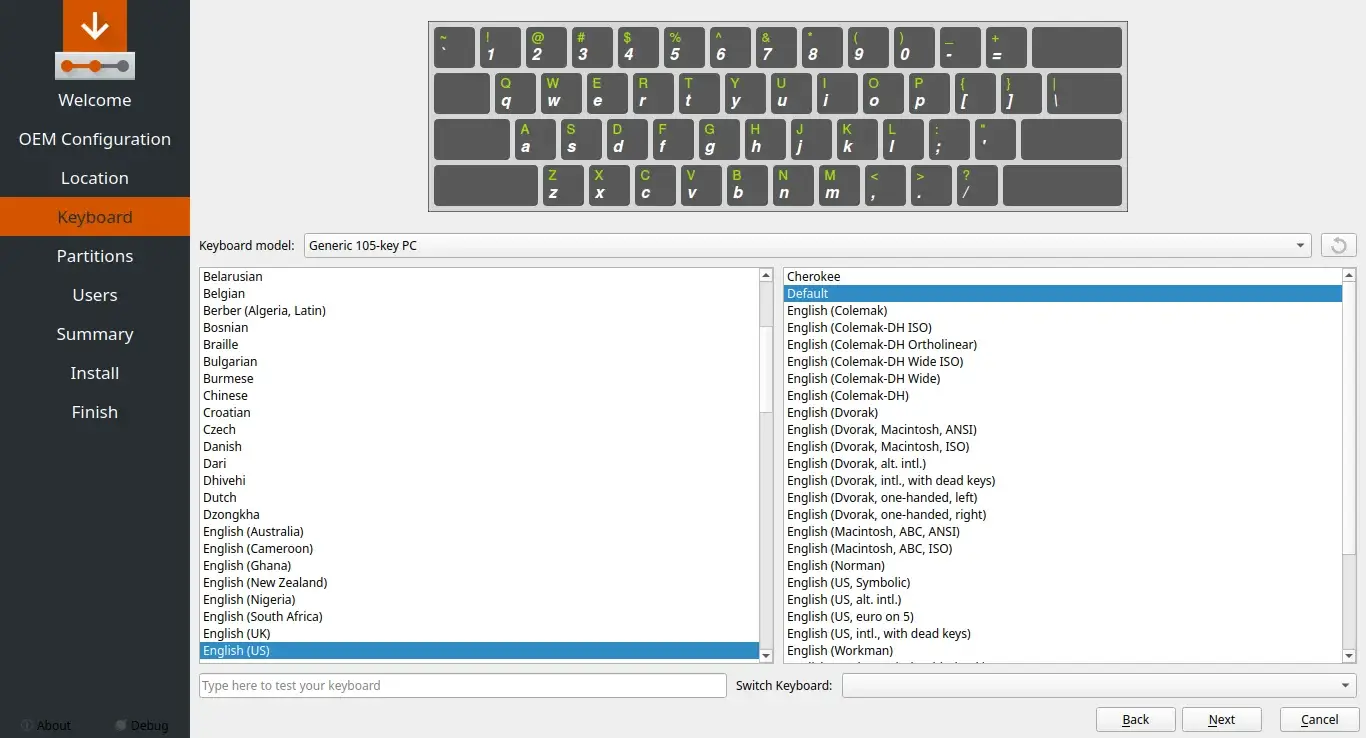
Step 8: Choose Keyboard Layout
Select a keyboard layout. Click Next.
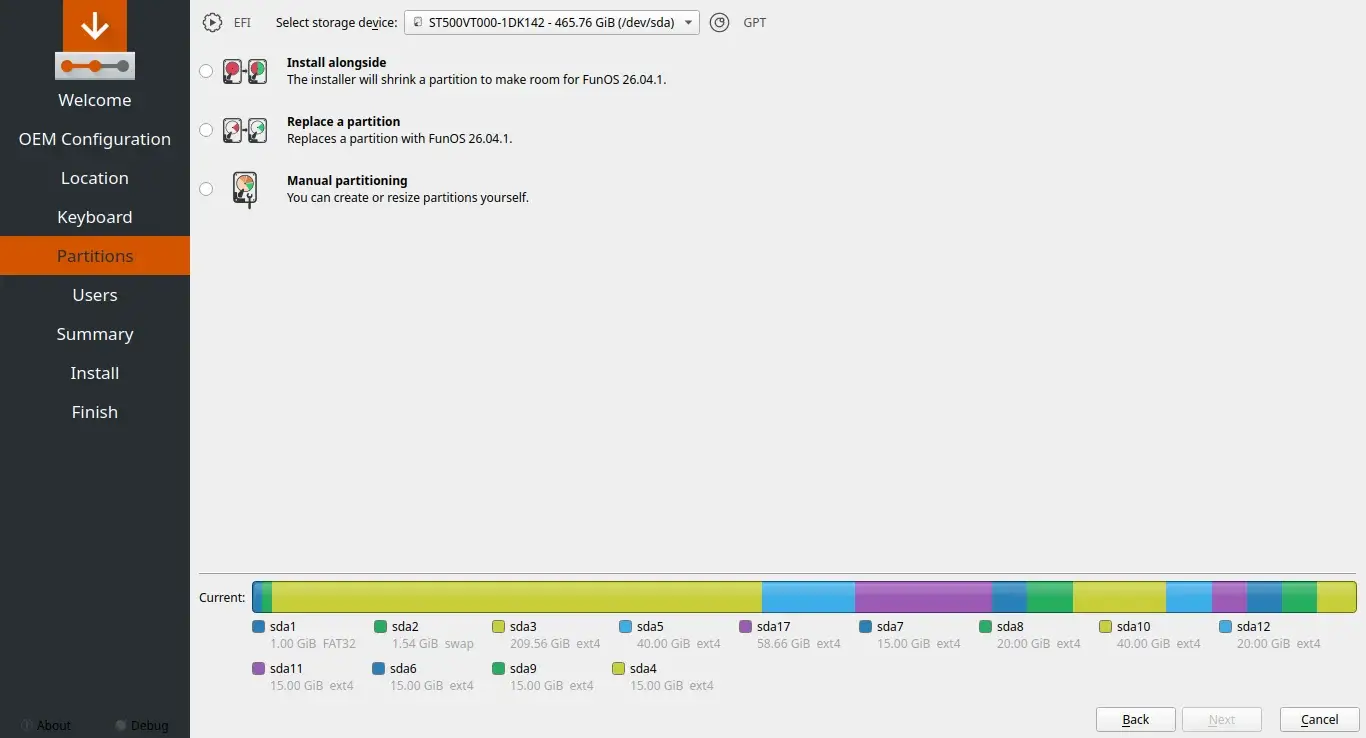
Step 9: Allocate Disk Space
Choose the drive and partitioning method (e.g., Erase disk). Click Next.
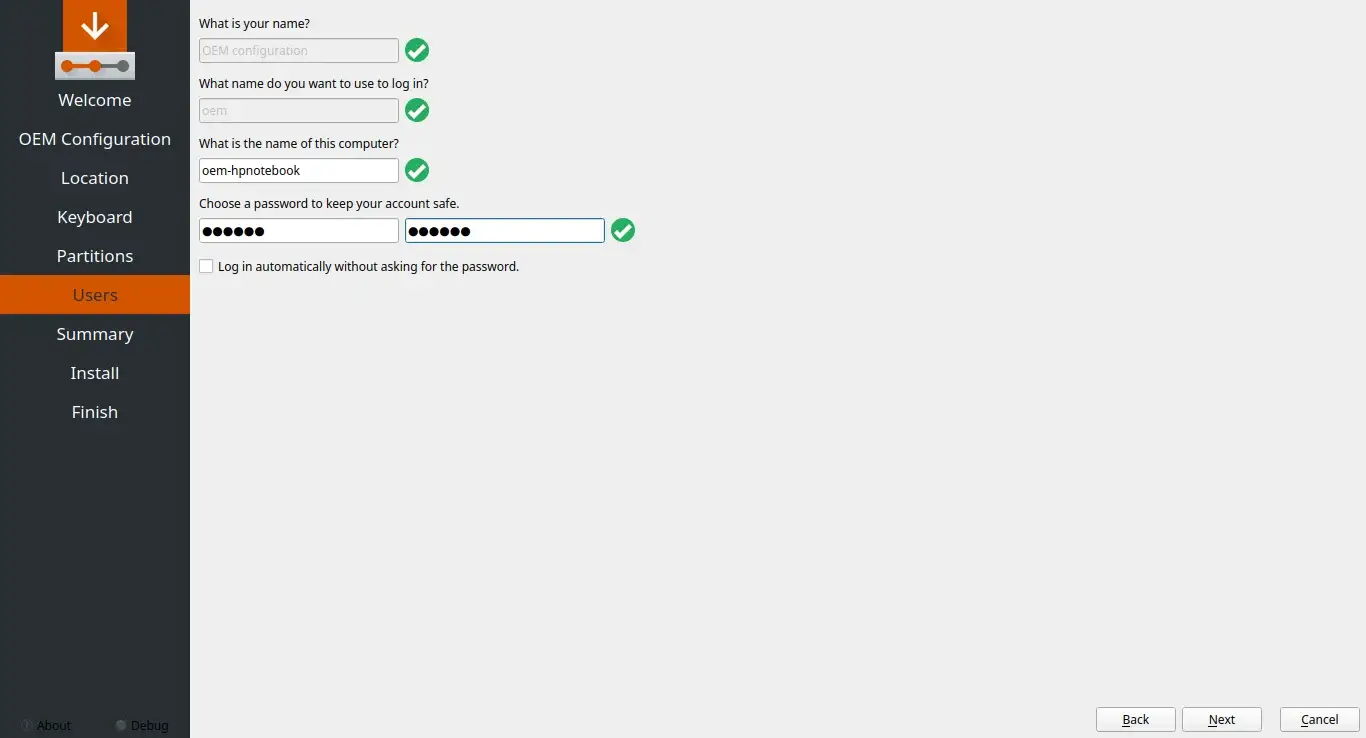
Step 10: Temporary OEM User
Set up a temporary machine name and password. This temporary OEM account will be used to customize the system before handing it over. Click Next.
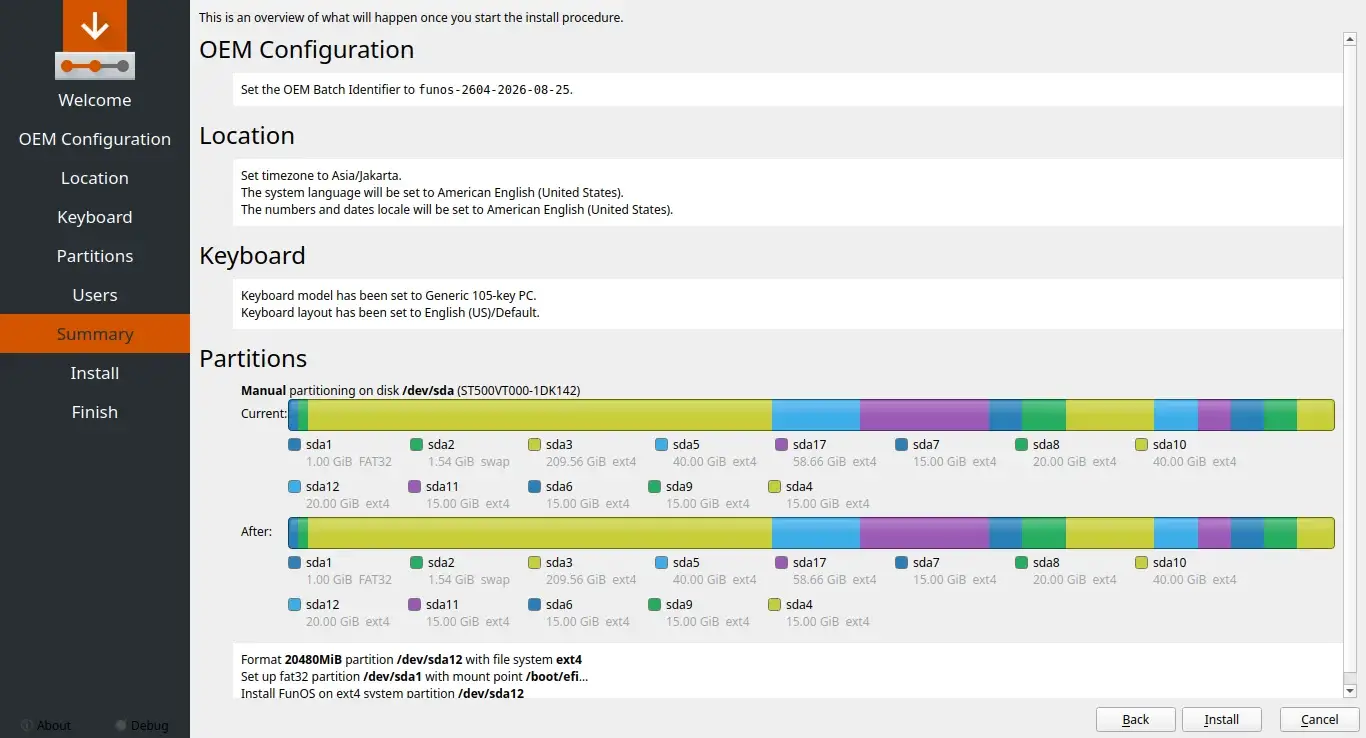
Step 11: Summary and Confirmation
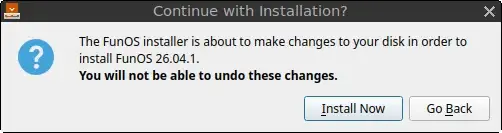
Review the summary of changes. Click Install, and then Install Now to begin the process.
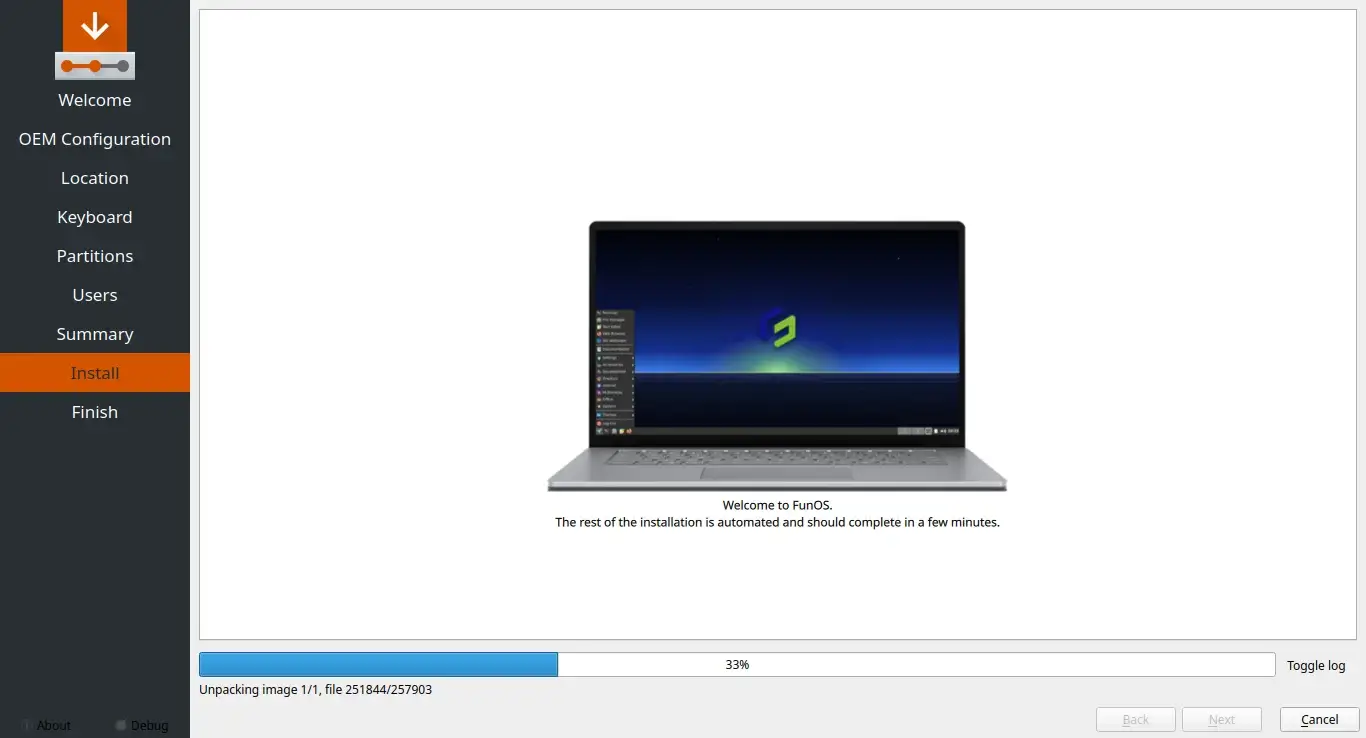
Step 12: Installation Process
Wait for the installation to finish.
Step 13: Finish OEM Install
Once done, click Done.
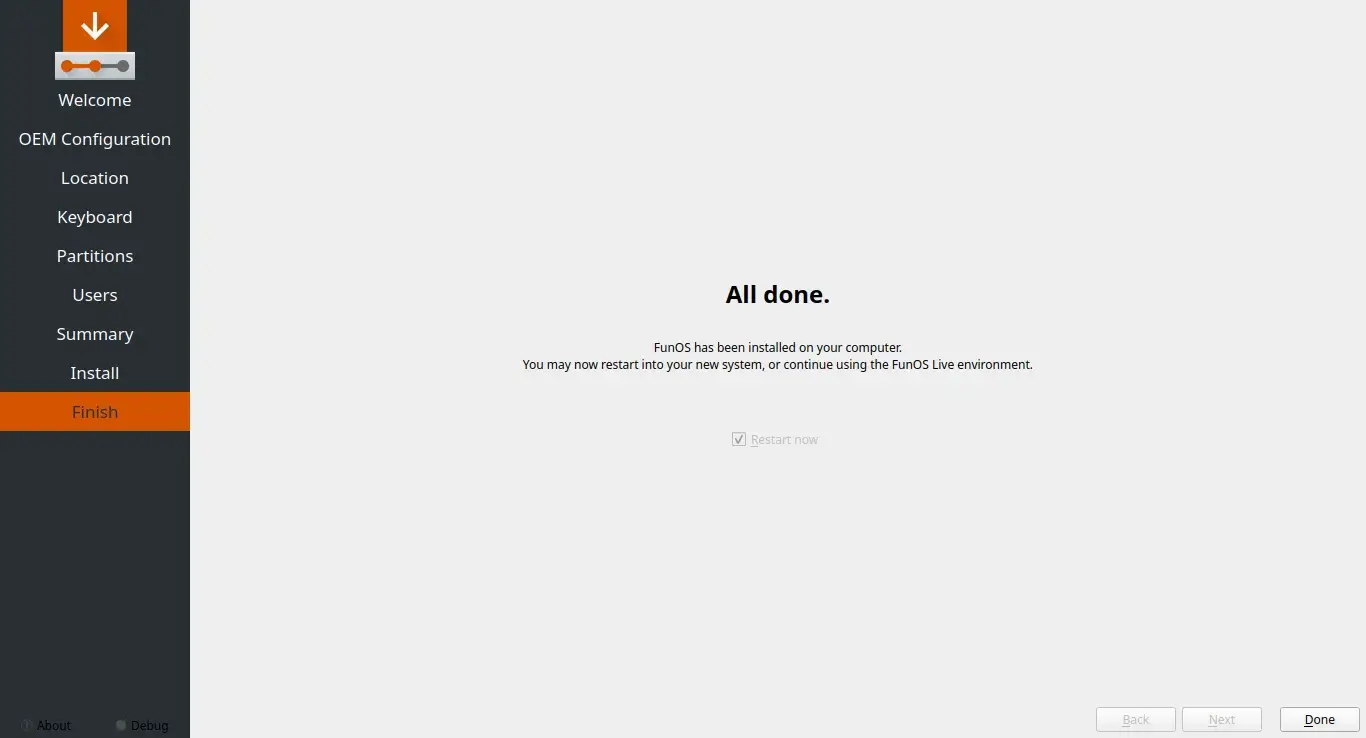
Remove the USB stick and boot into the newly installed OEM system.
Part 2: Finish OEM Preparation (Run by Manufacturer)
After the computer restarts, it will log into the temporary oem account. This is your opportunity to install additional drivers, apply updates, or pre-install manufacturer-specific software.
Once you are done customizing the system, you need to finalize the OEM setup so the end user gets the setup wizard on the next boot.
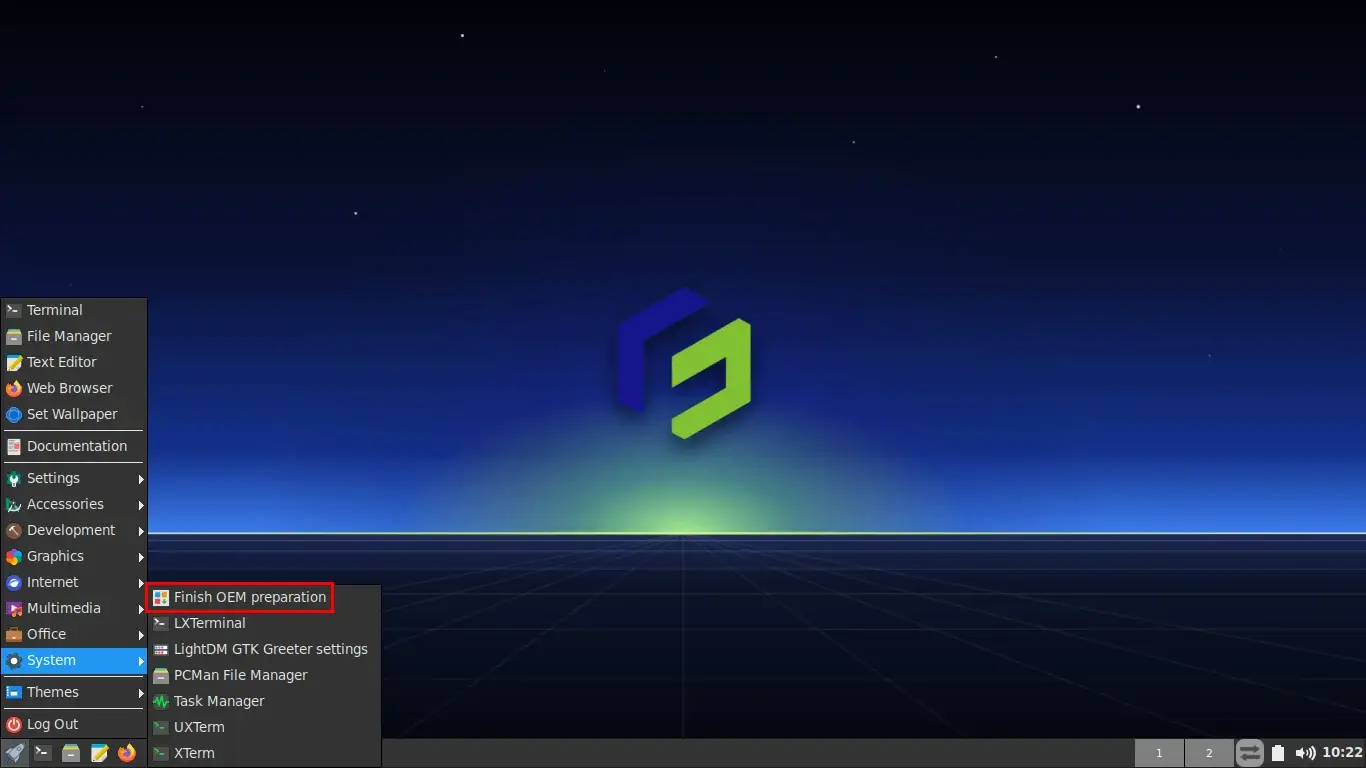
Step 1: Run Finish OEM Preparation
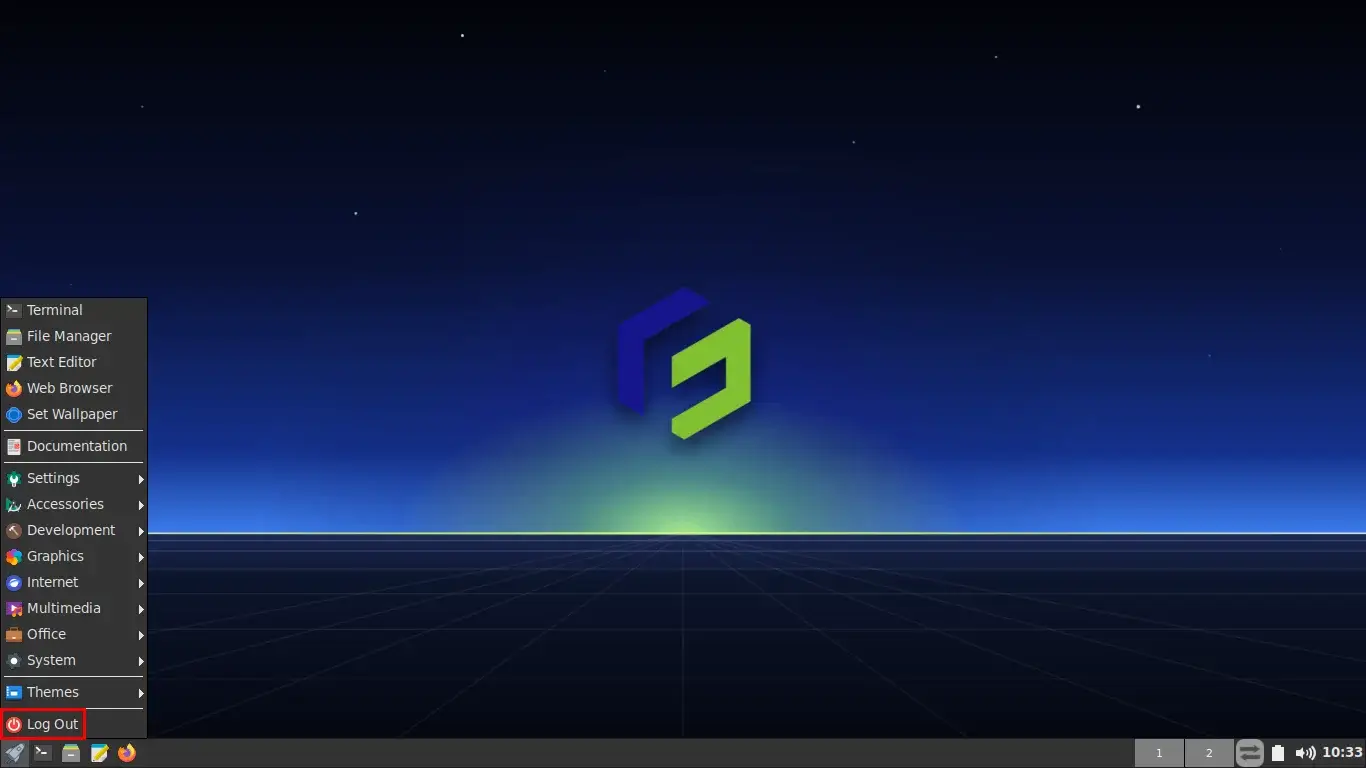
Click the Menu at the bottom left, navigate to System, and select Finish OEM Preparation.
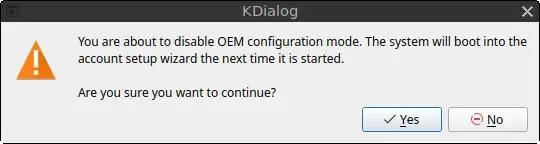
Step 2: Confirm Preparation
A dialog will appear warning you that the OEM configuration mode will be disabled. Click Yes.
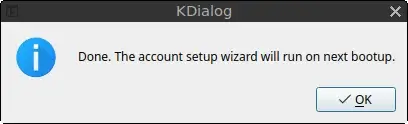
You will see a confirmation message stating that the account setup wizard will run on the next bootup. Click OK.
Step 3: Shut Down
Open the Menu, go to Log Out, and select Shut Down. The computer is now ready to be shipped to the end user.

Part 3: End User Setup (Run by End User)
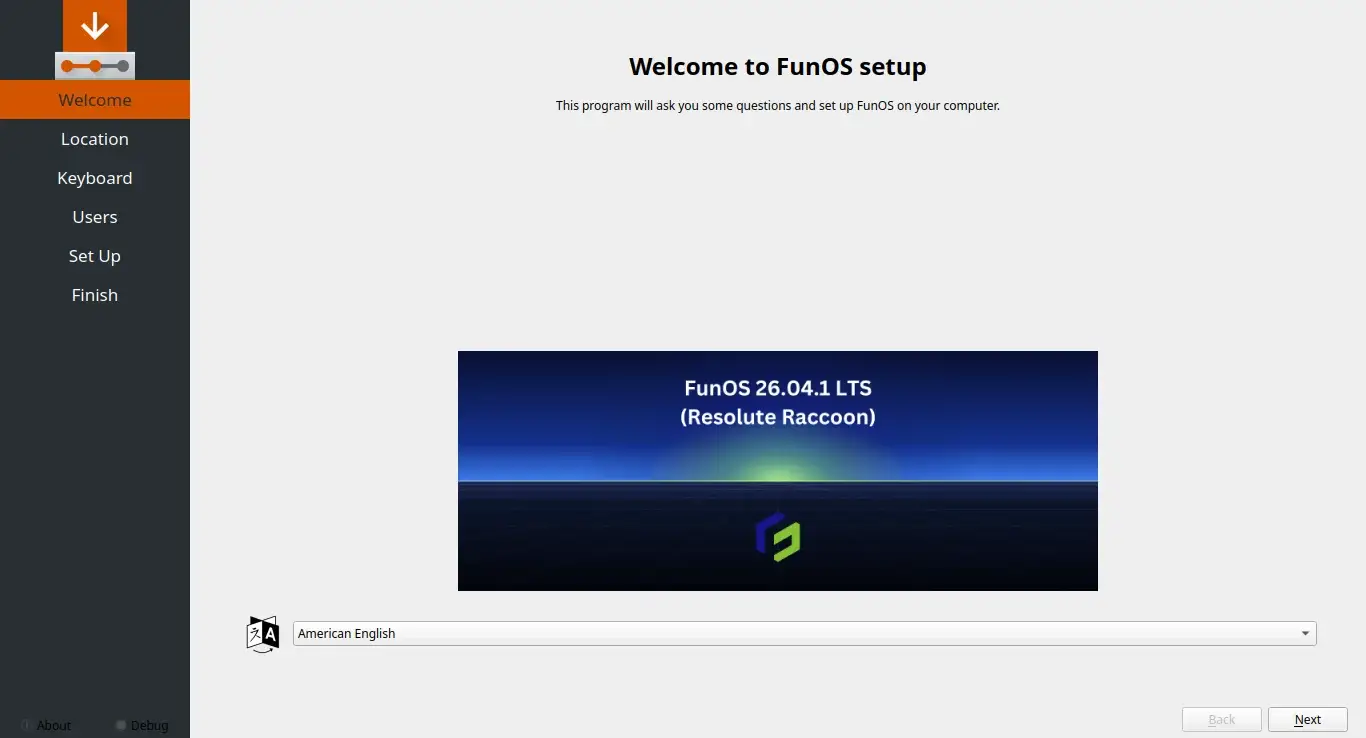
When the end user turns on the computer for the first time, they will be greeted by the FunOS setup wizard.
Step 1: Welcome
The end user will see the Welcome screen. Click Next.
Step 2: Select Location
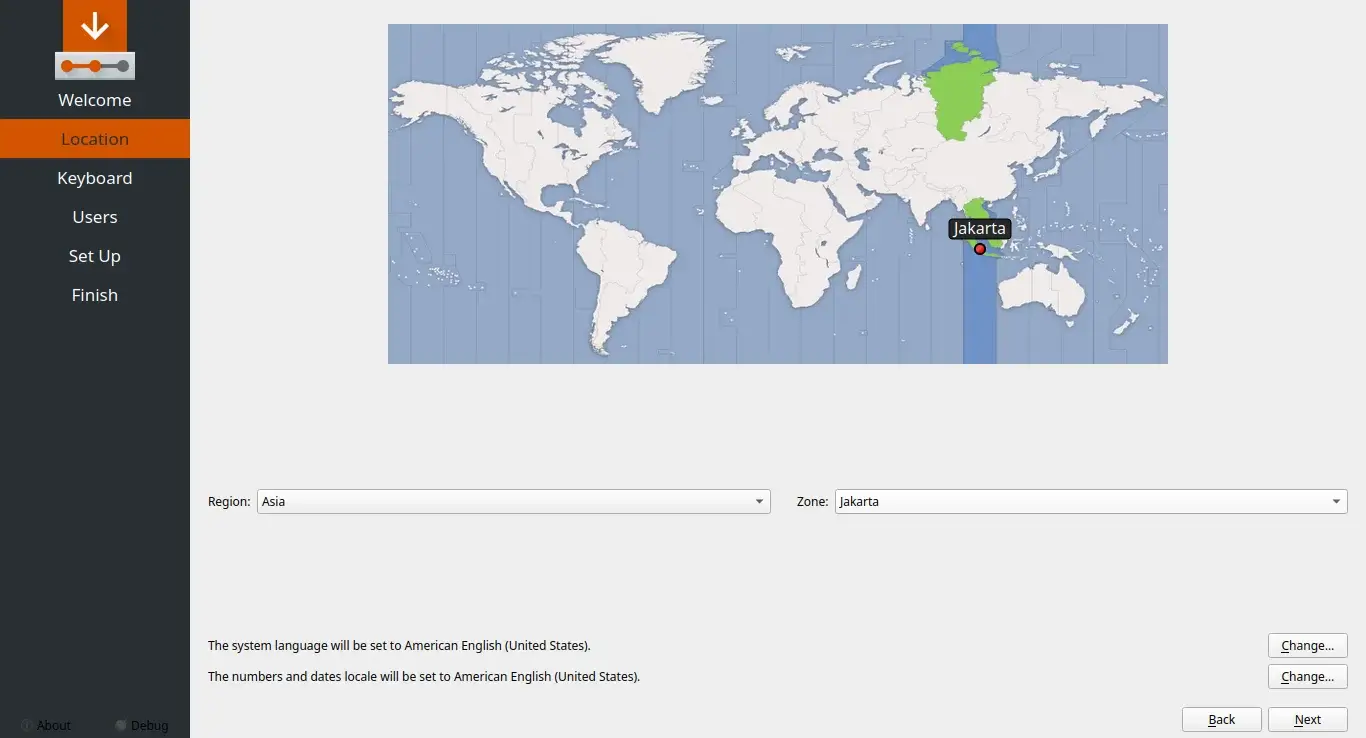
The user will select their exact time zone. Click Next.
Step 3: Keyboard Layout
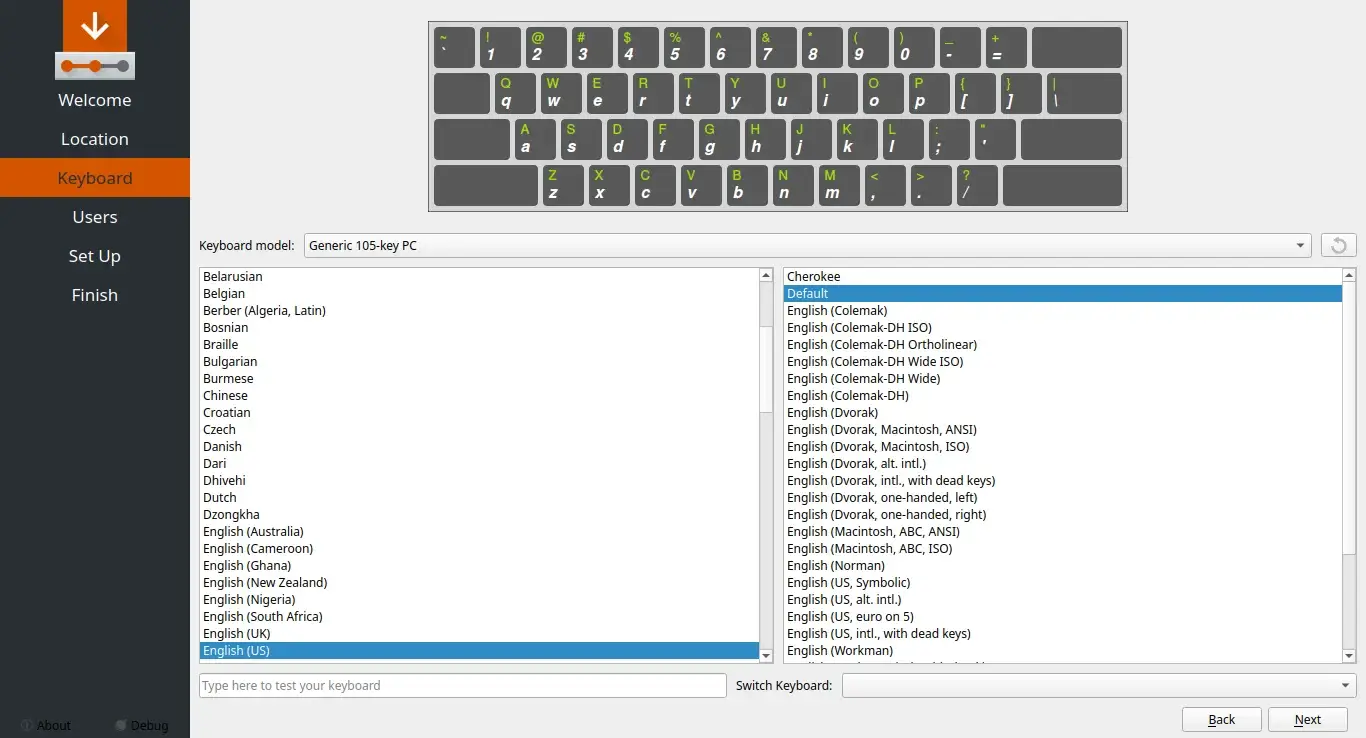
The user can verify or change their keyboard layout. Click Next.
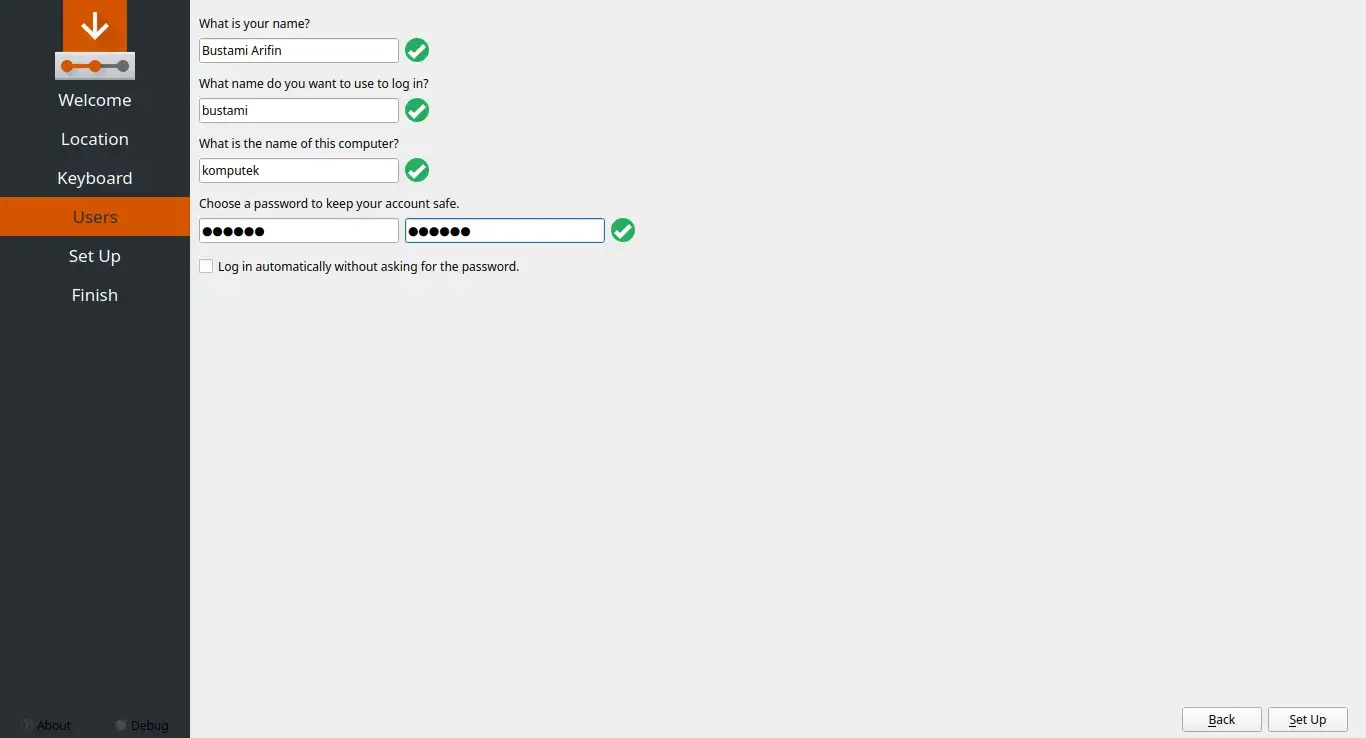
Step 4: Create User Account
The user will enter their name, username, computer name, and create their own password. This replaces the temporary OEM account. Click Next.
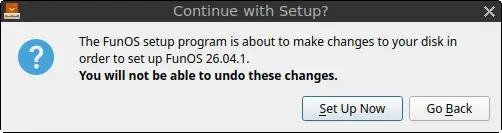
Step 5: Set Up Now
Click Set Up Now to apply the configuration.
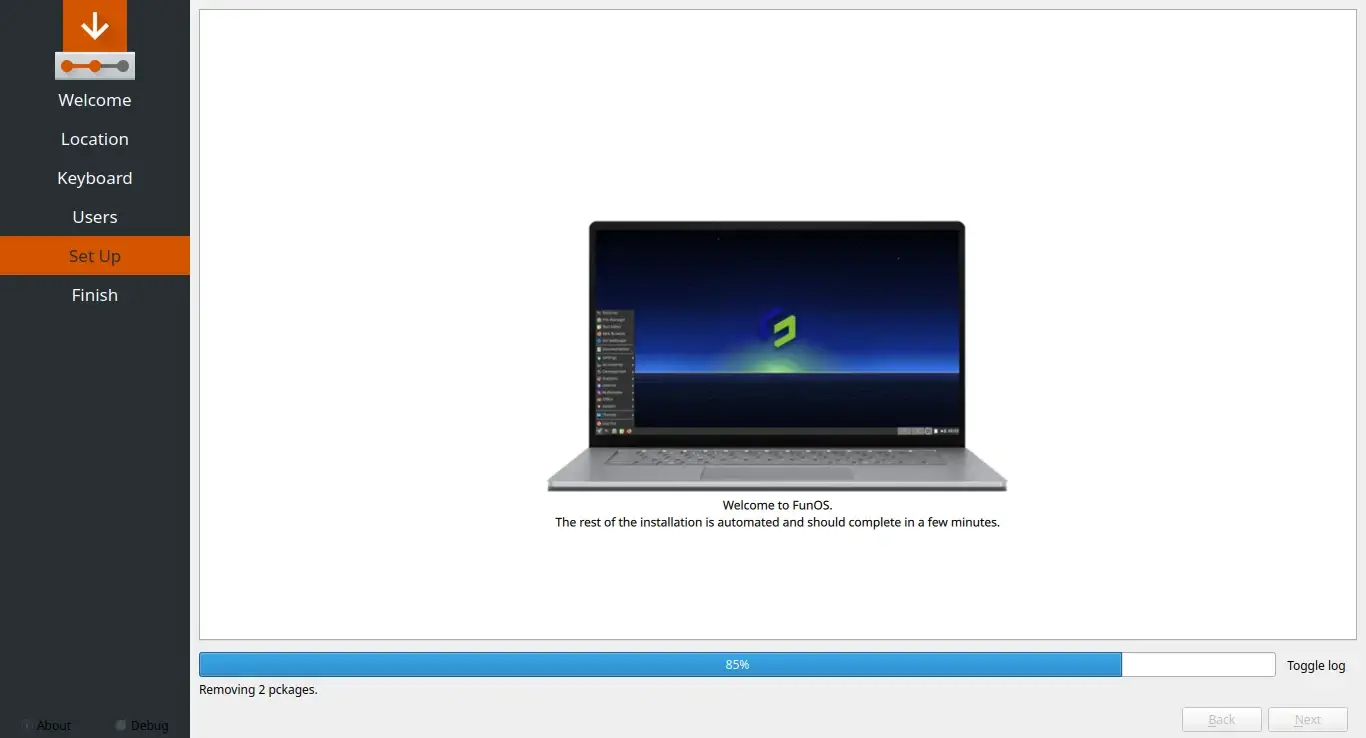
The wizard will configure the system for the end user.
Step 6: Complete Setup
Once the setup is finished, click Done.
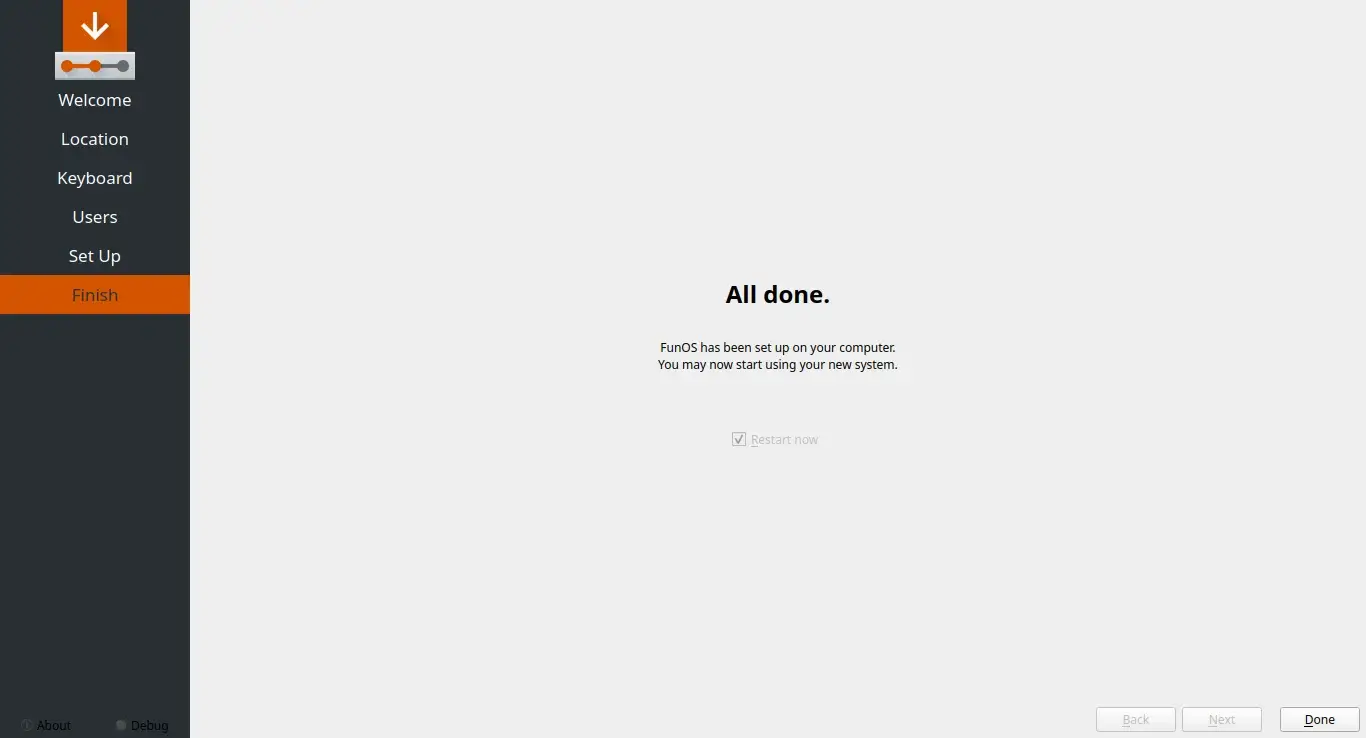
The system will now load the newly created user account, and the computer is fully ready for use!