A VPN (Virtual Private Network) protects your internet connection by encrypting your traffic and routing it through a secure server. Whether you want to improve your privacy, browse safely on public Wi-Fi, or access remote networks, a VPN is an essential tool.
FunOS makes it easy to use OpenVPN—one of the world’s most popular VPN protocols—because all the necessary packages are available directly from the standard Ubuntu repositories.
In this tutorial, you will learn how to install OpenVPN, import a configuration file (.ovpn), set up your credentials, and connect to a server entirely from the terminal. For this guide, we will use a free OpenVPN configuration from VPNBook.
What is OpenVPN?
OpenVPN is a free, open-source application used to create secure, encrypted connections over the internet. It is highly trusted and compatible with nearly all commercial and free VPN providers.
It is commonly used for:
- Improving online privacy and anonymity
- Securing data on untrusted networks (like public Wi-Fi)
- Bypassing regional restrictions and censorship
- Accessing private networks remotely
VPN providers typically supply users with configuration files ending in .ovpn. These files contain the server address, encryption settings, and security certificates required to establish the connection.
How to Connect to OpenVPN on FunOS
Work on: 22.04.5 ✅ | 24.04.4 ✅ | 25.10 ✅ | 26.04 ✅
Step 1: Download an OpenVPN Configuration File
To follow along, we will download a free configuration file from VPNBook.
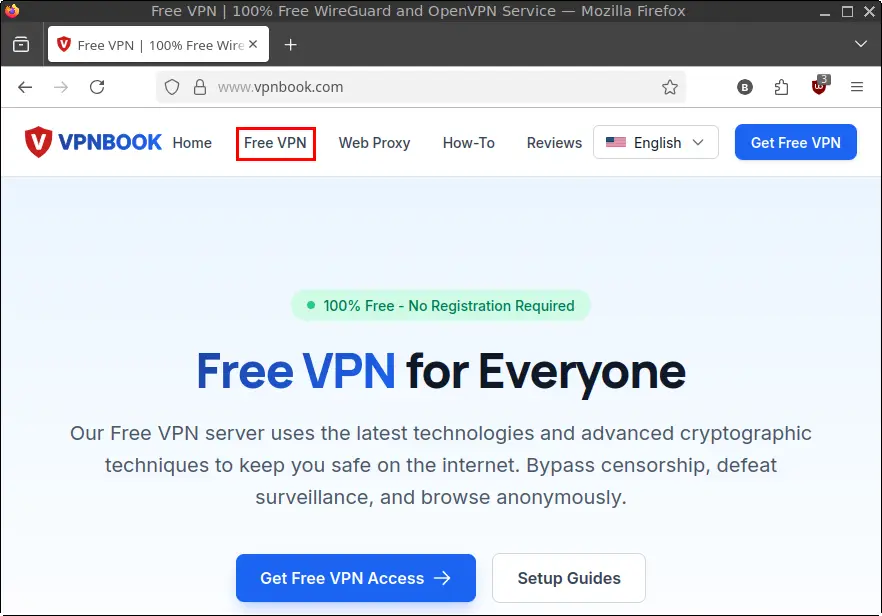
- Open your web browser and visit the VPNBook website.
- Click the Free VPN tab.
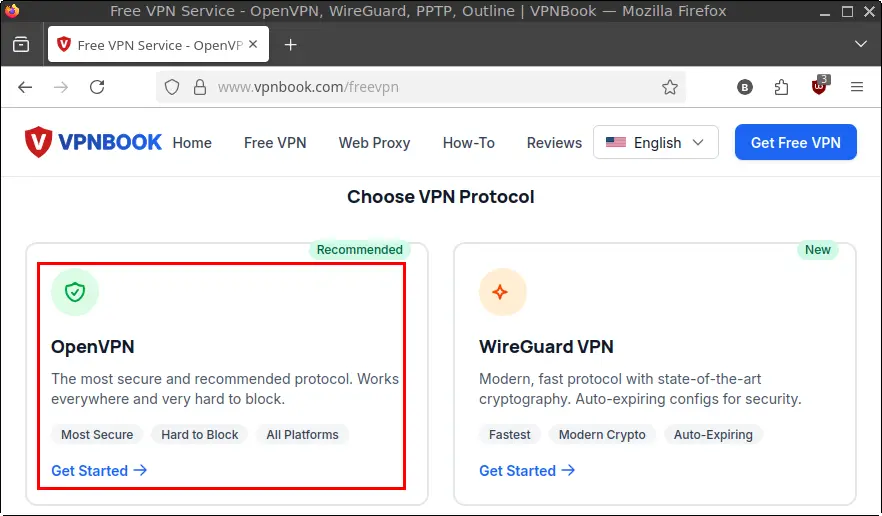
- Scroll down to the Choose VPN Protocol section and select OpenVPN.
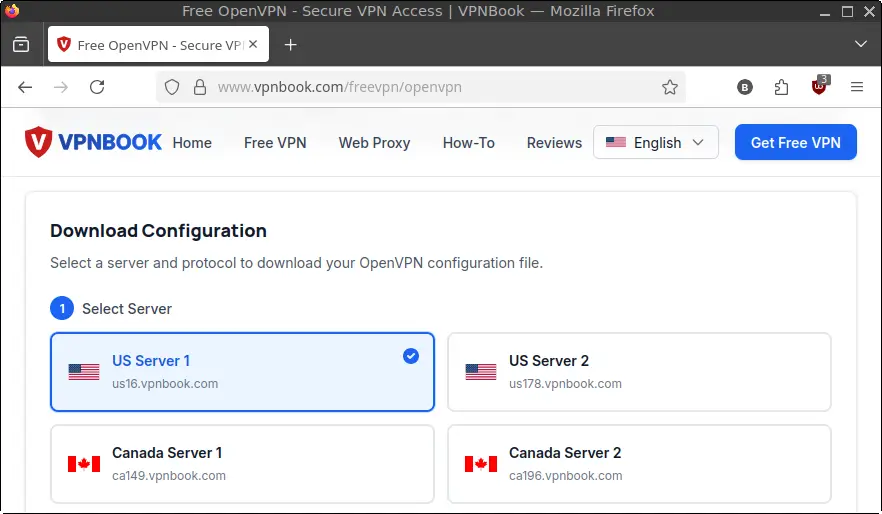
- Choose a server location (e.g., US Server 1) and select a protocol (e.g., TCP 443).
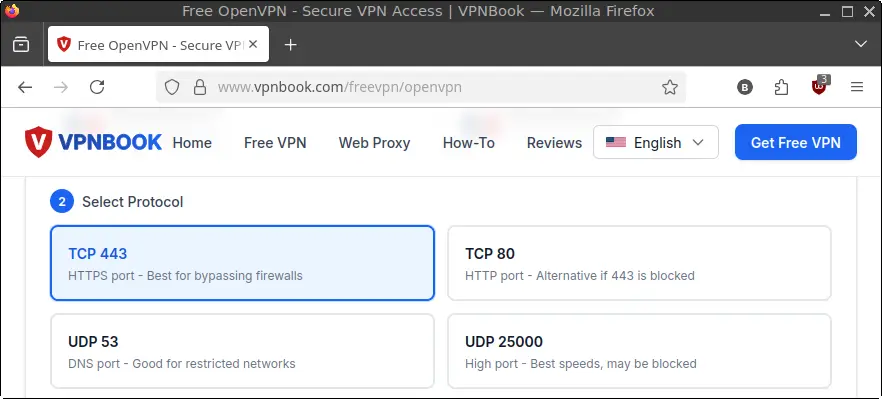
- Click Download .ovpn File and save it to your
Downloadsdirectory.
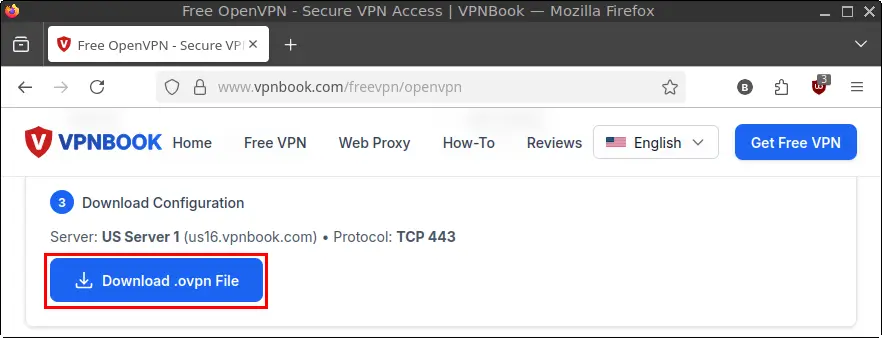
You should now have a file similar to vpnbook-us16-tcp443.ovpn in your Downloads folder.
Step 2: Install OpenVPN Packages
Open your Terminal.
First, update your package list to ensure you get the latest software:
sudo apt updateNext, install OpenVPN along with its NetworkManager plugin. The plugin is crucial because it allows NetworkManager to easily handle your VPN connections and import .ovpn files.
sudo apt install openvpn network-manager-openvpnStep 3: Edit the Configuration File
Before importing the file into NetworkManager, we need to make a small adjustment. Because we will be providing our username and password manually via the terminal in a later step, we need to disable the file’s automatic prompt.
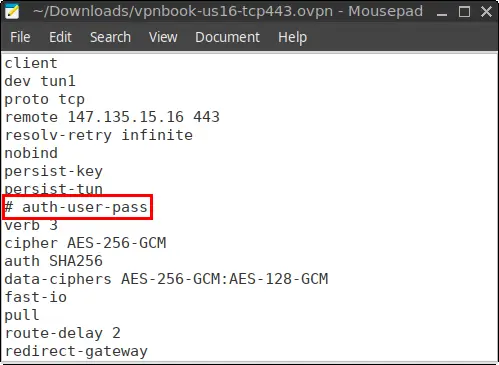
Open the downloaded file in the Mousepad text editor:
mousepad ~/Downloads/vpnbook-us16-tcp443.ovpnFind the following line:
auth-user-passComment it out by adding a # at the very beginning of the line:
# auth-user-passSave the file and close Mousepad.
Step 4: Import the VPN Configuration
Now, import the .ovpn file into NetworkManager using the nmcli command:
nmcli connection import type openvpn file ~/Downloads/vpnbook-us16-tcp443.ovpnIf successful, NetworkManager will automatically create a new VPN connection profile. By default, it names the connection after the file, stripping the extension.
So, vpnbook-us16-tcp443.ovpn becomes a connection named vpnbook-us16-tcp443.
Step 5: Configure Your Username and Password
Next, we will bind your VPN username and password to the connection profile so you don’t have to type them every time.
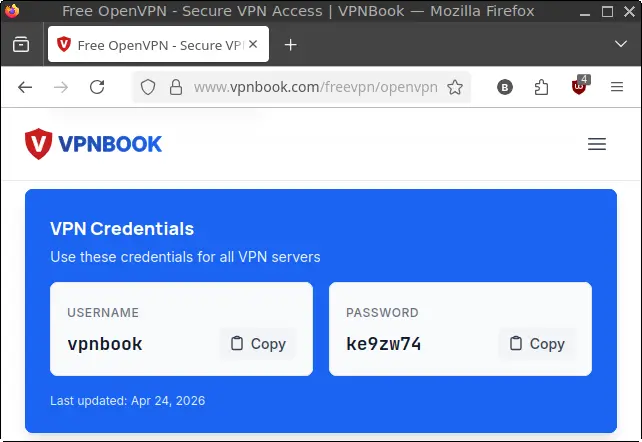
(Note: You can find the latest username and password on the VPNBook OpenVPN page under the “VPN Credentials” section).
Run the following command, replacing the connection name, username, and password with your specific details:
nmcli connection modify vpnbook-us16-tcp443 \
  +vpn.data "connection-type=password-tls, username=vpnbook" \
  vpn.user-name vpnbook \
  +vpn.secrets "password=ke9zw74"
Step 6: Connect to the VPN
Everything is set up! You can now activate your VPN connection:
nmcli connection up vpnbook-us16-tcp443If everything is configured correctly, the terminal will return:
Connection successfully activatedYour internet traffic is now encrypted and routed through the VPN.
Useful OpenVPN Commands
Here are some helpful nmcli commands for managing your VPN connection:
Check Active and Available Connections:
nmcli connection showDisconnect from the VPN:
nmcli connection down vpnbook-us16-tcp443Permanently Delete the VPN Profile:
nmcli connection delete vpnbook-us16-tcp443Troubleshooting and Verification
Authentication Failed?
If your connection fails, it is usually an authentication error.
- Double-check that your username and password are correct.
- Remember that free services like VPNBook change their passwords frequently, so you may need to grab the latest password from their website and run the command in Step 5 again.
- Ensure you correctly commented out
# auth-user-passin Step 3.
Verify Your Connection is Working:
To quickly test if your internet is working through the VPN, try pinging Google:
ping -c 4 google.comCheck Your IP Address:
To definitively prove your traffic is being routed, open your browser and visit a site like Whoer.net. Your location should now reflect the location of the VPN server you chose.
Conclusion
By leveraging nmcli and NetworkManager, setting up OpenVPN on FunOS is incredibly efficient. Once your profile is imported and configured, connecting and disconnecting is as simple as running a single command. While this guide used VPNBook as an example, this exact process applies to almost any OpenVPN-compatible provider.