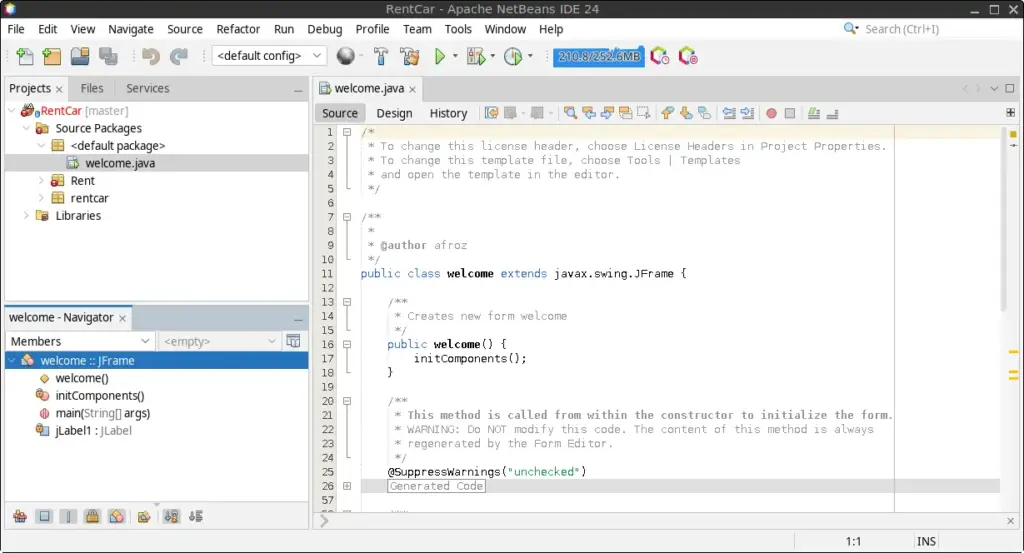
Apache NetBeans is a versatile and powerful integrated development environment (IDE) used by developers worldwide. It supports a wide range of programming languages, including Java, C, C++, PHP, and HTML5, making it an excellent tool for software development projects of any size. This guide will walk you through the steps to install, launch, and uninstall Apache NetBeans on FunOS.
What is Apache NetBeans?
Apache NetBeans is an open-source IDE that offers comprehensive tools for software development. It features advanced code editing, debugging, and testing capabilities. NetBeans provides seamless integration with popular frameworks and tools, making it a favorite among developers for creating robust and efficient applications.

How to Install Apache NetBeans on FunOS
Work on: 22.04.5 ✅ | 24.04.3 ✅ | 25.04 ✅ | 25.10 ✅ | 26.04 ✅
Step 1: Download the Apache NetBeans .deb File
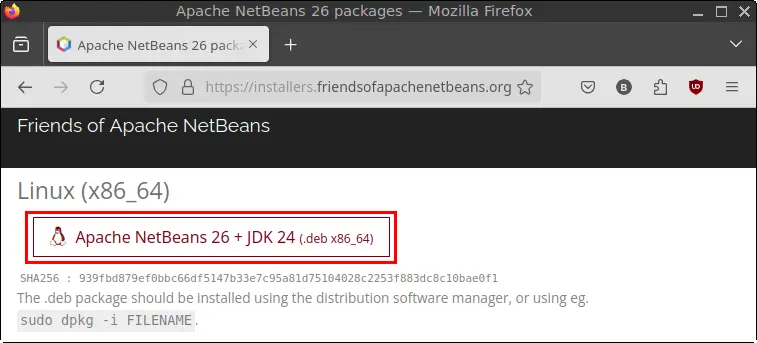
- Open your web browser and navigate to the Friends of Apache NetBeans.
- Locate and download the
.debinstallation file. - Save the file in your Downloads directory.

Step 2: Open a Terminal
You can open the Terminal using one of the following methods:
- Click the Menu button in the lower-left corner of the screen and select Terminal.
- Click the Terminal icon located in the Tray.
- Use the keyboard shortcut
Ctrl + Alt + T.
Step 3: Navigate to the Downloads Directory
In the Terminal, navigate to the directory where the .deb file was downloaded:
cd ~/DownloadsStep 4: Update the Package List
Before installing the software, update the package list to ensure you have the latest information about available packages:
sudo apt updateStep 5: Install Apache NetBeans
Run the following command to install Apache NetBeans from the downloaded .deb file:
sudo apt install ./apache-netbeans_*.debStep 6: Remove the Downloaded .deb File
After installation, you can remove the downloaded .deb file to free up space:
rm -f apache-netbeans_*.debStep 7: Reload the Menu
Reload the menu to ensure Apache NetBeans appears in the application list:
- Click the Menu button in the lower-left corner of the screen.
- Click Reload menu.
Launching Apache NetBeans
To launch Apache NetBeans:
- Click the Menu button in the lower-left corner of the screen.
- Navigate to the Development category and click Apache NetBeans.
How to Uninstall Apache NetBeans on FunOS
Step 1: Open a Terminal
Open the Terminal using one of the methods mentioned earlier.
Step 2: Remove Apache NetBeans
Run the following command to uninstall Apache NetBeans:
sudo apt remove --purge apache-netbeansStep 3: Remove Any Unused Dependencies
Clean up any unused dependencies with:
sudo apt autoremove --purgeStep 4: Remove User Data (Optional)
If you wish to delete all user data associated with Apache NetBeans, run the following commands:
rm -rf $HOME/.cache/netbeans
rm -rf $HOME/.java
rm -rf $HOME/.netbeans
rm -rf $HOME/NetBeansProjects
Step 5: Reload the Menu
Reload the menu to remove Apache NetBeans from the application list:
- Click the Menu button in the lower-left corner of the screen.
- Click Reload menu.
Conclusion
Apache NetBeans is an excellent choice for developers looking for a comprehensive and reliable IDE. By following this guide, you can easily install, configure, and use Apache NetBeans on FunOS. Should you decide to remove it, the uninstallation process is straightforward and ensures no residual files are left on your system. Happy coding!

Leave a Reply