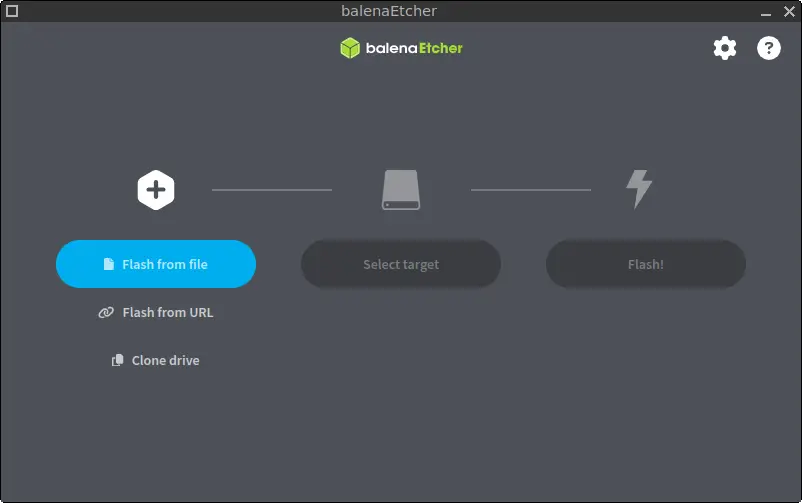
BalenaEtcher is a powerful and user-friendly tool designed to create bootable USB drives from image files. Whether you’re preparing a USB stick to install FunOS or another operating system, balenaEtcher ensures the process is simple and reliable. In this guide, we’ll walk you through the steps to install balenaEtcher on FunOS.
What is balenaEtcher?
BalenaEtcher is a free and open-source tool that simplifies the process of burning image files such as ISO and IMG to SD cards and USB drives. It is particularly popular for its straightforward interface and cross-platform compatibility. With features like validation of written data and prevention of accidental drive formatting, balenaEtcher is a preferred choice for developers, IT professionals, and hobbyists.

How to Install balenaEtcher on FunOS
Installing balenaEtcher on FunOS is a straightforward process. Follow these steps to get started:
Step 1: Download the balenaEtcher .deb File
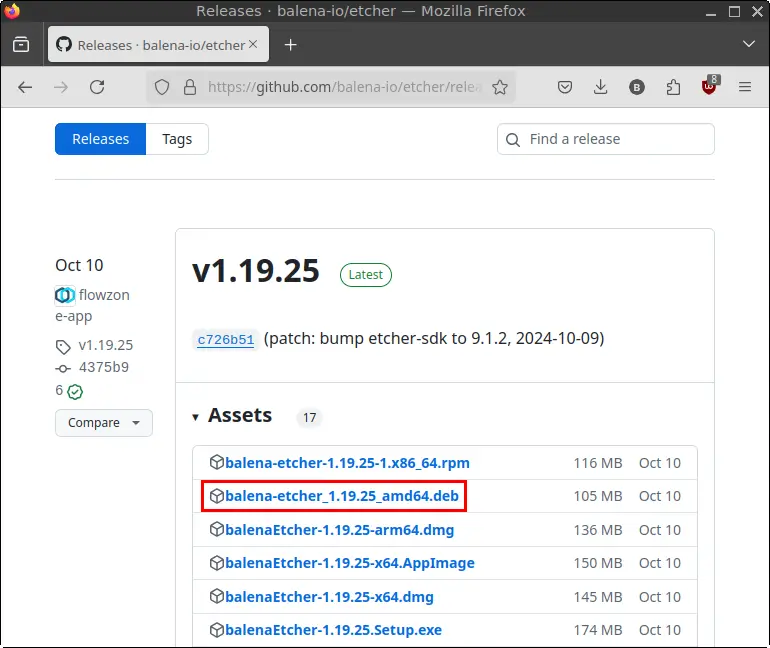
- Visit the balenaEtcher Releases Page on GitHub.
- Locate the latest version of balenaEtcher and download the
.debfile. - Save the file in your Downloads directory.

Step 2: Open a Terminal
There are three ways to open the terminal in FunOS:
- Click Menu in the bottom-left corner of the screen, then select Terminal.
- Click the Terminal icon in the Tray.
- Press
Ctrl + Alt + Ton your keyboard.
Step 3: Navigate to the Downloads Directory
Assuming the .deb file was downloaded to your default Downloads folder, use the following command to navigate to the directory:
cd ~/DownloadsStep 4: Update the Package List
Run the following command to update the list of available packages and their versions:
sudo apt updateStep 5: Install balenaEtcher
Use the command below to install balenaEtcher:
sudo apt install ./balena-etcher_*.debThis command installs the .deb package directly.
Step 6: Remove the Downloaded .deb File
After installation, you can delete the downloaded file to save space:
rm -f balena-etcher_*.debStep 7: Reload the Menu
For balenaEtcher to appear in the menu, reload it as follows:
- Click the Menu button in the bottom-left corner of the screen.
- Click Reload menu.
Launching balenaEtcher
To start balenaEtcher:
- Click the Menu button in the bottom-left corner.
- Navigate to the Accessories category.
- Click on balenaEtcher to launch the application.
How to Uninstall balenaEtcher on FunOS
If you no longer need balenaEtcher, follow these steps to remove it from your system:
Step 1: Open a Terminal
Refer to the steps above to open a terminal.
Step 2: Remove balenaEtcher
Run the following command to uninstall balenaEtcher:
sudo apt remove --purge balena-etcherStep 3: Remove Any Unused Dependencies
Clean up any unnecessary dependencies that may have been installed with balenaEtcher:
sudo apt autoremove --purgeStep 4: Remove User Data (Optional)
If you want to delete balenaEtcher’s user data, execute the following command:
rm -rf $HOME/.config/balenaEtcherStep 5: Reload the Menu
To ensure the menu is updated:
- Click the Menu button in the bottom-left corner.
- Click Reload menu.
Conclusion
BalenaEtcher is a versatile and indispensable tool for creating bootable USB drives. Whether you’re installing a new operating system or working on projects requiring an ISO image, balenaEtcher makes the process easy. With this guide, you’ve learned how to install, launch, and uninstall balenaEtcher on FunOS. If you found this tutorial helpful, share it with others exploring FunOS!

Leave a Reply