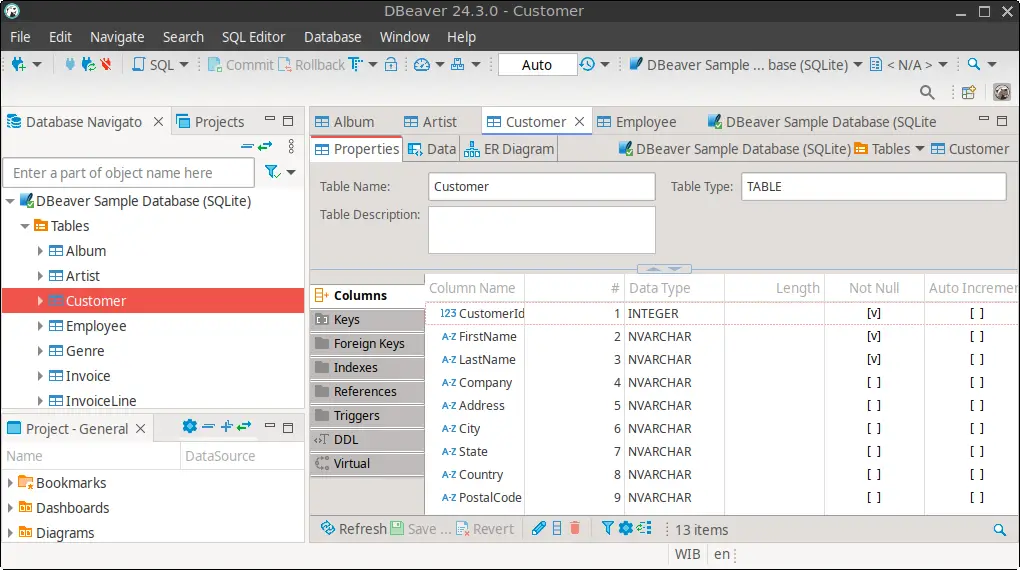
DBeaver Community is a powerful and feature-rich database management tool widely used by developers and database administrators. This open-source software supports various databases such as MySQL, PostgreSQL, SQLite, Oracle, and many others. If you’re using FunOS and want to take advantage of DBeaver Community’s capabilities, this article will guide you through the installation process. Additionally, we’ll cover how to uninstall it if needed.
What is DBeaver Community?
DBeaver Community is a free, open-source universal database tool designed to help users manage their databases effectively. It provides an intuitive user interface, a robust SQL editor, and a variety of features that simplify database administration and development. Whether you’re handling a local database or connecting to a remote server, DBeaver Community is an excellent choice for your database management needs.

How to Install DBeaver Community on FunOS
Follow these steps to install DBeaver Community on FunOS:
Step 1: Open a Terminal
You can open a terminal in FunOS using any of these methods:
- Click the Menu button in the lower-left corner of the screen, then select Terminal.
- Click the Terminal icon in the Tray.
- Use the keyboard shortcut Ctrl + Alt + T.
Step 2: Add the DBeaver Community PPA
Add the official PPA repository for DBeaver Community by running the following command:
sudo add-apt-repository ppa:serge-rider/dbeaver-ceThis PPA ensures you get the latest updates for DBeaver Community directly from its developers.
Step 3: Update the Package List
Update the package list to ensure the system recognizes the newly added repository:
sudo apt updateStep 4: Install DBeaver Community
Install DBeaver Community by executing the following command:
sudo apt install dbeaver-ceStep 5: Reload the Menu
To make the newly installed application appear in the Application Menu, reload the menu:
- Click the Menu button in the lower-left corner.
- Click Reload menu.
Launching DBeaver Community
Once installed, you can launch DBeaver Community as follows:
- Click the Menu button in the lower-left corner.
- Navigate to the Development category.
- Click dbeaver-ce.
How to Uninstall DBeaver Community on FunOS
If you no longer need DBeaver Community, you can remove it using these steps:
Step 1: Open a Terminal
Use the same methods as mentioned earlier to open a terminal.
Step 2: Remove DBeaver Community
Run the following command to uninstall DBeaver Community completely:
sudo apt remove --purge dbeaver-ceStep 3: Remove Any Unused Dependencies
Clean up unused dependencies with this command:
sudo apt autoremove --purgeStep 4: Remove the DBeaver Community PPA
If you want to remove the PPA repository, use the following command:
sudo add-apt-repository --remove ppa:serge-rider/dbeaver-ceStep 5: Update the Package List
Update the package list again to ensure system consistency:
sudo apt updateStep 6: Remove User Data (Optional)
If you want to delete all user data associated with DBeaver Community, run the following command:
rm -rf $HOME/.local/share/DBeaverData
sudo rm -rf /usr/share/dbeaver-ce
Step 7: Reload the Menu
After uninstallation, reload the menu:
- Click the Menu button in the lower-left corner.
- Click Reload menu.
Conclusion
DBeaver Community is an excellent tool for managing and administering databases, and installing it on FunOS is straightforward. With its wide range of supported databases and intuitive interface, it’s a great choice for developers and administrators alike. If you decide to uninstall it, the process is just as simple, ensuring a clean removal without leftover files.
We hope this guide helps you get started with DBeaver Community on FunOS! For more FunOS-related tutorials, check out our documentation page.

Leave a Reply