Deluge is one of the most popular open-source BitTorrent clients available for Linux systems. It’s lightweight, feature-rich, and designed to be both simple for beginners and powerful enough for advanced users. On FunOS, you can easily install Deluge using the standard Ubuntu repositories or by adding the official Deluge Team PPA for the latest stable version. This guide will show you step-by-step how to install Deluge on FunOS using both methods.
What is Deluge?
Deluge is a free, open-source BitTorrent client that allows users to download and share files efficiently over the BitTorrent protocol. Written in Python, Deluge is designed to be lightweight and unobtrusive while offering a wide range of advanced features.
Some of its key features include:
- Cross-platform support: Available for Linux, Windows, and macOS.
- Lightweight design: Uses minimal system resources, making it ideal for FunOS users who value speed and simplicity.
- Plugin support: Extend functionality with a wide variety of official and third-party plugins.
- Multiple interfaces: Includes GTK desktop, web, and console interfaces for different use cases.
- Encryption and proxy support: Ensures privacy and security while torrenting.
Because FunOS is based on Ubuntu, Deluge can be installed using the same commands as on Ubuntu, ensuring a smooth installation process and stable performance.
How to Install Deluge on FunOS
You can install Deluge on FunOS using one of two methods:
- From the Ubuntu repositories (stable and easy).
- From the Deluge Team PPA (for the latest version).
Method 1: Installing from the Ubuntu Repositories
Work on: 22.04.5 ✅ | 24.04.4 ✅ | 25.10 ✅ | 26.04 ✅
This method installs the Deluge version available in Ubuntu’s default repositories, ensuring stability and full compatibility with FunOS.
Step 1: Open a Terminal
There are three ways to open a Terminal in FunOS:
- Click Menu in the lower-left corner of the screen, then click Terminal.
- Click the Terminal icon in the Tray.
- Press Ctrl + Alt + T on your keyboard.
Step 2: Update the Package List
Before installing new software, it’s a good idea to update the package list to ensure you’re downloading the latest available version from the repositories:
sudo apt updateStep 3: Install Deluge
Now, install Deluge with the following command:
sudo apt install delugeThis command installs the full desktop version of Deluge, including the GTK interface.
Step 4: Reload the Menu
After installation, reload the menu so that Deluge appears in the application list:
- Click the Menu button in the lower-left corner.
- Click Reload menu.
Method 2: Installing from the Deluge Team PPA
Work on: 22.04.5 ✅ | 24.04.4 ✅ | 25.10 ✅ | 26.04 ❌
If you want the latest stable version of Deluge (with new features and improvements not yet available in the Ubuntu repositories), you can install it from the official Deluge Team PPA.
Step 1: Open a Terminal
You can open a Terminal in any of the following ways:
- Click Menu in the lower-left corner of the screen, then click Terminal.
- Click the Terminal icon in the Tray.
- Press Ctrl + Alt + T.
Step 2: Add the Deluge Team PPA
Add the official Deluge PPA to your system:
sudo add-apt-repository ppa:deluge-team/stablePress Enter when prompted to confirm the addition of the repository.
Step 3: Update the Package List
After adding the new PPA, update the package list so your system recognizes the newly added repository:
sudo apt updateStep 4: Install Deluge
Now install Deluge from the PPA:
sudo apt install delugeThis will install the latest version of Deluge maintained by the Deluge development team.
Step 5: Reload the Menu
Once installation is complete, reload the menu to make the new application visible:
- Click the Menu button in the lower-left corner.
- Click Reload menu.
Launching Deluge
After installation, you can launch Deluge by:
- Clicking the Menu button in the lower-left corner of the screen.
- Navigating to the Internet category.
- Clicking Deluge.
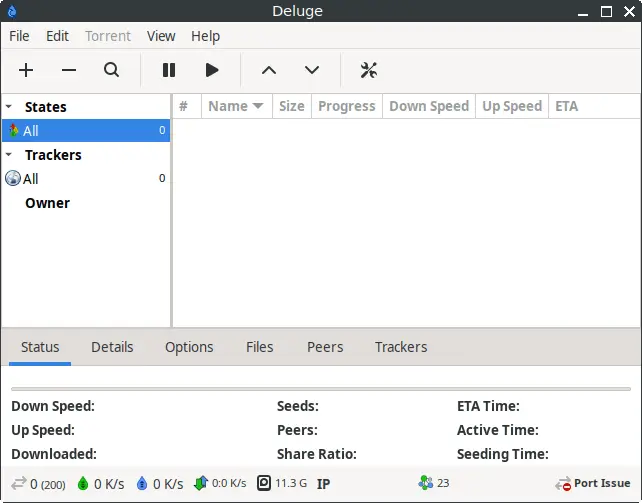
Deluge will open with its user-friendly interface, ready for you to start adding torrents and managing downloads.
How to Uninstall Deluge on FunOS
If you no longer need Deluge on your system or wish to reinstall it from scratch, you can completely remove it from FunOS. The uninstallation process differs slightly depending on whether you installed Deluge from the Ubuntu repositories or from the Deluge Team PPA. Follow the appropriate set of steps below.
Uninstall Deluge Installed from the Ubuntu Repositories
Step 1: Open a Terminal
There are several ways to open a Terminal in FunOS:
- Click Menu in the lower-left corner of the screen, then click Terminal.
- Click the Terminal icon in the Tray.
- Press Ctrl + Alt + T on your keyboard.
Step 2: Remove Deluge
Run the following command to remove Deluge and its configuration files:
sudo apt remove --purge delugeStep 3: Remove Any Unused Dependencies
Clean up unnecessary packages that were automatically installed with Deluge and are no longer needed:
sudo apt autoremove --purgeStep 4: Remove User Data (Optional)
If you also want to delete your Deluge user configuration files (such as saved torrent lists and settings), run:
rm -rf $HOME/.config/delugeThis step is optional. Skip it if you plan to reinstall Deluge later and want to keep your settings.
Step 5: Reload the Menu
After removing Deluge, reload the menu to update the application list:
- Click the Menu button in the lower-left corner.
- Click Reload menu.
Uninstall Deluge Installed from the Deluge Team PPA
If you installed Deluge from the official PPA, you’ll need to remove both the application and the PPA repository to restore your system to its previous state.
Step 1: Open a Terminal
Open a Terminal using one of the following methods:
- Click Menu in the lower-left corner of the screen, then click Terminal.
- Click the Terminal icon in the Tray.
- Press Ctrl + Alt + T.
Step 2: Remove Deluge
Use the following command to uninstall Deluge completely:
sudo apt remove --purge delugeStep 3: Remove Any Unused Dependencies
Clean up unused packages:
sudo apt autoremove --purgeStep 4: Remove the Deluge Team PPA
To remove the PPA that you previously added, run:
sudo add-apt-repository --remove ppa:deluge-team/stableStep 5: Update the Package List
After removing the PPA, update your package list to ensure your system no longer references it:
sudo apt updateStep 6: Remove User Data (Optional)
If you want to delete Deluge’s personal configuration and data files, run:
rm -rf $HOME/.config/delugeStep 7: Reload the Menu
Finally, refresh the menu so that Deluge no longer appears in the application list:
- Click the Menu button in the lower-left corner.
- Click Reload menu.
Conclusion
Deluge is a powerful yet lightweight BitTorrent client that fits perfectly into FunOS’s philosophy of simplicity and performance. Whether you install it from the Ubuntu repositories for stability or from the Deluge Team PPA for the latest features, the process is straightforward and takes only a few minutes.
By following the steps above, you can also easily uninstall Deluge and remove all traces of it from your system whenever needed. FunOS users can take advantage of Deluge’s clean interface, extensive plugin support, and efficiency to manage torrent downloads effectively while keeping system resources low.
With Deluge installed, FunOS becomes an even more capable platform for users who value speed, control, and open-source software freedom.