IBM Aspera Connect is essential software for users who need to transfer large files securely and at high speed using IBM’s proprietary FASP protocol. If you’re working with organizations that rely on IBM Aspera for data delivery — such as media companies, research institutions, or corporate partners — you’ll likely need this tool installed and configured properly on your system. This guide provides step-by-step instructions to install IBM Aspera Connect on FunOS, add the necessary browser extension, and optionally configure it to launch automatically when you log in.
What is IBM Aspera Connect?
IBM Aspera Connect is a lightweight desktop client used to initiate and manage high-speed file transfers via the Aspera web interface. It works in conjunction with your web browser and integrates seamlessly with IBM’s Aspera server infrastructure. Aspera Connect enables transfers that are significantly faster than traditional FTP or HTTP methods, especially for large files or data sets, thanks to IBM’s Fast Adaptive Secure Protocol (FASP).
Common use cases include:
- Secure data transfers between clients and servers
- Uploading and downloading files through Aspera-powered web portals
- High-speed delivery of media assets or scientific data

Adding the IBM Aspera Connect Browser Extension
To work properly, IBM Aspera Connect requires a browser extension. Here’s how to add it depending on your browser:
Firefox
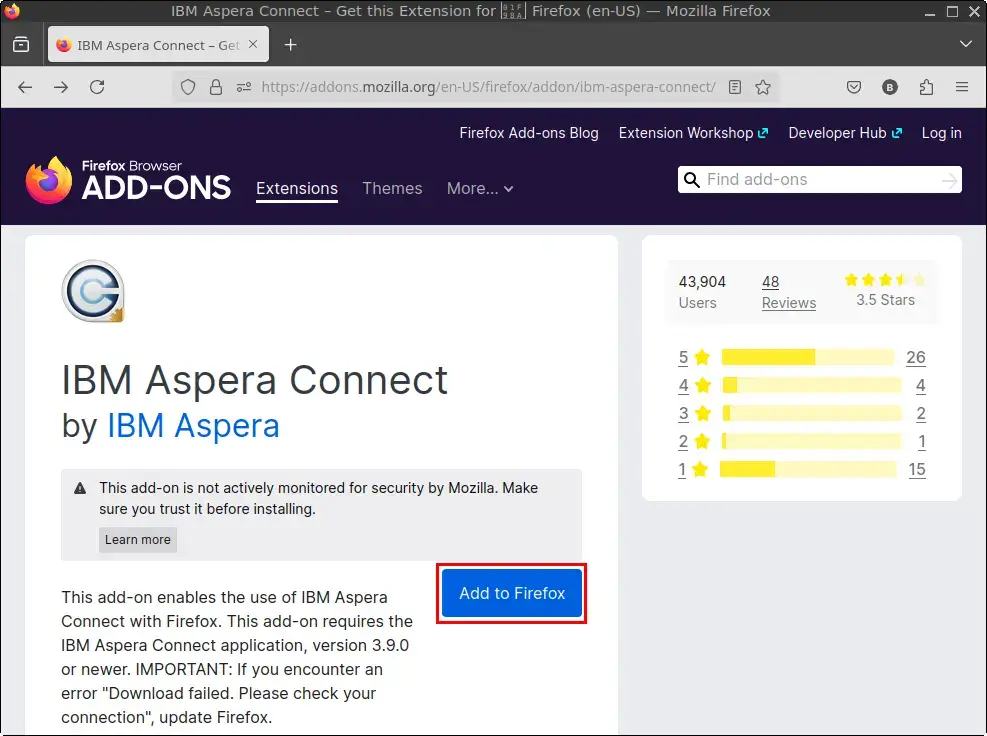
1. Visit: IBM Aspera Connect – Firefox Add-ons
2. Click Add to Firefox
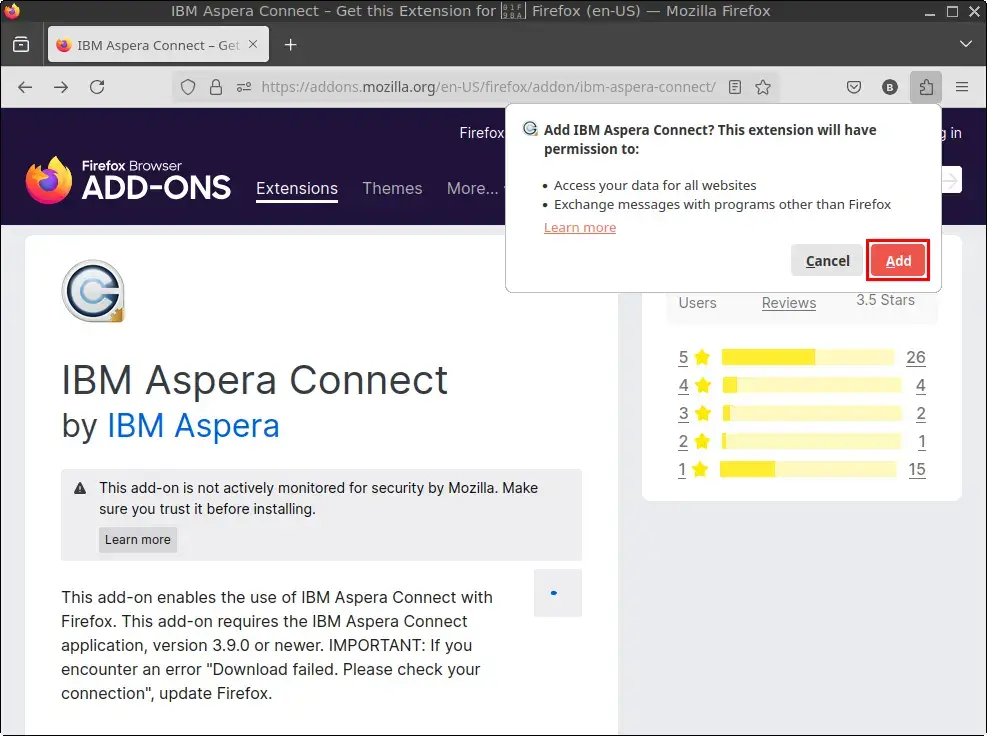
3. When prompted, click Add
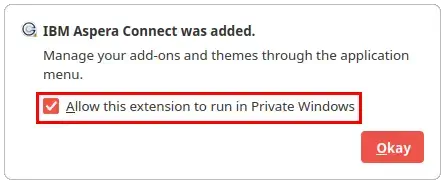
4. In the confirmation pop-up, check Allow this extension to run in Private Windows, then click Okay
Google Chrome
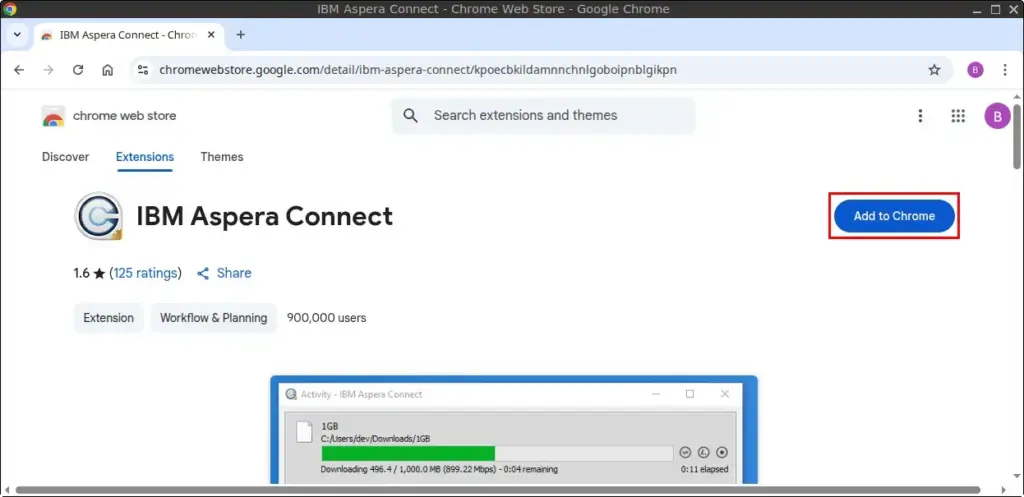
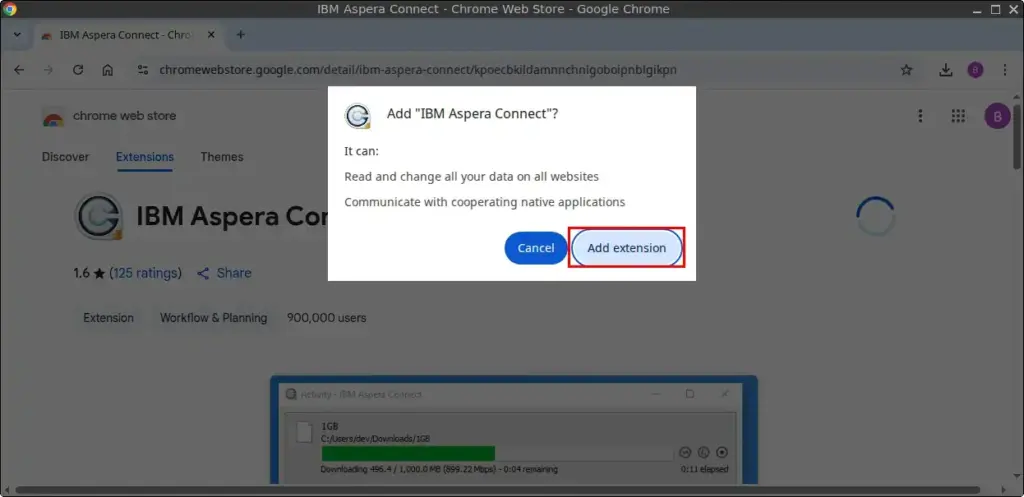
1. Visit: IBM Aspera Connect – Chrome Web Store
2. Click Add to Chrome
3. Confirm by clicking Add extension
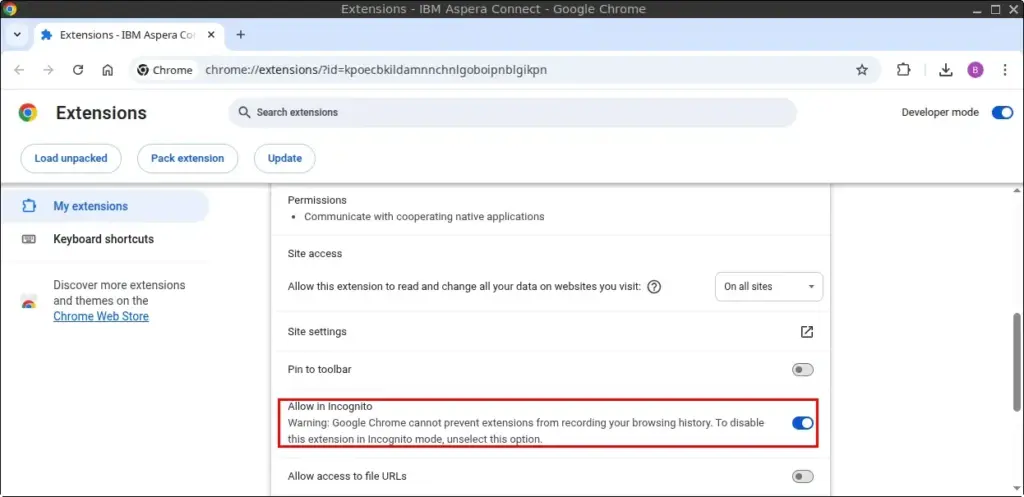
4. Click the Extensions icon (puzzle piece), then click the three-dot icon next to IBM Aspera Connect and click Manage extension
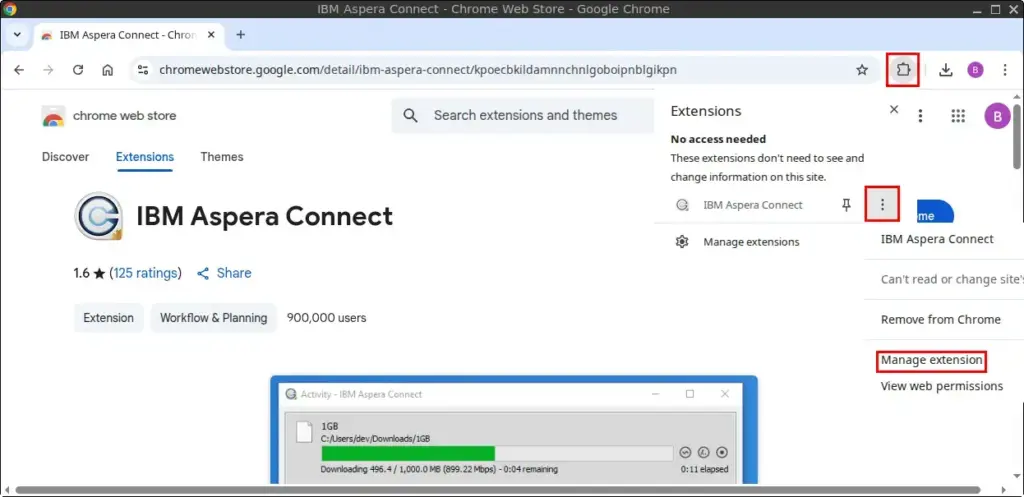
5. Enable the Allow in Incognito option
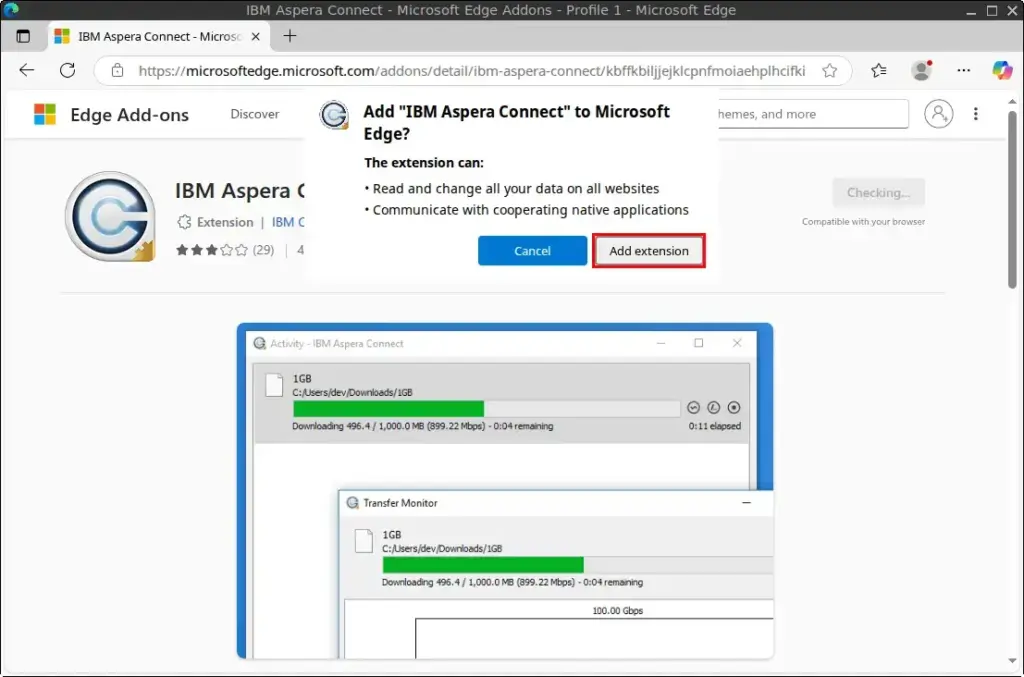
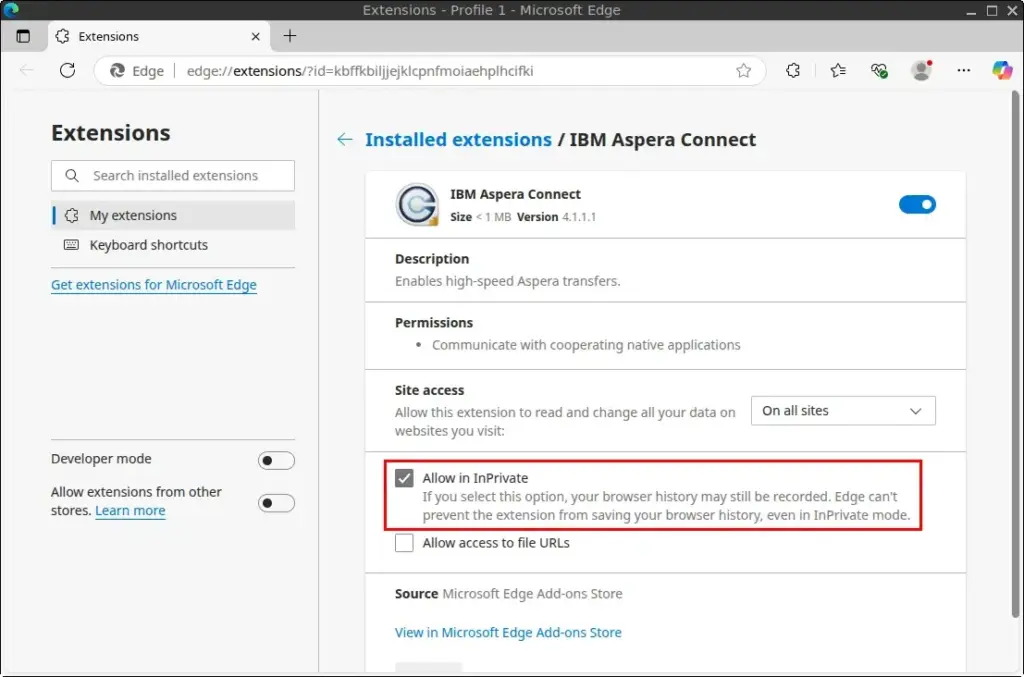
Microsoft Edge
1. Visit: IBM Aspera Connect – Microsoft Edge Add-ons
2. Click Get
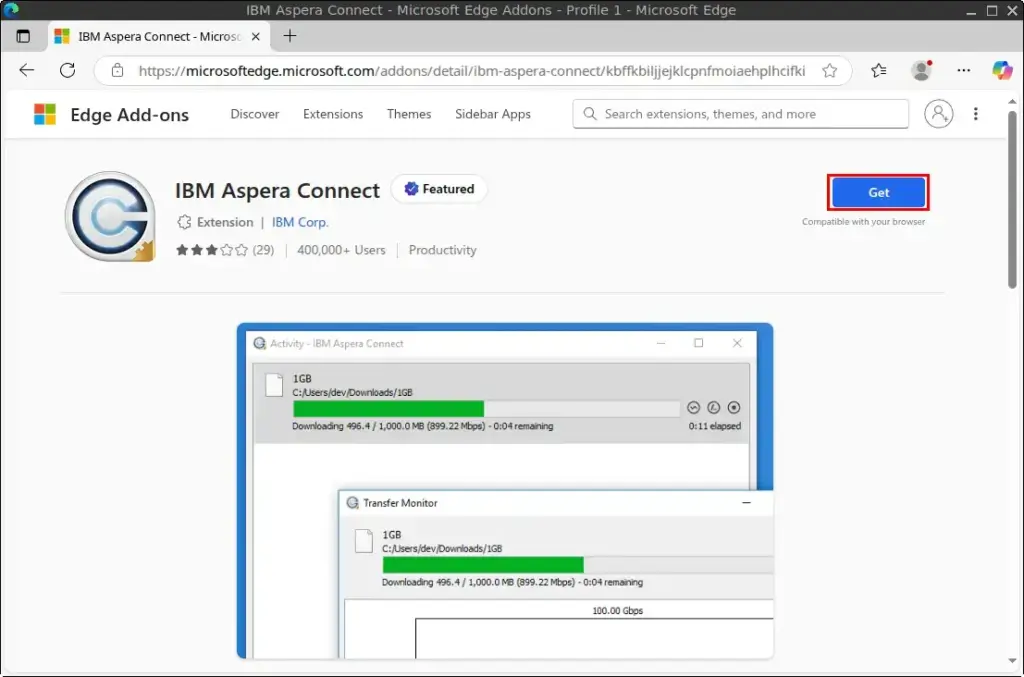
3. Confirm by clicking Add extension
4. Click the Extensions icon, then the three-dot menu next to IBM Aspera Connect, and choose Manage extension
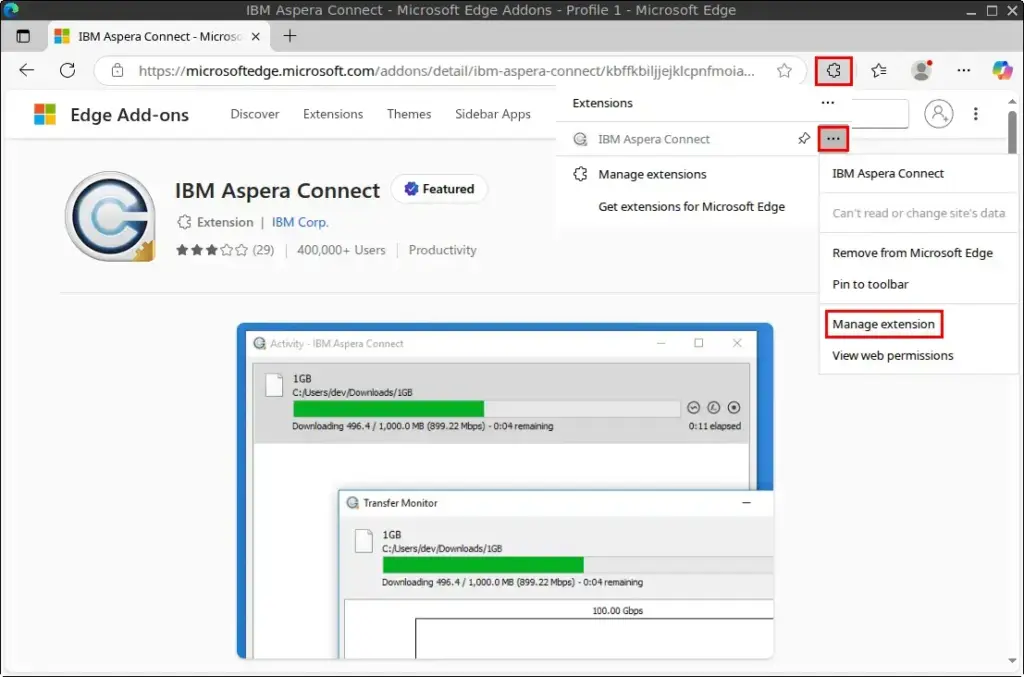
5. Enable Allow in InPrivate
How to Install IBM Aspera Connect on FunOS
Work on: 22.04.5 ✅ | 24.04.4 ✅ | 25.10 ✅ | 26.04 ✅
Follow these steps to download and install Aspera Connect:
Step 1: Download the Installer
1. Visit the official download page:
👉 IBM Aspera Downloads
2. Click IBM Aspera Connect, then click Download now for Linux.
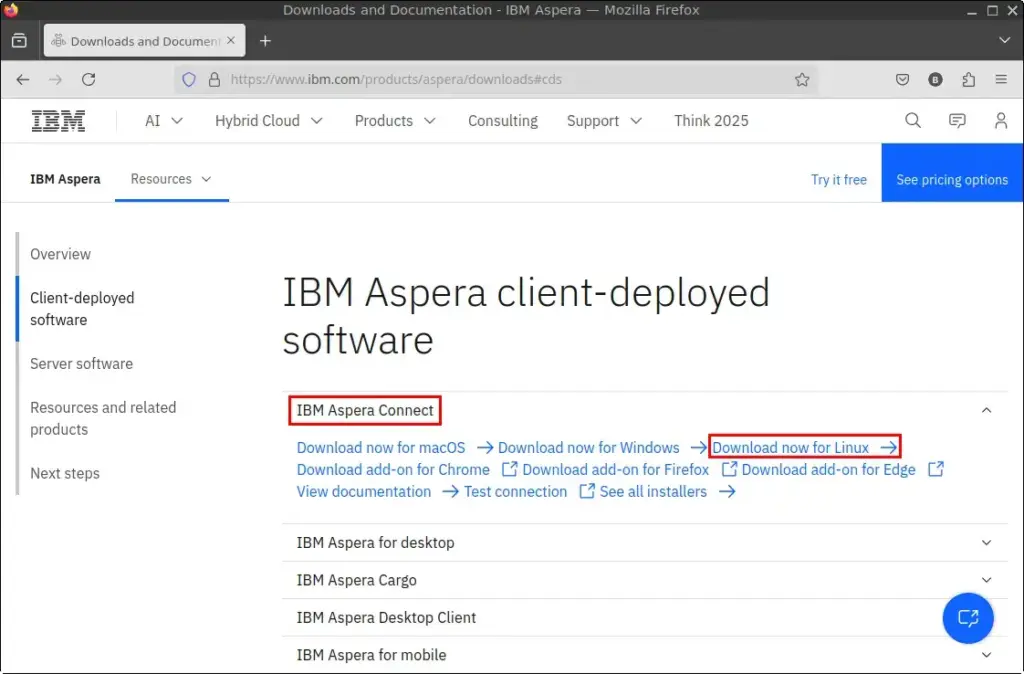
3. Save the file to your Downloads directory.
Step 2: Open the Terminal
You can open the terminal by:
- Clicking Menu > Terminal
- Clicking the terminal icon in the Tray
- Pressing Ctrl + Alt + T
Step 3: Navigate to the Downloads directory
cd ~/DownloadsStep 4: Extract the downloaded archive
tar -zxvf ibm-aspera-connect_*.tar.gzStep 5: Run the installer
./ibm-aspera-connect_*.shStep 6: Remove the downloaded archive and the installer
rm -f ibm-aspera-connect_*.tar.gz
rm -f ibm-aspera-connect_*.sh
Step 7: Reload the Menu
- Click Menu in the lower-left corner
- Click Reload menu
Launching IBM Aspera Connect
To launch the application:
- Click the Menu in the lower-left corner
- Go to the Internet category and click IBM Aspera Connect
Configure IBM Aspera Connect to Run at Startup (Optional)
To make sure IBM Aspera Connect launches automatically when you log in:
Step 1: Open the start configuration file
mousepad $HOME/.config/jwm/startStep 2: Add the following line before </JWM>:
<StartupCommand>~/.aspera/connect/bin/asperaconnect</StartupCommand>Your complete startup section should look like this:
<?xml version="1.0" encoding="UTF-8"?>
<JWM>
    <!-- Startup for program. -->
    <StartupCommand>nitrogen --restore</StartupCommand>
    <StartupCommand>cbatticon</StartupCommand>
    <StartupCommand>volumeicon</StartupCommand>
    <StartupCommand>nm-tray</StartupCommand>
    <StartupCommand>lxpolkit</StartupCommand>
    <StartupCommand>xscreensaver --no-splash</StartupCommand>
    <StartupCommand>xdg-user-dirs-update</StartupCommand>
    <StartupCommand>~/.aspera/connect/bin/asperaconnect</StartupCommand>
</JWM>
Save the file and close Mousepad.
Step 3: Log out and back in
To apply the change:
- Click Menu > Log Out
- Click Logout
- Then log back in
How to Uninstall IBM Aspera Connect on FunOS
If you no longer need IBM Aspera Connect, follow these steps to remove it:
Step 1: Remove the application directory
rm -rf $HOME/.asperaStep 2: Remove the desktop entry
rm -f $HOME/.local/share/applications/aspera-connect.desktopStep 3: (Optional) Remove user configuration data
rm -rf $HOME/.config/asperaStep 4: Reload the Menu
- Click Menu in the lower-left corner
- Click Reload menu
Conclusion
Installing IBM Aspera Connect on FunOS is straightforward and provides access to high-performance file transfers through supported web portals. Whether you use Firefox, Chrome, or Edge, don’t forget to install the required browser extension for seamless functionality. You can also configure the client to start automatically at login for better integration with your workflow. If you no longer need the tool, uninstalling it is just as easy.