Kodi is one of the most popular open-source media center applications available today. With Kodi, you can transform your PC or laptop into a powerful home theater system capable of playing videos, music, and photos from both local storage and online sources. Thanks to its wide range of add-ons and customization options, Kodi is not just a media player—it’s a complete entertainment hub. In this guide, we’ll walk you through the steps to install Kodi on FunOS, how to launch it, and how to remove it if you no longer need it.
What is Kodi?
Kodi, originally known as XBMC (Xbox Media Center), is a free and open-source media center developed by the Kodi Foundation. It runs on multiple platforms, including Linux, Windows, macOS, Android, and even Raspberry Pi.
Here are some of Kodi’s key features:
- 🎬 Multimedia Playback – Play almost any video or audio format directly from your local storage.
- 🌐 Add-ons and Extensions – Access online services such as YouTube, Twitch, weather information, and more via add-ons.
- 📺 Live TV and PVR – With the right hardware and plugins, you can watch and record live TV.
- 🎨 Customizable Interface – Change the look of Kodi with skins and themes to match your preferences.
- 📱 Remote Control Options – Control Kodi using a keyboard, mouse, remote control, or a smartphone app.
Because of these features, Kodi is widely used by home theater enthusiasts who want a centralized and customizable media solution.
How to Install Kodi on FunOS
Work on: 22.04.5 ✅ | 24.04.3 ✅ | 25.04 ✅ | 25.10 ✅ | 26.04 ✅
Installing Kodi on FunOS is straightforward, as it is available in the official Ubuntu repositories. Follow these steps:
Step 1: Open a Terminal
There are three ways to open a terminal in FunOS:
- Click Menu in the lower-left corner of the screen, then click Terminal.
- Click the Terminal icon in the Tray.
- Press Ctrl + Alt + T on your keyboard.
Step 2: Update the Package List
Before installing any software, update the package list to ensure you’re getting the latest version available in the repository:
sudo apt updateStep 3: Install Kodi
Now, install Kodi by running the following command:
sudo apt install kodiThe system will download and install Kodi along with its required dependencies.
Step 4: Reload the Menu
After installation, you need to reload the menu so that the new Kodi entry appears:
- Click the Menu button in the lower-left corner.
- Click Reload menu.
Launching Kodi
Once installed, you can launch Kodi from the Menu:
- Click the Menu button in the lower-left corner.
- Go to the Multimedia category.
- Select Kodi to start the application.
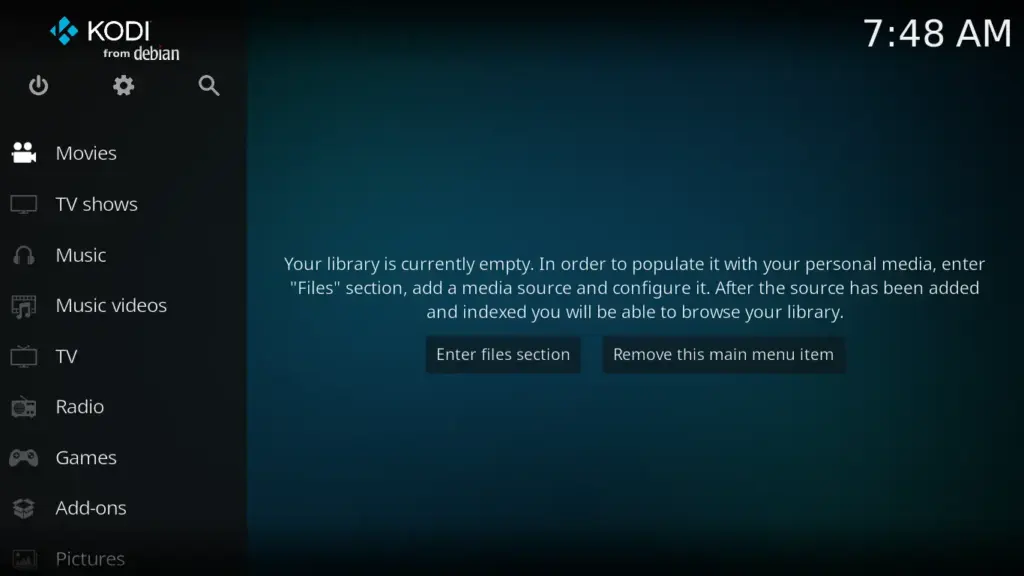
Kodi will open in full-screen mode, and you can begin customizing it to your liking.
How to Uninstall Kodi on FunOS
If you decide you no longer need Kodi, you can completely remove it from your system by following these steps:
Step 1: Open a Terminal
Open a terminal using one of the methods mentioned earlier.
Step 2: Remove Kodi
Run the following command to uninstall Kodi:
sudo apt remove --purge kodiStep 3: Remove Any Unused Dependencies
Clean up any packages that were installed with Kodi but are no longer needed:
sudo apt autoremove --purgeStep 4: Remove User Data (Optional)
If you want to completely erase Kodi’s configuration files and user data, run:
rm -rf $HOME/.kodiStep 5: Reload the Menu
After removal, reload the menu to update it:
- Click the Menu button in the lower-left corner.
- Click Reload menu.
Conclusion
Kodi is a powerful and versatile media center that can significantly enhance your entertainment experience on FunOS. With just a few simple steps, you can install and start using Kodi to manage your media library or stream content online. And if you ever decide you no longer need it, uninstalling is just as easy. Whether you’re a casual user or a home theater enthusiast, Kodi is a great addition to your FunOS system.
Leave a Reply