LocalSend is a fast, secure, and open-source solution for transferring files between devices on the same local network. It works without needing an internet connection, making it perfect for sharing files quickly and privately across different platforms—including Linux, Windows, macOS, Android, and iOS.
In this article, we will guide you through the steps to install and uninstall LocalSend on FunOS, including how to launch it after installation and how to cleanly remove it if needed.
What is LocalSend?
LocalSend is a free and open-source application that allows you to send files, text, and links between nearby devices using your local network. It is cross-platform, meaning it supports Linux, Windows, macOS, Android, and iOS. Unlike cloud-based file-sharing apps, LocalSend does not require an internet connection or a central server—everything is done peer-to-peer over your local Wi-Fi network using end-to-end encryption.
Some key features of LocalSend include:
- Cross-platform support
- Simple, clean user interface
- No internet required
- End-to-end encrypted transfers
- Open-source (licensed under Apache 2.0)
How to Install LocalSend on FunOS
Work on: 22.04.5 ✅ | 24.04.4 ✅ | 25.10 ✅ | 26.04 ✅
Follow the steps below to install LocalSend on FunOS.
Step 1: Download the LocalSend .deb File
1. Visit the official LocalSend download page at https://localsend.org/download.
2. Click on the Linux tab.
3. Under the Binaries section, click on the DEB link.
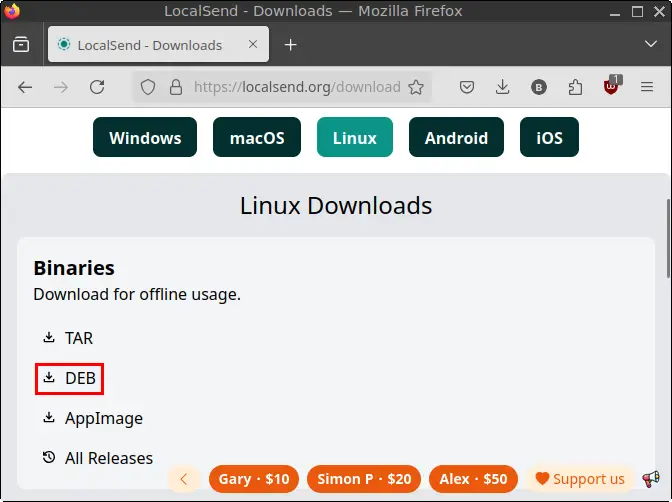
4. Save the .deb file in your Downloads directory.
Step 2: Open a Terminal
You can open the Terminal using one of the following methods:
- Click the Menu in the lower-left corner, then select Terminal.
- Click the Terminal icon in the Tray.
- Press
Ctrl+Alt+Ton your keyboard.
Step 3: Navigate to the Downloads Directory
In the Terminal, run the following command:
cd ~/DownloadsStep 4: Update the Package List
Update your system’s package list to ensure you have access to the latest software packages:
sudo apt updateStep 5: Install Required Dependencies
Install the dependency required for the system tray icon to work correctly:
sudo apt install libayatana-appindicator3-1Step 6: Install LocalSend
Use the following command to install the downloaded .deb package:
sudo apt install ./LocalSend-*.debStep 7: Remove the Downloaded .deb File
Once LocalSend is installed, you can safely remove the installation file:
rm -f LocalSend-*.debStep 8: Reload the Menu
To make LocalSend appear in the menu, follow these steps:
- Click the Menu button in the lower-left corner.
- Click Reload menu.
Launching LocalSend
After reloading the menu:
- Click the Menu button in the lower-left corner of the screen.
- Go to the Accessories category.
- Click on LocalSend to launch the application.
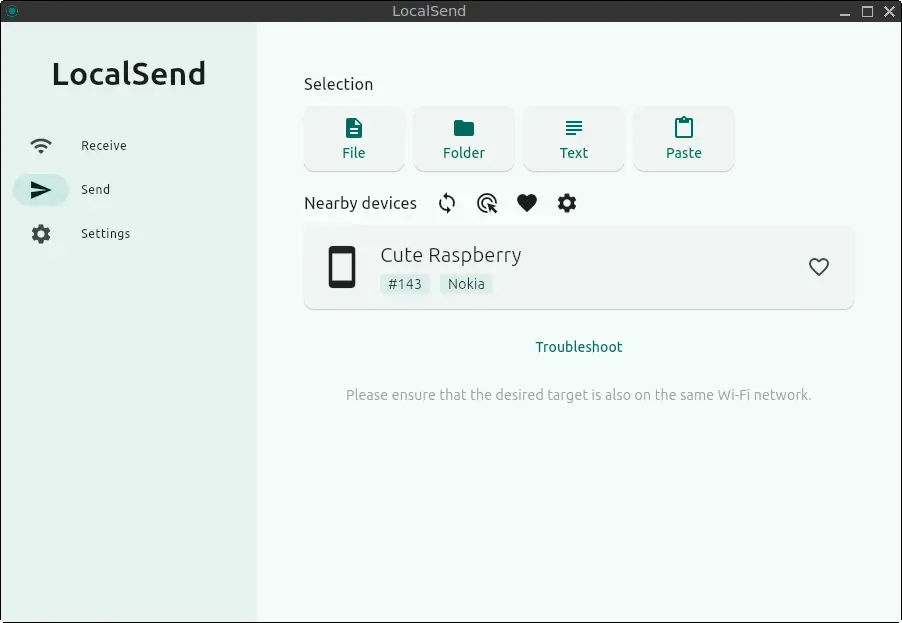
Once launched, LocalSend will appear in your system tray. From there, you can send and receive files between devices connected to the same local network.
How to Uninstall LocalSend on FunOS
If you want to uninstall LocalSend for any reason, follow the steps below.
Step 1: Open a Terminal
Use the Menu, Tray icon, or Ctrl + Alt + T shortcut to open the Terminal.
Step 2: Remove LocalSend
To remove the application and its configuration files:
sudo apt remove --purge localsendStep 3: Remove Any Unused Dependencies
To clean up any dependencies no longer needed:
sudo apt autoremove --purgeStep 4: Remove User Data (Optional)
If you want to remove all user data related to LocalSend:
rm -rf $HOME/.local/share/localsend_appStep 5: Reload the Menu
- Click the Menu button in the lower-left corner.
- Click Reload menu to update the menu entries.
Conclusion
LocalSend is a powerful and user-friendly tool for transferring files securely over a local network. It integrates well with FunOS, offering a simple installation process and seamless usage. Whether you’re sending files between laptops or sharing links from your phone to your PC, LocalSend is an excellent choice for fast and private local file transfers—without the need for the cloud or internet.