Obsidian is a powerful knowledge-management application designed for users who want to organize their ideas using a fast, flexible, and Markdown-based note-taking system. On FunOS, you can install Obsidian using two different methods: by installing the official .deb package provided on Obsidian’s GitHub Releases page, or by using the .tar.gz package for a manual installation. This guide will walk you through both methods step by step so you can choose the one that best fits your needs.
What is Obsidian?
Obsidian is a feature-rich, cross-platform note-taking and knowledge-base application built around local Markdown files. It allows you to create interconnected notes, visualize connections using a graph view, and extend functionality with a wide range of community plugins and themes. Because your notes are stored locally, you maintain full control over your data while benefiting from Obsidian’s advanced editing tools, customization options, and powerful linking system—making it an ideal tool for students, writers, developers, researchers, and productivity enthusiasts.
How to Install Obsidian on FunOS
Method 1: Using the .deb package from Obsidian Official GitHub
Step 1: Download the Obsidian .deb File
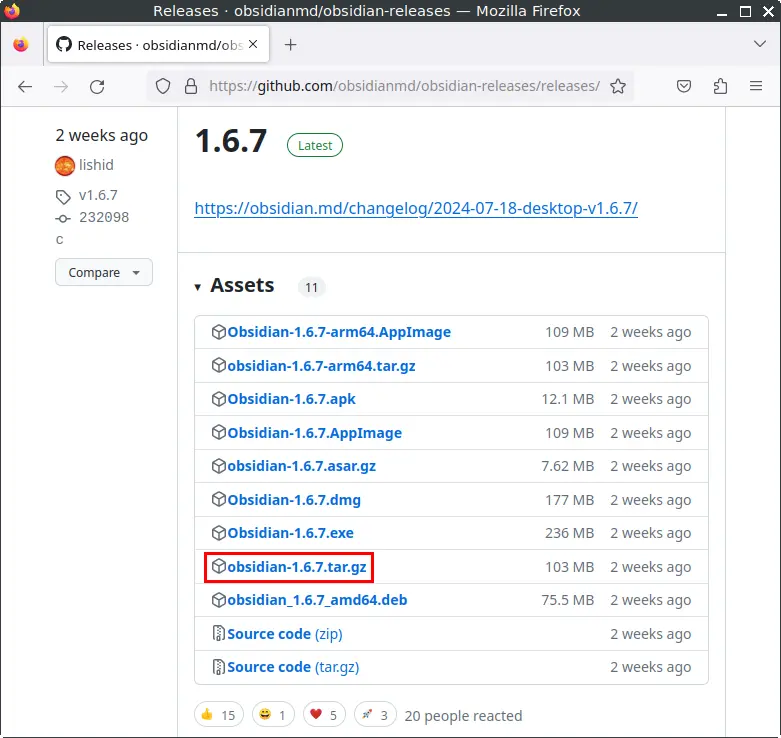
- Go to the Obsidian Releases Page on GitHub (https://github.com/obsidianmd/obsidian-releases/releases/).
- In the Assets section, download the file with the extension amd64.deb.
- Save the file in your Downloads directory.

Step 2: Open a Terminal
Choose one of the following options:
- Click Menu in the left corner of the screen, then click Terminal
- Click the Terminal icon in the Tray
- Press Ctrl + Alt + T
Step 3: Navigate to the Downloads Directory
cd ~/DownloadsStep 4: Update the Package List
sudo apt updateStep 5: Install Obsidian
sudo apt install ./obsidian_*.debStep 6: Remove the Downloaded .deb File
rm -f obsidian_*.debStep 7: Reload the Menu
- Click the Menu button in the lower-left corner
- Click Reload menu
Method 2: Using the .tar.gz package from Obsidian Official GitHub
Step 1: Download the Obsidian .tar.gz File
- Go to the Obsidian Releases Page on GitHub (https://github.com/obsidianmd/obsidian-releases/releases/).
- In the Assets section, download the
.tar.gzfile. - Save the file in your Downloads directory.
Step 2: Open a Terminal
Choose one of the following options:
- Click Menu in the left corner of the screen, then click Terminal
- Click the Terminal icon in the Tray
- Press Ctrl + Alt + T
Step 3: Create the Obsidian Directory in /opt
sudo mkdir -p /opt/ObsidianStep 4: Extract the .tar.gz File to the /opt/Obsidian Directory
sudo tar -xvzf ~/Downloads/obsidian-*.tar.gz --strip-components=1 -C /opt/ObsidianStep 5: Create a Symbolic Link to the Obsidian Executable
sudo ln -sf /opt/Obsidian/obsidian /usr/bin/obsidianStep 6: Create a Desktop Entry for Obsidian
1. Open the desktop entry file:
sudo mousepad /usr/share/applications/obsidian.desktop2. Paste the following content into the file:
[Desktop Entry]
Name=Obsidian
Exec=/usr/bin/obsidian %U
Terminal=false
Type=Application
Icon=obsidian
StartupWMClass=obsidian
Comment=Obsidian
MimeType=x-scheme-handler/obsidian;
Categories=Office;
3. Save the file and close Mousepad.
Step 7: Remove the Downloaded File
rm -f ~/Downloads/obsidian-*.tar.gzStep 8: Update the Package List
sudo apt updateStep 9: Install the Necessary Dependencies
sudo apt install libappindicator3-1Step 10: Reload the Menu
- Click the Menu button in the lower-left corner
- Click Reload menu
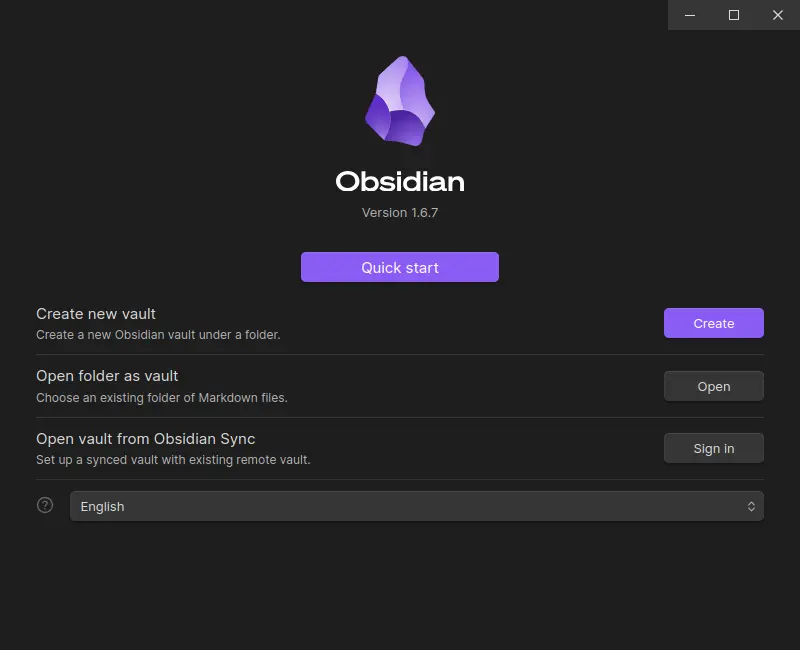
Launching Obsidian
To launch Obsidian:
- Click the Menu button in the lower-left corner
- Open the Office category
- Click Obsidian
How to Uninstall Obsidian on FunOS
Uninstalling Obsidian from FunOS depends on how you originally installed it. This section provides complete instructions for removing Obsidian installed either through the official .deb package or manually using the .tar.gz archive.
Uninstall Obsidian Installed from the Obsidian .deb File
Step 1: Open a Terminal
Choose one of the options below:
- Click Menu in the left corner of the screen, then click Terminal
- Click the Terminal icon in the Tray
- Press Ctrl + Alt + T
Step 2: Remove Obsidian
Use the following command to remove Obsidian along with its configuration files under /etc:
sudo apt remove --purge obsidianStep 3: Remove Any Unused Dependencies
Clean up packages no longer needed by the system:
sudo apt autoremove --purgeStep 4: Remove User Data (Optional)
If you also want to remove all personal settings and vault configurations, run:
rm -rf $HOME/.config/obsidianStep 5: Reload the Menu
- Click the Menu button in the lower-left corner
- Click Reload menu
Uninstall Obsidian Installed from the Obsidian .tar.gz File
Step 1: Open a Terminal
Choose one of the following:
- Click Menu in the left corner of the screen, then click Terminal
- Click the Terminal icon in the Tray
- Press Ctrl + Alt + T
Step 2: Remove the Obsidian Directory
Delete the installation directory from /opt:
sudo rm -rf /opt/ObsidianStep 3: Remove the Symbolic Link
Remove the symbolic link created during installation:
sudo rm -f /usr/bin/obsidianStep 4: Remove the Desktop Entry
Delete the launcher file from the applications directory:
sudo rm -f /usr/share/applications/obsidian.desktopStep 5: Remove User Data (Optional)
If you want to completely remove all user-related data:
rm -rf $HOME/.config/obsidianStep 6: Reload the Menu
- Click the Menu button in the lower-left corner
- Click Reload menu
Conclusion
Installing Obsidian on FunOS is straightforward, whether you prefer using the official .deb package or manually setting up the .tar.gz version. Both methods allow you to enjoy Obsidian’s powerful note-taking and personal knowledge-management features. If you ever need to uninstall the application, the process is just as simple—this guide provides all the steps needed to remove Obsidian cleanly, along with its optional user data. With Obsidian properly installed or removed, you can keep your FunOS system clean, organized, and ready for your workflow.
Leave a Reply