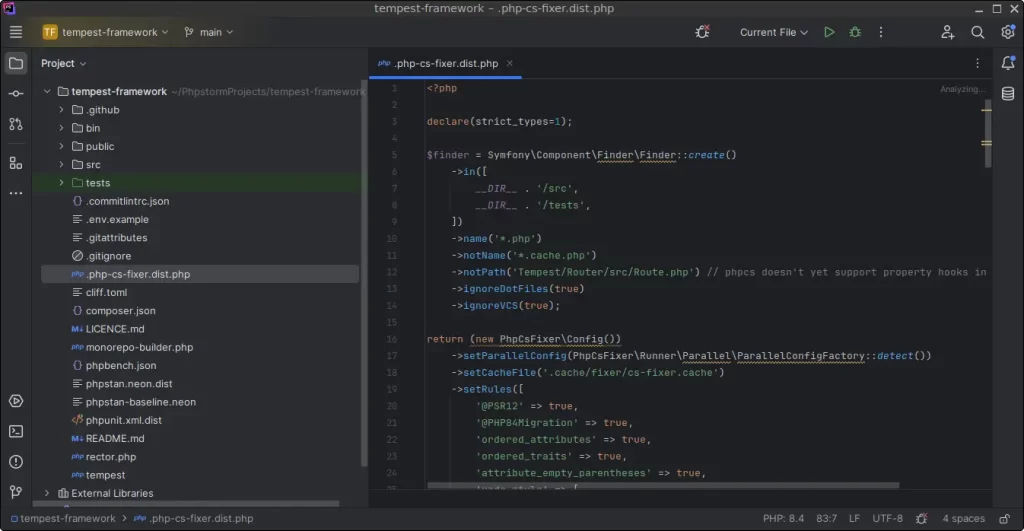
PhpStorm is a popular integrated development environment (IDE) designed specifically for PHP developers. If you’re using FunOS and want a powerful tool for your PHP projects, PhpStorm is a fantastic choice. In this guide, we’ll walk you through installing PhpStorm on FunOS, step by step.
What is PhpStorm?
PhpStorm is a cross-platform IDE created by JetBrains, tailored for web development using PHP. It supports popular frameworks such as Laravel, Symfony, and Zend. With features like smart code navigation, real-time editing, debugging, and testing, PhpStorm enhances productivity and provides developers with a comprehensive toolset to build and maintain PHP projects.

How to Install PhpStorm on FunOS
Work on: 22.04.5 ✅ | 24.04.3 ✅ | 25.04 ✅ | 25.10 ✅ | 26.04 ✅
Step 1: Open a Terminal
You can open a terminal using one of the following methods:
- Click Menu in the lower-left corner of the screen, then select Terminal.
- Click the Terminal icon in the Tray.
- Press Ctrl + Alt + T on your keyboard.
Step 2: Update the Package List
Before installing new software, it’s always a good idea to ensure your package list is up-to-date. Run the following command:
sudo apt updateStep 3: Install the Necessary Dependencies
PhpStorm requires specific dependencies. Install them by running:
sudo apt install apt-transport-https curlStep 4: Add the GPG Key
To securely add the PhpStorm repository, import the JetBrains GPG key:
curl -s https://s3.eu-central-1.amazonaws.com/jetbrains-ppa/0xA6E8698A.pub.asc | gpg --dearmor | sudo tee /usr/share/keyrings/jetbrains-ppa-archive-keyring.gpg > /dev/nullStep 5: Add the Repository
Add the JetBrains repository to your system:
echo "deb [signed-by=/usr/share/keyrings/jetbrains-ppa-archive-keyring.gpg] http://jetbrains-ppa.s3-website.eu-central-1.amazonaws.com any main" | sudo tee /etc/apt/sources.list.d/jetbrains-ppa.list > /dev/nullStep 6: Update the Package List Again
Refresh your package list to include the PhpStorm repository:
sudo apt updateStep 7: Install Git
PhpStorm requires Git for version control. Install it using:
sudo apt install gitStep 8: Install PhpStorm
Finally, install PhpStorm by running the following command:
sudo apt install phpstormStep 9: Reload the Menu
For PhpStorm to appear in your menu:
- Click the Menu button in the lower-left corner.
- Click Reload menu.
Launching PhpStorm
Once installed, you can launch PhpStorm by navigating to the Menu > Development section.
How to Uninstall PhpStorm on FunOS
If you no longer need PhpStorm, you can follow these steps to remove it from your system.
Step 1: Open a Terminal
Use one of the methods mentioned above to open a terminal.
Step 2: Remove PhpStorm
Uninstall PhpStorm by running:
sudo apt remove --purge phpstormStep 3: Remove Git
If Git is no longer required, remove it using:
sudo apt remove --purge gitStep 4: Remove Any Unused Dependencies
Clean up any unused packages with:
sudo apt autoremove --purgeStep 5: Remove the Repository and Key (Optional)
To clean up your system, you can remove the JetBrains repository and key:
sudo rm -f /etc/apt/sources.list.d/jetbrains-ppa.list
sudo rm -f /usr/share/keyrings/jetbrains-ppa-archive-keyring.gpg
Step 6: Update the Package List
Refresh your package list again:
sudo apt updateStep 7: Remove User Data (Optional)
To delete all PhpStorm-related user data, execute the following commands:
rm -rf $HOME/.cache/JetBrains
rm -rf $HOME/.config/JetBrains
rm -rf $HOME/.java
rm -rf $HOME/.local/share/JetBrains
rm -rf $HOME/PhpstormProjects
Step 8: Reload the Menu
For the menu to reflect these changes:
- Click the Menu button in the lower-left corner.
- Click Reload menu.
Conclusion
PhpStorm is a powerful IDE for PHP developers, and installing it on FunOS is straightforward. Whether you’re starting with PhpStorm or uninstalling it, the steps above will guide you through the process. With PhpStorm, you’ll have all the tools you need to enhance your PHP development experience on FunOS.
If you have questions or encounter issues, feel free to leave a comment or check the official PhpStorm documentation. Happy coding!

Leave a Reply