Using a VPN (Virtual Private Network) is one of the best ways to protect your privacy and secure your internet connection. Whether you’re browsing on public Wi-Fi, accessing sensitive information, or simply want to maintain anonymity online, a VPN can help. One of the most reliable and user-friendly VPN services available today is Surfshark VPN.
In this guide, you’ll learn how to install Surfshark VPN on FunOS, launch it from the system menu, and uninstall it completely if needed.
What is Surfshark VPN?
Surfshark VPN is a commercial VPN service that encrypts your internet traffic, masks your IP address, and protects your online identity. It was launched in 2018 and has grown rapidly in popularity due to its ease of use, affordable pricing, and powerful features.
Some of Surfshark’s key features include:
- NoBorders Mode – Bypass internet censorship and restrictions.
- CleanWeb – Block ads, trackers, and malware.
- MultiHop – Route traffic through multiple countries for added anonymity.
- Kill Switch – Prevent your IP address from leaking if the VPN connection drops.
- WireGuard & OpenVPN – Modern, secure VPN protocols.
- Unlimited devices – Use Surfshark on as many devices as you want with a single subscription.
Surfshark provides native support for Linux through a Graphical User Interface (GUI) application, making it easy to use on FunOS.
How to Install Surfshark VPN on FunOS
Work on: 22.04.5 ✅ | 24.04.3 ✅ | 25.04 ✅ | 25.10 ✅ | 26.04 ✅
Step 1: Open a Terminal
There are several ways to open the Terminal in FunOS:
- Click the Menu button in the lower-left corner, then click Terminal.
- Click the Terminal icon in the Tray.
- Press Ctrl + Alt + T on your keyboard.
Step 2: Install Surfshark VPN
Once the Terminal is open, run the following command to download and install Surfshark VPN:
curl -fsSL https://downloads.surfshark.com/linux/debian-install.sh | shThis command fetches and executes the official Surfshark installation script, which adds the repository and key, and install Surfshark VPN.
Step 3: Reload the Menu
After installation is complete:
- Click the Menu button in the lower-left corner.
- Click Reload menu.
This step ensures that the newly installed Surfshark VPN application appears in your system menu.
Launching Surfshark VPN
To start Surfshark VPN:
- Click the Menu button in the lower-left corner.
- Look in the Accessories category.
- Click on Surfshark to launch the VPN application.
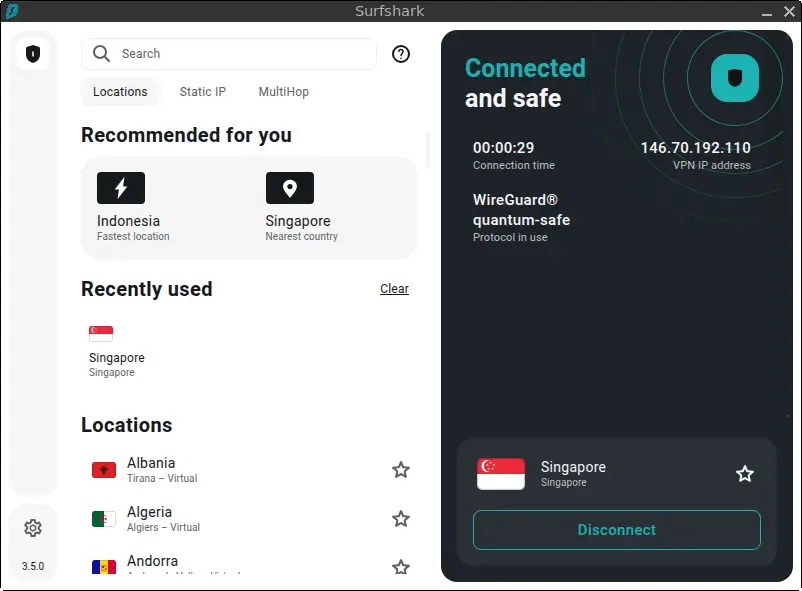
Once launched, you’ll be prompted to log in with your Surfshark account. After logging in, you can connect to any VPN server with a simple click, manage preferences, and activate features like Kill Switch or Auto-connect—all through the GUI.
How to Uninstall Surfshark VPN on FunOS
If you decide to remove Surfshark VPN from your system, follow the steps below to ensure a complete uninstallation.
Step 1: Open a Terminal
Open the Terminal using one of the methods mentioned earlier.
Step 2: Remove Surfshark VPN
Run the following command to uninstall Surfshark:
sudo apt remove --purge surfsharkStep 3: Remove Any Unused Dependencies
To clean up leftover packages that are no longer needed:
sudo apt autoremove --purgeStep 4: Remove the Repository and Key (Optional)
If you also want to remove the Surfshark repository and GPG key:
sudo rm -f /etc/apt/sources.list.d/surfshark.list
sudo rm -f /etc/apt/trusted.gpg.d/surfshark.asc
Step 5: Update the Package List
After removing the repository:
sudo apt updateStep 6: Remove User Data (Optional)
If you want to remove all Surfshark configuration files stored in your user directory:
rm -rf $HOME/.config/SurfsharkStep 7: Reload the Menu
To refresh the system menu:
- Click the Menu button in the lower-left corner.
- Click Reload menu.
Conclusion
Installing Surfshark VPN on FunOS is quick and straightforward, thanks to the official installation script provided by Surfshark. With powerful privacy features and support for unlimited devices, Surfshark is a great option for anyone who values secure and unrestricted internet access.
Whether you’re using it for privacy, streaming, or bypassing censorship, Surfshark helps keep your online activities protected. If you ever decide to remove it, the uninstallation steps above ensure your system stays clean and tidy.
Leave a Reply