Vivaldi is one of the most powerful and customizable web browsers available for Linux users today. Built on the Chromium engine, it offers a familiar browsing experience with a wide range of unique features such as tab stacking, split-screen view, extensive keyboard shortcuts, and built-in tools like Notes, Capture, and Mail. For FunOS users who appreciate flexibility and performance, Vivaldi is an excellent alternative to mainstream browsers such as Firefox, Chrome, or Edge.
In this article, we’ll guide you through two different methods to install Vivaldi on FunOS. Both methods add the Vivaldi repository and key, ensuring that Vivaldi receives automatic updates via the FunOS software update system (APT). Each method is straightforward and safe to perform.
What is Vivaldi?
Vivaldi is a cross-platform web browser developed by Vivaldi Technologies, a company founded by Jon Stephenson von Tetzchner, the co-founder and former CEO of Opera Software. The browser is designed with user customization and privacy at its core. Unlike other Chromium-based browsers, Vivaldi does not track user behavior and provides deep control over nearly every aspect of the browser’s interface and functionality.
Key features include:
- Customizable Interface – Rearrange toolbars, menus, and themes to suit your preferences.
- Tab Management – Features like tab stacking, tiling, and grouping allow efficient multitasking.
- Privacy-Focused – Built-in tracker and ad blocker, no user data collection.
- Productivity Tools – Integrated Notes, Mail client, Calendar, Feed Reader, and Screen Capture.
- Cross-Platform Sync – Sync bookmarks, settings, and extensions securely across devices.
With its combination of privacy, power, and flexibility, Vivaldi stands out as a great choice for users who value both functionality and control.
How to Install Vivaldi on FunOS
Method 1: Installing from the Vivaldi Repositories
Work on: 22.04.5 ✅ | 24.04.4 ✅ | 25.10 ✅ | 26.04 ✅
This method adds the Vivaldi repository and key, ensuring that Vivaldi receives automatic updates via the FunOS software update system (apt).
Step 1: Open a Terminal
You can open the Terminal using one of the following methods:
- Click Menu in the lower-left corner of the screen, then click Terminal
- Click the Terminal icon in the Tray
- Press Ctrl + Alt + T
Step 2: Update the Package List
sudo apt updateStep 3: Install the Necessary Dependencies
sudo apt install apt-transport-https curlStep 4: Add the GPG Key
This key verifies the authenticity of packages downloaded from the Vivaldi repository.
curl -fSsL https://repo.vivaldi.com/archive/linux_signing_key.pub | gpg --dearmor | sudo tee /etc/apt/trusted.gpg.d/vivaldi-browser.gpg > /dev/nullStep 5: Add the Repository
echo "deb [arch=amd64] https://repo.vivaldi.com/stable/deb/ stable main" | sudo tee /etc/apt/sources.list.d/vivaldi.listStep 6: Update the Package List Again
sudo apt updateStep 7: Install Vivaldi
sudo apt install vivaldi-stableStep 8: Reload the Menu
After installation, refresh the JWM menu to make Vivaldi appear in the Internet section.
- Click the Menu button in the lower-left corner.
- Click Reload menu.
Method 2: Using the .deb Package from Vivaldi’s Official Website
Work on: 22.04.5 ✅ | 24.04.4 ✅ | 25.10 ✅ | 26.04 ✅
This method installs Vivaldi using the .deb package from the official website, and it also adds the Vivaldi repository and key automatically during installation — ensuring that Vivaldi receives automatic updates via the FunOS software update system (apt).
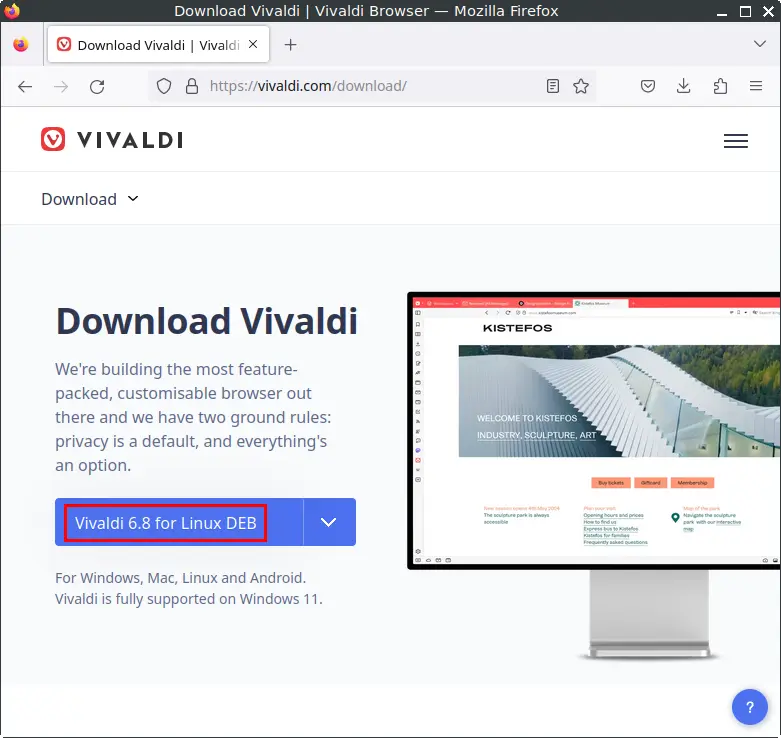
Step 1: Download the Vivaldi .deb File
Go to the official Vivaldi download page and click the “Vivaldi x.x for Linux DEB” button.
Save the file in your Downloads directory.
Step 2: Open a Terminal
You can open the Terminal using one of the following methods:
- Click Menu in the lower-left corner of the screen, then click Terminal
- Click the Terminal icon in the Tray
- Press Ctrl + Alt + T
Step 3: Navigate to the Downloads Directory
cd ~/DownloadsStep 4: Update the Package List
sudo apt updateStep 5: Install Vivaldi
sudo apt install ./vivaldi-stable_*.debStep 6: Remove the Downloaded .deb File
rm -f vivaldi-stable_*.debStep 7: Reload the Menu
After installation, refresh the JWM menu to make Vivaldi appear.
- Click the Menu button in the lower-left corner.
- Click Reload menu.
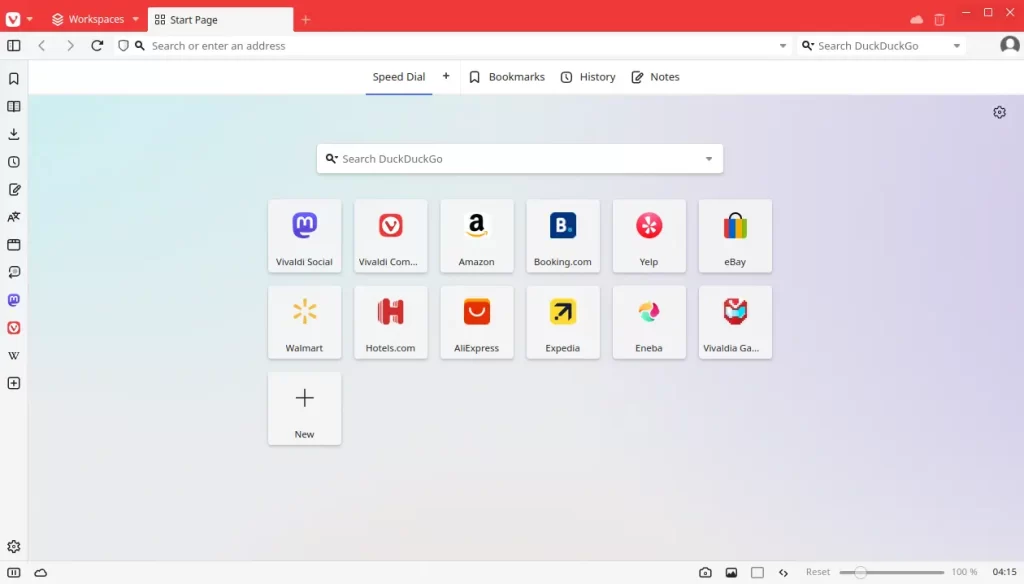
Launching Vivaldi
After successfully installing Vivaldi on FunOS, you can launch it from the system menu.
- Click the Menu button in the lower-left corner of the screen.
- Go to the Internet section.
- Click Vivaldi to start the browser.
When you open Vivaldi for the first time, you’ll be greeted with the Welcome Setup screen. This setup allows you to choose your preferred theme, tab style, and layout. You can also import bookmarks, extensions, and passwords from other browsers if you wish. Once completed, Vivaldi will open the default start page, and you can begin browsing right away.
How to Uninstall Vivaldi on FunOS
If you decide to remove Vivaldi from your system, you can do so easily using the Terminal. The following steps explain how to completely uninstall Vivaldi, remove related files, and clean up any leftover dependencies.
Step 1: Open a Terminal
You can open the Terminal using one of the following methods:
- Click Menu in the lower-left corner of the screen, then click Terminal
- Click the Terminal icon in the Tray
- Press Ctrl + Alt + T
Step 2: Remove Vivaldi
This command removes the Vivaldi package from your system.
sudo apt remove --purge vivaldi-stableStep 3: Remove Any Unused Dependencies
Clean up any unnecessary packages that were installed as dependencies.
sudo apt autoremove --purgeStep 4: Remove the Key
If you installed Vivaldi using the repository method, remove its GPG key.
sudo rm -f /etc/apt/trusted.gpg.d/vivaldi-browser.gpgStep 5: Update the Package List
Update your package list to reflect the changes.
sudo apt updateStep 6: Remove User Data (Optional)
If you want to remove all your personal settings, browsing history, and cache, delete the following directories:
rm -rf $HOME/.config/vivaldi
rm -rf $HOME/.cache/vivaldi
⚠️ Note: This step is optional. Once removed, your Vivaldi settings and data cannot be recovered.
Step 7: Reload the Menu
After uninstalling, refresh the JWM menu to remove Vivaldi from the Internet section.
- Click the Menu button in the lower-left corner.
- Click Reload menu.
Conclusion
Vivaldi is a feature-rich and highly customizable browser that offers more control and privacy than most mainstream options. Whether you install it through the repository method or using the .deb package, both approaches ensure that Vivaldi receives automatic updates through the FunOS software update system (apt), making the installation process simple, secure, and convenient.
By following the steps above, you can easily install, launch, and uninstall Vivaldi as needed. For users who value productivity tools, flexible interface customization, and privacy protection, Vivaldi makes an excellent addition to the FunOS desktop experience.