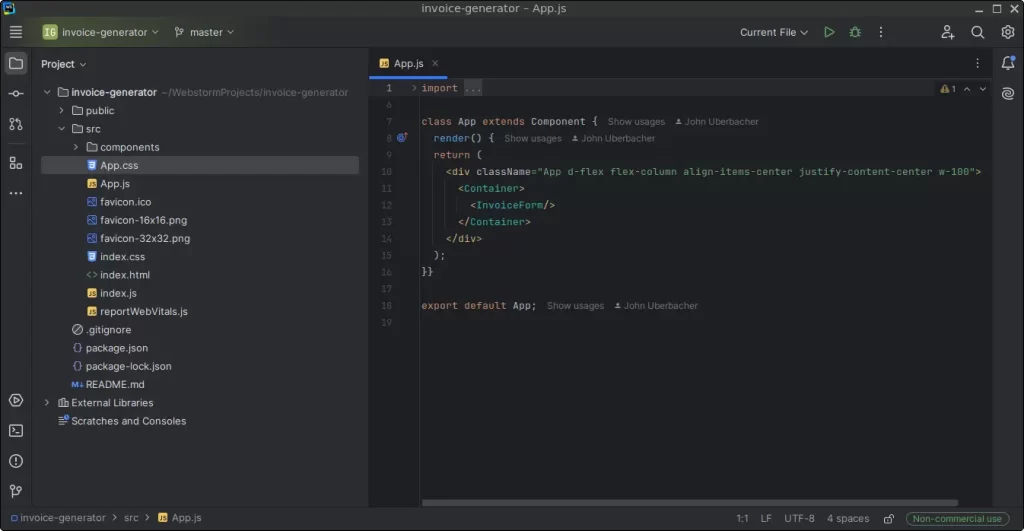
WebStorm is a popular and powerful IDE developed by JetBrains, specifically designed to make web development smooth, efficient, and more productive. Its advanced code assistance, navigation, and debugging tools make it a preferred choice among developers working with JavaScript, TypeScript, and various frameworks like React, Angular, and Vue. This guide will walk you through installing WebStorm on FunOS using the Unofficial JetBrains PPA, which simplifies the process and keeps your WebStorm installation up-to-date.
What is WebStorm?
WebStorm is an Integrated Development Environment (IDE) created by JetBrains for JavaScript and web development. Known for its robust editing and debugging capabilities, WebStorm supports a wide array of web languages and technologies, including HTML, CSS, JavaScript, and frameworks like React, Angular, and Vue. Additionally, WebStorm offers tools for version control, code analysis, and refactoring, making it a versatile choice for modern web developers. With WebStorm, developers can code more efficiently, catch errors early, and build high-quality applications.

How to Install WebStorm on FunOS
Work on: 22.04.5 ✅ | 24.04.4 ✅ | 25.04 ✅ | 25.10 ✅ | 26.04 ✅
The steps below use the Unofficial JetBrains PPA from JonasGroeger’s GitHub, making installation simple while enabling updates directly from the repository.
Step 1: Open a Terminal
To get started, open a terminal window. There are three ways to do this in FunOS:
- Click Menu in the lower-left corner of the screen, then select Terminal.
- Click the Terminal icon in the Tray.
- Use the keyboard shortcut Ctrl + Alt + T.
Step 2: Update the Package List
First, ensure the package list is up-to-date by running:
sudo apt updateStep 3: Install the Necessary Dependencies
Install essential dependencies for adding repositories and handling HTTPS connections:
sudo apt install apt-transport-https curlStep 4: Add the GPG Key
Add the GPG key for the JetBrains PPA by entering the following command:
curl -s https://s3.eu-central-1.amazonaws.com/jetbrains-ppa/0xA6E8698A.pub.asc | gpg --dearmor | sudo tee /usr/share/keyrings/jetbrains-ppa-archive-keyring.gpg > /dev/nullStep 5: Add the Repository
Next, add the JetBrains PPA repository to your sources list:
echo "deb [signed-by=/usr/share/keyrings/jetbrains-ppa-archive-keyring.gpg] http://jetbrains-ppa.s3-website.eu-central-1.amazonaws.com any main" | sudo tee /etc/apt/sources.list.d/jetbrains-ppa.list > /dev/nullStep 6: Update the Package List Again
Refresh the package list to include the new repository:
sudo apt updateStep 7: Install Git
WebStorm may require Git for version control, so install it with:
sudo apt install gitStep 8: Install WebStorm
Now you’re ready to install WebStorm. Run:
sudo apt install webstormStep 9: Reload the Menu
To ensure WebStorm appears in the menu:
- Click the Menu button in the lower-left corner.
- Select Reload menu.
Launching WebStorm
To launch WebStorm, click the Menu button, navigate to the Development section, and select WebStorm.
How to Uninstall WebStorm on FunOS
If you ever need to remove WebStorm, follow these steps to uninstall it completely:
Step 1: Open a Terminal
Open a terminal by following the steps in the Open a Terminal section above.
Step 2: Remove WebStorm
Use this command to uninstall WebStorm:
sudo apt remove --purge webstormStep 3: Remove Git
You can also remove Git if it’s no longer needed:
sudo apt remove --purge gitStep 4: Remove Any Unused Dependencies
Clean up unused packages and dependencies with:
sudo apt autoremove --purgeStep 5: Remove the Repository and Key (Optional)
If you don’t plan to reinstall WebStorm, remove the JetBrains repository and key:
sudo rm -f /etc/apt/sources.list.d/jetbrains-ppa.list
sudo rm -f /usr/share/keyrings/jetbrains-ppa-archive-keyring.gpg
Step 6: Update the Package List
Refresh the package list once again:
sudo apt updateStep 7: Remove User Data (Optional)
To delete any user data associated with WebStorm, use the following commands:
rm -rf $HOME/.cache/JetBrains
rm -rf $HOME/.config/JetBrains
rm -rf $HOME/.java
rm -rf $HOME/.local/share/JetBrains
rm -rf $HOME/WebstormProjects
Step 8: Reload the Menu
As with installation, reload the menu to remove WebStorm from the menu:
- Click the Menu button in the lower-left corner.
- Select Reload menu.
Conclusion
WebStorm provides a powerful development environment for FunOS users working in web development. With this installation guide, you can set up WebStorm easily, take advantage of its advanced features, and, if necessary, completely uninstall it. Whether you’re coding in JavaScript, exploring frameworks, or managing projects, WebStorm’s robust capabilities are now accessible on FunOS.

Leave a Reply