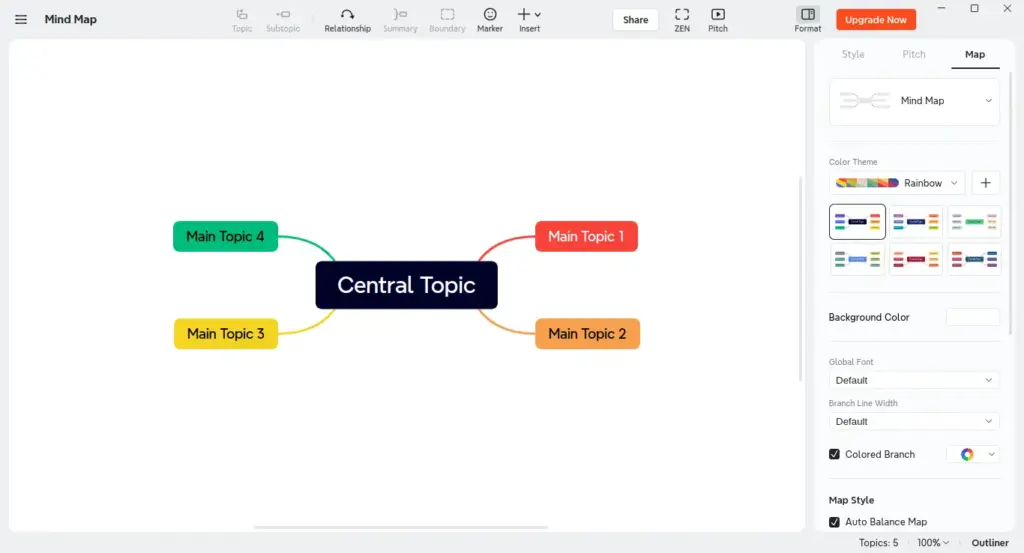
Xmind is a powerful and versatile mind-mapping tool that helps users organize their ideas, projects, and tasks. Whether you’re a student, professional, or creative thinker, Xmind offers a wide range of features to visualize information effectively. This guide will show you how to install Xmind on FunOS, a lightweight and user-friendly Linux distribution.
What is Xmind?
Xmind is a popular mind-mapping and brainstorming application designed to help users structure their thoughts visually. It offers an intuitive interface and a variety of templates to create diagrams, flowcharts, and mind maps. Xmind is used by individuals and teams worldwide for project planning, note-taking, idea management, and more. It is available across multiple platforms, including Windows, macOS, and Linux.

Some key features of Xmind include:
- Pre-designed Templates: Create mind maps quickly using professional templates.
- Export Options: Save your mind maps as PDFs, images, or Word documents.
- Collaboration Tools: Share mind maps with teammates or collaborate in real-time.
- Customizable Themes: Adjust colors, fonts, and layouts to suit your style.
Now, let’s dive into how you can install Xmind on FunOS.
How to Install Xmind on FunOS
Follow these steps to download, install, and configure Xmind on your FunOS system.
Step 1: Download the Xmind .deb File
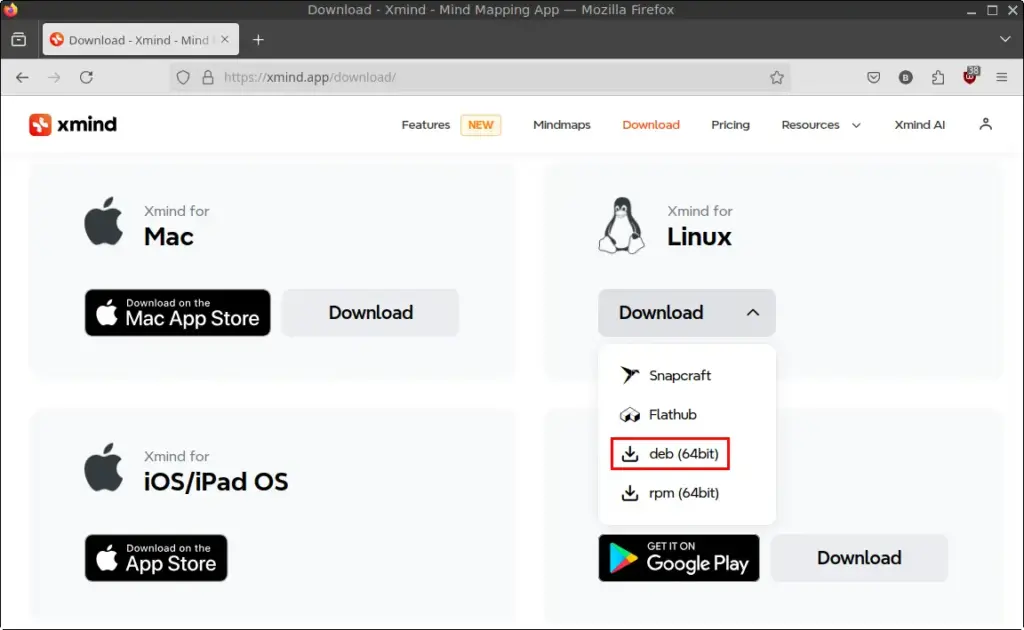
1. Open a web browser and navigate to the Xmind Download page.
2. Select the Linux version and download the .deb file to your system.

3. Save the file to your Downloads directory.
Step 2: Open a Terminal
You can open the terminal in any of the following ways:
- Option 1: Click the Menu button in the lower-left corner, then click Terminal.
- Option 2: Click the Terminal icon in the Tray.
- Option 3: Press
Ctrl + Alt + Ton your keyboard.
Step 3: Navigate to the Downloads Directory
By default, the downloaded file will be in the Downloads folder. Use the following command to navigate to the folder:
cd ~/DownloadsStep 4: Update the Package List
Before installing Xmind, it’s a good practice to update your package list. Run the following command:
sudo apt updateStep 5: Install Xmind
Install the downloaded .deb file using this command:
sudo apt install ./Xmind-*.debStep 6: Remove the Downloaded .deb File
To save disk space, you can delete the downloaded .deb file:
rm -f Xmind-*.debStep 7: Reload the Menu
After installation, reload the menu to ensure Xmind appears in the application list:
- Click the Menu button in the lower-left corner.
- Click Reload menu.
Launching Xmind
You can launch Xmind in two ways:
- Via GUI: Click the Menu button in the lower-left corner, then look for Xmind in the Office category.
- Via Terminal: Run the following command:
/opt/Xmind/xmindHow to Uninstall Xmind on FunOS
If you decide to remove Xmind from your system, follow these steps:
Step 1: Open a Terminal
Use any of the methods mentioned earlier to open the terminal.
Step 2: Remove Xmind
Run the following command to uninstall Xmind:
sudo apt remove --purge xmind-vanaStep 3: Remove Any Unused Dependencies
Clean up unnecessary packages with this command:
sudo apt autoremove --purgeStep 4: Remove User Data (Optional)
If you want to delete all user data associated with Xmind, run the following command:
rm -rf $HOME/.config/XmindStep 5: Reload the Menu
- Click the Menu button in the lower-left corner.
- Click Reload menu.
Conclusion
Xmind is a valuable tool for anyone looking to improve productivity and organize ideas visually. By following this guide, you can easily install, configure, and use Xmind on FunOS. With its robust mind-mapping features, Xmind is an excellent choice for brainstorming, project planning, and idea management.

Leave a Reply