Zotero is a powerful tool that helps you collect, manage, cite, and share research materials. If you’re a student, researcher, writer, or academic working on FunOS, installing Zotero can make your research workflow much more efficient.
In this article, we’ll guide you step by step on how to install Zotero on FunOS, how to launch and use it, and how to uninstall it completely if needed.
What is Zotero?
Zotero is a free and open-source reference manager designed to help you collect, organize, annotate, cite, and share research materials. It supports a wide range of formats, including journal articles, books, web pages, and PDFs.
Zotero integrates with popular word processors such as LibreOffice, Microsoft Word, and Google Docs, and it supports over 9,000 citation styles. It can automatically detect research content on websites like JSTOR, arXiv, and library catalogs, allowing you to save references with a single click.
Developed by an independent nonprofit organization, Zotero emphasizes user privacy, freedom, and data ownership. It works on Linux, Windows, macOS, iOS, and Android.
How to Install Zotero on FunOS
Work on: 22.04.5 ✅ | 24.04.4 ✅ | 25.04 ✅ | 25.10 ✅ | 26.04 ✅
Follow these steps to install Zotero on FunOS:
Step 1: Open a Terminal
You can open a Terminal in one of the following ways:
- Click Menu in the lower-left corner of the screen, then click Terminal.
- Click the Terminal icon in the Tray.
- Press Ctrl + Alt + T on your keyboard.
Step 2: Add the GPG Key and Repository
Run the following command to add the Zotero repository and its GPG key:
wget -qO- https://raw.githubusercontent.com/retorquere/zotero-deb/master/install.sh | sudo bashThis script will automatically configure the necessary files to install Zotero from a trusted third-party Debian repository.
Step 3: Update the Package List
Once the repository is added, update your system’s package list by running:
sudo apt updateStep 4: Install Zotero
Now install Zotero with this command:
sudo apt install zoteroThe package manager will download and install Zotero along with any required dependencies.
Step 5: Reload the Menu
After installation, you may need to refresh the JWM application menu:
- Click the Menu button in the lower-left corner.
- Click Reload menu.
Launching Zotero
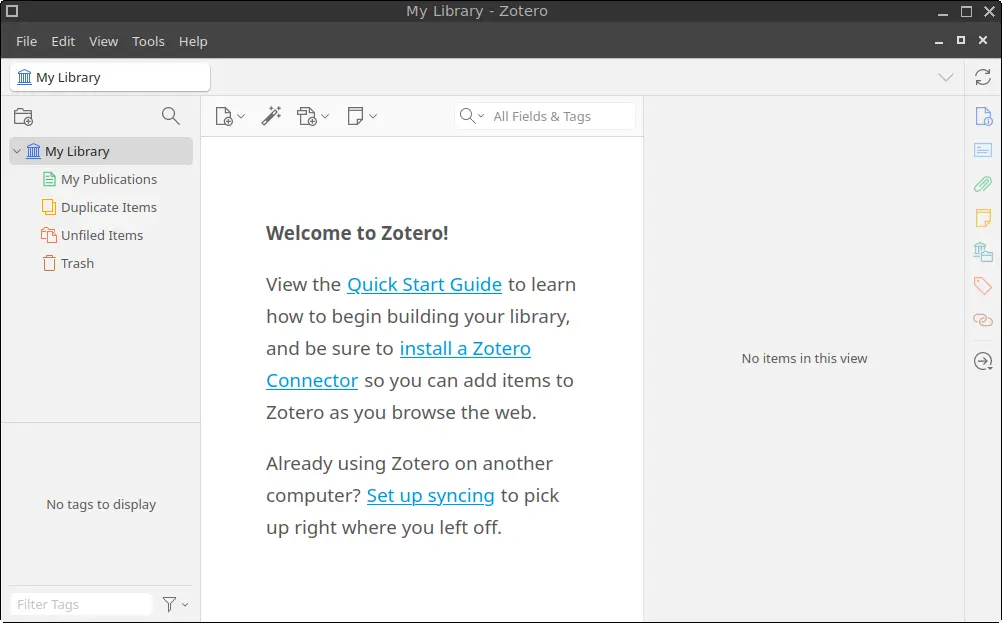
Once installed and the menu has been refreshed, you can launch Zotero as follows:
- Click the Menu button in the lower-left corner.
- Navigate to the Office category.
- Click on Zotero to start the application.
How to Uninstall Zotero on FunOS
If you ever need to remove Zotero from your system, follow the steps below to uninstall it completely.
Step 1: Open a Terminal
Use one of the three methods mentioned earlier to open a Terminal.
Step 2: Remove Zotero
Run the following command to remove Zotero:
sudo apt remove --purge zoteroStep 3: Remove Any Unused Dependencies
Clean up unused packages with:
sudo apt autoremove --purgeStep 4: Remove the Repository and GPG Key (Optional)
If you don’t plan to reinstall Zotero in the future, you can remove the repository and its key:
sudo rm -f /etc/apt/sources.list.d/zotero.list
sudo rm -f /usr/share/keyrings/zotero-*.gpg
Step 5: Update the Package List
Refresh the package list after removing the repository:
sudo apt updateStep 6: Remove User Data (Optional)
If you want to delete all Zotero-related user data (such as settings, caches, and your local research library), run the following commands:
rm -rf $HOME/.cache/zotero
rm -rf $HOME/.zotero
rm -rf $HOME/Zotero
⚠️ Be careful — this step permanently deletes your Zotero library and cannot be undone.
Step 7: Reload the Menu
After uninstalling, refresh the menu:
- Click the Menu button in the lower-left corner.
- Click Reload menu.
Conclusion
Zotero is a must-have tool for researchers and students who need to manage and cite sources efficiently. It offers advanced features like PDF annotation, citation generation, and collaborative libraries—all for free, with a strong commitment to privacy and user control.
Installing Zotero on FunOS is easy and straightforward. Just follow the steps in this guide, and you’ll be ready to manage your research like a pro.