When using FunOS, setting the correct screen resolution is important for an optimal display experience. Whether you want to change the resolution temporarily or make it permanent, FunOS offers simple steps to adjust these settings. Follow the detailed guide below to configure your screen resolution.
Step 1: Open Monitor Settings
- Click the Menu in the lower left corner of the screen.
- Navigate to Settings > Monitor Settings to launch the Monitor Settings application.
Step 2: Set Your Preferred Resolution
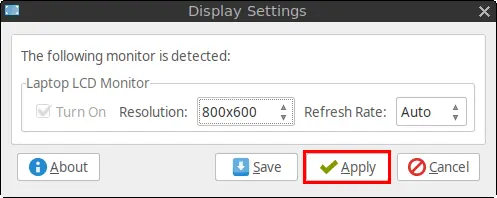
In the Monitor Settings window, you’ll see a drop-down menu for different resolution options. Choose your desired resolution and refresh rate from the available choices.
Step 3: Apply and Save the Changes
Click Apply:
After selecting the desired resolution, click the Apply button to preview the changes.
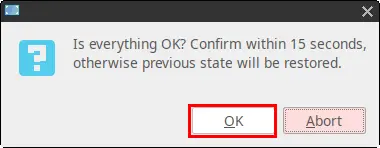
Confirm Settings:
Once you’re satisfied with the display settings, click OK to confirm them.
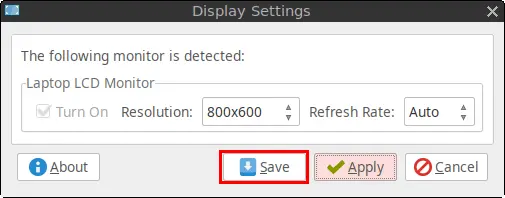
Save Changes:
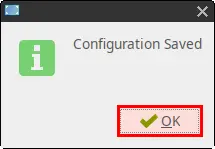
Click Save to make the changes apply until the next reboot. This will temporarily store the settings for your session.
Making the Screen Resolution Permanent
By default, the screen resolution settings may reset upon reboot. To ensure that your settings are retained even after restarting your PC or laptop, follow the steps below to make the screen resolution permanent.
Step 1: Open Terminal
You can open a terminal using any of these methods:
- Click the Menu in the lower left corner of the screen, then click Terminal.
- Click the Terminal icon in the Tray.
- Press the keyboard shortcut
Ctrl + Alt + T.
Step 2: Verify Auto-Start Script for Resolution
- Check Auto-Start Configuration:
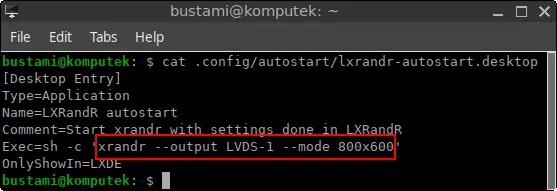
Run the following command in the terminal to view the auto-start configuration for screen resolution settings:
cat .config/autostart/lxrandr-autostart.desktopThis command will display the contents of the auto-start configuration file.
- Identify Resolution Command:
In the output, find the command line that applies the screen resolution. It might look something like:
xrandr --output LVDS-1 --mode 800x600Take note of this line, as you’ll need to copy it.
Step 3: Create or Modify the .xprofile File
To ensure the screen resolution is applied automatically after every reboot, you will need to add the configuration to the .xprofile file.
- Open the .xprofile file:
Run the following command in the terminal to open the.xprofilefile in a text editor (like Mousepad):
mousepad .xprofileIf the file doesn’t exist, the command will create it for you.
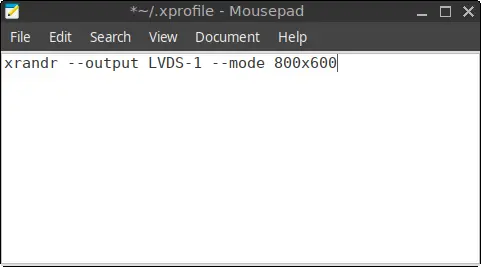
- Paste the Screen Resolution Command:
Paste the previously copiedxrandrcommand into the.xprofilefile. The command should resemble:
Step 4: Save the File
Once you have added the resolution command to the .xprofile file, save the file.
Step 5: Reboot the PC or Laptop
Finally, reboot your system to apply the changes permanently. You can reboot in two ways:
- Option 1 (via Terminal): Run the following command to reboot immediately:
sudo reboot now- Option 2 (via Menu):
Click the Menu in the lower-left corner. Select Log Out, then click Reboot.
Upon reboot, the screen resolution should now be set to your desired value automatically.
Summary
Setting the screen resolution in FunOS is straightforward through the Monitor Settings application. To ensure the settings persist after reboot, the .xprofile file can be modified with the appropriate xrandr command. By following the steps above, you can fully control the resolution settings on FunOS for a better display experience.

Leave a Reply