digiKam is a powerful open-source photo management application designed for professional photographers and enthusiasts alike. It offers a comprehensive set of tools for importing, organizing, editing, and sharing photos and raw image files. With features such as advanced metadata editing, face recognition, geolocation tagging, and batch processing, digiKam is an excellent choice for users who want full control over their photo collections.
In this article, we’ll walk you through the steps to install digiKam on FunOS, launch it, and optionally uninstall it if needed. The installation process is straightforward because digiKam is available in the official Ubuntu repositories, and FunOS is based on Ubuntu.
What is digiKam?
digiKam is an advanced digital photo management software that allows users to manage image collections efficiently. It supports a wide range of image formats, including RAW files from various camera manufacturers. The application includes tools for importing photos from digital cameras, editing them using built-in tools or external editors, and organizing them into albums with tags and ratings.
Key features of digiKam include:
- Comprehensive photo organization using albums, tags, and filters.
- RAW image support with editing tools for exposure, color, and white balance adjustments.
- Advanced search options using metadata and tags.
- Face recognition and tagging to identify and organize people in your photos.
- Geolocation integration for tagging photos with GPS data.
- Powerful batch processing tools to apply actions to multiple images at once.
Because it’s open-source, digiKam is completely free to use and available for Linux, Windows, and macOS systems.
How to Install digiKam on FunOS
Work on: 22.04.5 ✅ | 24.04.4 ✅ | 25.10 ✅ | 26.04 ✅
Follow these steps to install digiKam on FunOS.
Step 1: Open a Terminal
There are three ways to open the Terminal in FunOS:
- Click Menu in the lower-left corner of the screen, then click Terminal.
- Click the Terminal icon in the Tray.
- Press Ctrl + Alt + T on your keyboard.
Step 2: Update the Package List
Before installing new software, it’s recommended to update the package list to ensure you get the latest version from the repositories.
Run the following command:
sudo apt updateThis command will synchronize your local package list with the latest available packages in the repositories.
Step 3: Install digiKam
After the package list is updated, install digiKam by running:
sudo apt install digikamThe system will download and install digiKam along with all required dependencies.
When prompted, type Y and press Enter to confirm the installation.
Step 4: Reload the Menu
After installation, you need to reload the JWM menu so that the new application appears in the system menu.
- Click the Menu button in the lower-left corner of the screen.
- Click Reload menu.
Launching digiKam
To start digiKam:
- Click the Menu button in the lower-left corner of the screen.
- Navigate to the Graphics category.
- Click digiKam.
The first time you launch digiKam, a setup wizard will appear to help you configure your photo collections and preferences. You can specify folders to scan for photos, configure metadata settings, and choose whether to use an internal or external image editor.
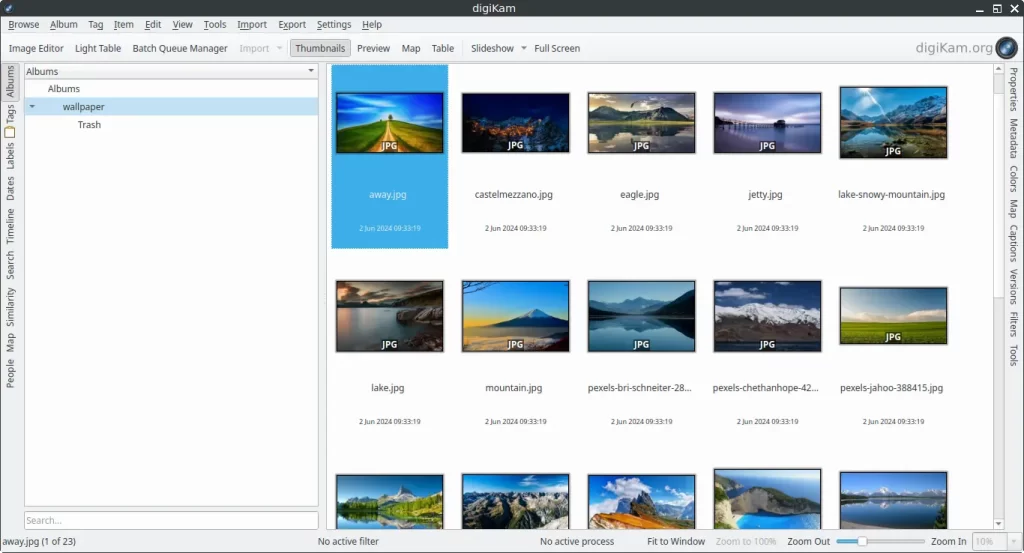
Once configured, digiKam will display your albums and collections, allowing you to manage and edit your photos easily.
How to Uninstall digiKam on FunOS
If you no longer need digiKam, you can uninstall it completely by following these steps.
Step 1: Open a Terminal
There are three ways to open the Terminal in FunOS:
- Click Menu in the lower-left corner of the screen, then click Terminal.
- Click the Terminal icon in the Tray.
- Press Ctrl + Alt + T on your keyboard.
Step 2: Remove digiKam
Run the following command to remove digiKam and its configuration files:
sudo apt remove --purge digikamThe --purge option ensures that the system also removes any configuration files installed with digiKam.
Step 3: Remove Any Unused Dependencies
After removing digiKam, you can clean up packages that are no longer needed by running:
sudo apt autoremove --purgeThis command removes unnecessary dependencies left behind by previously installed packages.
Step 4: Remove User Data (Optional)
If you want to completely remove digiKam’s user data and cache from your home directory, run the following commands:
rm -f $HOME/.config/digikamrc
rm -f $HOME/.config/digikam_systemrc
rm -rf $HOME/.cache/digikam
rm -rf $HOME/.local/share/digikam
Be careful — this will permanently delete your digiKam configuration and local database.
Step 5: Reload the Menu
Finally, refresh the system menu to remove digiKam from the list of installed applications.
- Click the Menu button in the lower-left corner of the screen.
- Click Reload menu.
Conclusion
digiKam is a feature-rich photo management application that provides photographers and image enthusiasts with professional tools for organizing, editing, and maintaining large photo collections. Installing digiKam on FunOS is easy thanks to the Ubuntu-based package system, and it integrates seamlessly with the desktop environment.
Whether you need to manage thousands of photos, tag and sort your images, or make quick edits, digiKam is a powerful and reliable choice for your workflow. If you ever decide to uninstall it, the process is just as simple — allowing you to keep your FunOS system clean and efficient.