If you need to transfer files between your computer and a remote server, an FTP client is one of the easiest tools to use. FileZilla is a popular and powerful FTP client that provides an intuitive graphical interface for uploading, downloading, and managing files on remote servers.
In this guide, you’ll learn how to install, launch, and uninstall FileZilla on FunOS. The installation process is simple and can be done directly from the Terminal.
What is FileZilla?
FileZilla is a free and open-source FTP (File Transfer Protocol) client available for Linux, Windows, and macOS. It supports multiple protocols, including FTP, FTPS (FTP over SSL/TLS), and SFTP (SSH File Transfer Protocol).
Some of its key features include:
- Easy-to-use graphical interface
- Drag-and-drop file transfers
- Resume and transfer of large files
- Secure encrypted connections (FTPS and SFTP)
- Bookmarking and directory comparison
FileZilla is an excellent choice for developers, system administrators, and anyone who needs to manage files on remote servers efficiently.
How to Install FileZilla on FunOS
Work on: 22.04.5 ✅ | 24.04.4 ✅ | 25.10 ✅ | 26.04 ✅
Step 1: Open a Terminal
There are several ways to open the Terminal in FunOS:
- Click Menu in the lower-left corner of the screen, then click Terminal.
- Click the Terminal icon in the Tray.
- Press Ctrl + Alt + T on your keyboard.
Step 2: Update the Package List
Before installing any new software, it’s a good idea to update your package list to ensure you get the latest version available from the repository.
sudo apt updateStep 3: Install FileZilla
Once the package list is updated, install FileZilla using the following command:
sudo apt install filezillaThis command will download and install FileZilla along with any required dependencies.
Step 4: Reload the Menu
Note: Starting with FunOS 24.04.4 LTS (Build 20260618) and FunOS 26.04 LTS (Build 20260618), the menu updates automatically, so you can skip this step.
After the installation is complete, reload the menu so that FileZilla appears in the application list.
- Click the Menu button in the lower-left corner.
- Click Reload menu.
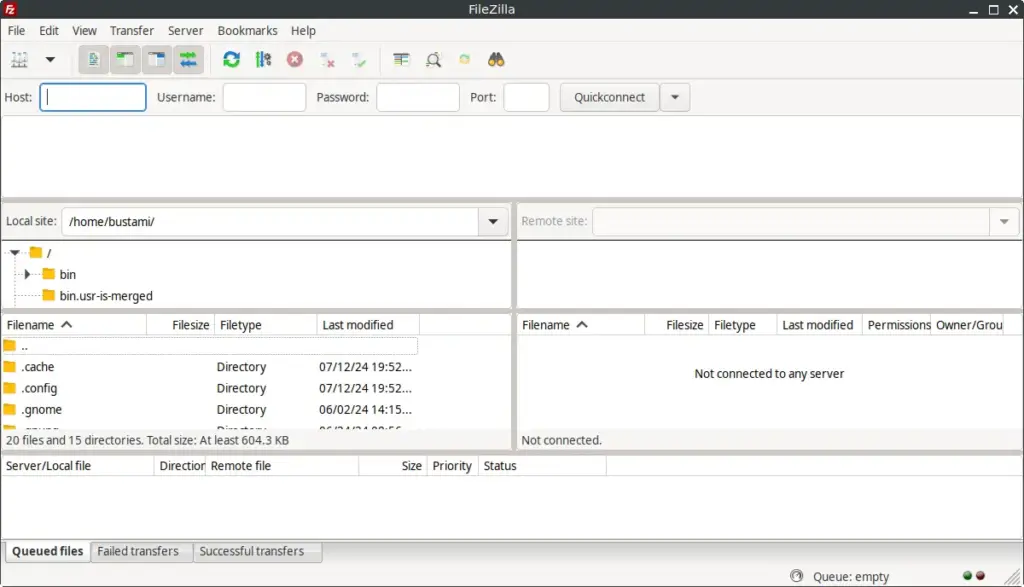
Launching FileZilla
To open FileZilla:
- Click the Menu button in the lower-left corner.
- Go to the Internet category.
- Click FileZilla.
You can now start transferring files between your local machine and a remote server using FTP, FTPS, or SFTP.
How to Uninstall FileZilla on FunOS
If you no longer need FileZilla, you can easily remove it from your system.
Step 1: Open a Terminal
Open the Terminal using one of the methods mentioned earlier.
Step 2: Remove FileZilla
Run the following command to uninstall FileZilla and remove its configuration files:
sudo apt remove --purge filezillaStep 3: Remove Any Unused Dependencies
After removing FileZilla, you can clean up any unused packages that were installed automatically as dependencies:
sudo apt autoremove --purgeStep 4: Remove User Data (Optional)
If you want to completely remove all user-specific FileZilla data and settings, delete its configuration directory:
rm -rf $HOME/.config/filezillaStep 5: Reload the Menu
Note: Starting with FunOS 24.04.4 LTS (Build 20260618) and FunOS 26.04 LTS (Build 20260618), the menu updates automatically, so you can skip this step.
Finally, reload the menu to remove FileZilla from the application list.
- Click the Menu button in the lower-left corner.
- Click Reload menu.
Conclusion
FileZilla is a powerful and reliable FTP client that makes file transfers between your computer and remote servers simple and efficient. Installing it on FunOS is quick and straightforward using the Terminal, and it integrates smoothly with the system menu after installation.
Whether you’re managing website files, updating your VPS, or transferring data between systems, FileZilla provides a secure and user-friendly interface to get the job done.