FreeCAD is a powerful open-source application used for creating 3D models, especially for engineering, product design, and mechanical projects. On FunOS, FreeCAD can be installed easily using the Ubuntu package repositories or by using the official FreeCAD Stable Releases PPA.
This guide explains the installation steps clearly and sequentially, making it suitable for both new and experienced FunOS users.
What is FreeCAD?
FreeCAD is a free and open-source parametric 3D CAD (Computer-Aided Design) application. It is designed mainly for mechanical engineering and product design but is also widely used in architecture, education, and hobby projects.
FreeCAD allows users to create precise 3D models by modifying parameters, making it easy to update designs without starting from scratch. It supports many file formats, includes multiple workbenches (such as Part Design, Sketcher, and Draft), and runs smoothly on Linux systems like FunOS.
How to Install FreeCAD on FunOS
There are two recommended methods to install FreeCAD on FunOS:
- Method 1 uses the official Ubuntu repositories, which provide a stable and well-tested version.
- Method 2 uses the FreeCAD Stable Releases PPA, which usually offers a newer stable version maintained by the FreeCAD team.
You can choose one method based on your needs.
Method 1: Installing from the Ubuntu Repositories
Work on: 22.04.5 ✅ | 24.04.4 ❌ | 25.10 ✅ | 26.04 ❌
This method installs FreeCAD directly from the default Ubuntu repositories used by FunOS. It is simple and recommended for most users.
Step 1: Open a Terminal
First, open the Terminal application. On FunOS, you can do this in several ways:
- Click Menu in the left corner of the screen, then click Terminal
- Click the Terminal icon in the Tray
- Press Ctrl + Alt + T on your keyboard
Step 2: Update the Package List
Before installing any application, it is recommended to update the package list to ensure you get the latest available version from the repositories.
Run the following command in the Terminal:
sudo apt updateEnter your password when prompted, then wait until the update process finishes.
Step 3: Install FreeCAD
After the package list is updated, install FreeCAD by running this command:
sudo apt install freecadThe system will show a list of packages to be installed. Press Y, then Enter to confirm. Wait until the installation is complete.
Step 4: Reload the Menu
Note: Starting with FunOS 24.04.4 LTS (Build 20260618) and FunOS 26.04 LTS (Build 20260618), the menu updates automatically, so you can skip this step.
After installation, FreeCAD may not immediately appear in the Menu. To refresh the application list:
- Click the Menu button in the lower-left corner.
- Click Reload menu.
This ensures the FreeCAD application appears correctly in the FunOS Menu.
Method 2: Installing from the FreeCAD Stable Releases PPA
Work on: 22.04.5 ✅ | 24.04.4 ✅ | 25.10 ❌ | 26.04 ❌
This method installs FreeCAD from the official FreeCAD Stable Releases PPA, which is maintained by the FreeCAD maintainers team. This PPA often provides a newer stable version than the Ubuntu repositories.
Step 1: Open a Terminal
Open the Terminal using one of the following methods:
- Click Menu in the left corner of the screen, then click Terminal
- Click the Terminal icon in the Tray
- Press Ctrl + Alt + T on your keyboard
Step 2: Add the FreeCAD Stable Releases PPA
Add the FreeCAD Stable Releases PPA to your system.
This PPA is maintained by the FreeCAD maintainers team:
https://launchpad.net/~freecad-maintainers
Run the following command:
sudo add-apt-repository ppa:freecad-maintainers/freecad-stablePress Enter to continue when prompted.
Step 3: Update the Package List
After adding the PPA, update the package list again so FunOS can recognize the new source:
sudo apt updateWait until the update process completes.
Step 4: Install FreeCAD
Now install FreeCAD from the newly added PPA:
sudo apt install freecadConfirm the installation by pressing Y and Enter when asked.
Step 5: Reload the Menu
Note: Starting with FunOS 24.04.4 LTS (Build 20260618) and FunOS 26.04 LTS (Build 20260618), the menu updates automatically, so you can skip this step.
To make sure FreeCAD appears in the FunOS Menu:
- Click the Menu button in the lower-left corner.
- Click Reload menu.
Once the menu is reloaded, FreeCAD will be available in the application list.
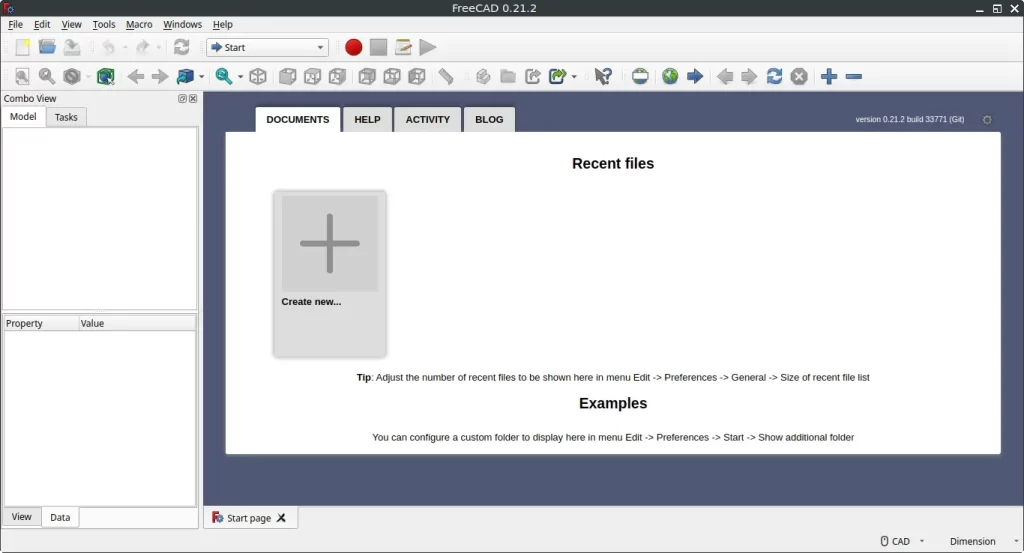
Launching FreeCAD
After FreeCAD is installed and the menu has been reloaded, you can start the application from the FunOS Menu.
Click the Menu button in the lower-left corner of the screen, then navigate to the Graphics category.
In this category, you will find FreeCAD. Click it to launch the application.
When FreeCAD starts for the first time, it may take a few moments to load as it initializes its components and workbenches.
How to Uninstall FreeCAD on FunOS
If you no longer need FreeCAD, you can safely remove it from FunOS.
The uninstall steps depend on how FreeCAD was installed.
Uninstall FreeCAD Installed from the Ubuntu Repositories
Follow the steps below if FreeCAD was installed using the default Ubuntu repositories.
Step 1: Open a Terminal
Open the Terminal using one of the following methods:
- Click Menu in the left corner of the screen, then click Terminal
- Click the Terminal icon in the Tray
- Press Ctrl + Alt + T on your keyboard
Step 2: Remove FreeCAD
Remove FreeCAD and its configuration files by running the following command:
sudo apt remove --purge freecadPress Y and Enter when prompted to confirm the removal.
Step 3: Remove Any Unused Dependencies
After removing FreeCAD, some packages may no longer be needed. Clean them up with this command:
sudo apt autoremove --purgeThis helps keep your system clean and free of unnecessary packages.
Step 4: Remove User Data (Optional)
If you want to completely remove FreeCAD user settings, cache files, and local data, run the following commands:
rm -rf $HOME/.config/FreeCAD
rm -rf $HOME/.cache/FreeCAD
rm -rf $HOME/.local/share/FreeCAD
This step is optional, but recommended if you do not plan to reinstall FreeCAD.
Step 5: Reload the Menu
Note: Starting with FunOS 24.04.4 LTS (Build 20260618) and FunOS 26.04 LTS (Build 20260618), the menu updates automatically, so you can skip this step.
To update the FunOS Menu after uninstalling FreeCAD:
- Click the Menu button in the lower-left corner.
- Click Reload menu.
This ensures FreeCAD no longer appears in the Menu.
Uninstall FreeCAD Installed from the FreeCAD Stable Releases PPA
Follow these steps if FreeCAD was installed using the FreeCAD Stable Releases PPA.
Step 1: Open a Terminal
Open the Terminal using one of the following methods:
- Click Menu in the left corner of the screen, then click Terminal
- Click the Terminal icon in the Tray
- Press Ctrl + Alt + T on your keyboard
Step 2: Remove FreeCAD
First, remove the FreeCAD package:
sudo apt remove --purge freecadConfirm the removal when prompted.
Step 3: Remove Any Unused Dependencies
Clean up unused dependencies with the following command:
sudo apt autoremove --purgeStep 4: Remove the FreeCAD Stable Releases PPA
Remove the PPA from your system to prevent future updates from this source:
sudo add-apt-repository --remove ppa:freecad-maintainers/freecad-stablePress Enter to confirm.
Step 5: Update the Package List
After removing the PPA, update the package list to refresh repository information:
sudo apt updateStep 6: Remove User Data (Optional)
To completely remove FreeCAD user data, run the following commands:
rm -rf $HOME/.config/FreeCAD
rm -rf $HOME/.cache/FreeCAD
rm -rf $HOME/.local/share/FreeCAD
This step is optional but recommended for a clean system.
Step 7: Reload the Menu
Note: Starting with FunOS 24.04.4 LTS (Build 20260618) and FunOS 26.04 LTS (Build 20260618), the menu updates automatically, so you can skip this step.
Finally, refresh the FunOS Menu:
- Click the Menu button in the lower-left corner.
- Click Reload menu.
This ensures FreeCAD is fully removed from the Menu.
Conclusion
This article explained how to install FreeCAD on FunOS using two different methods: the Ubuntu repositories and the FreeCAD Stable Releases PPA. It also covered how to launch FreeCAD from the FunOS Menu and how to completely remove it when it is no longer needed. By following these steps, users can manage FreeCAD on FunOS safely and consistently using standard system tools.