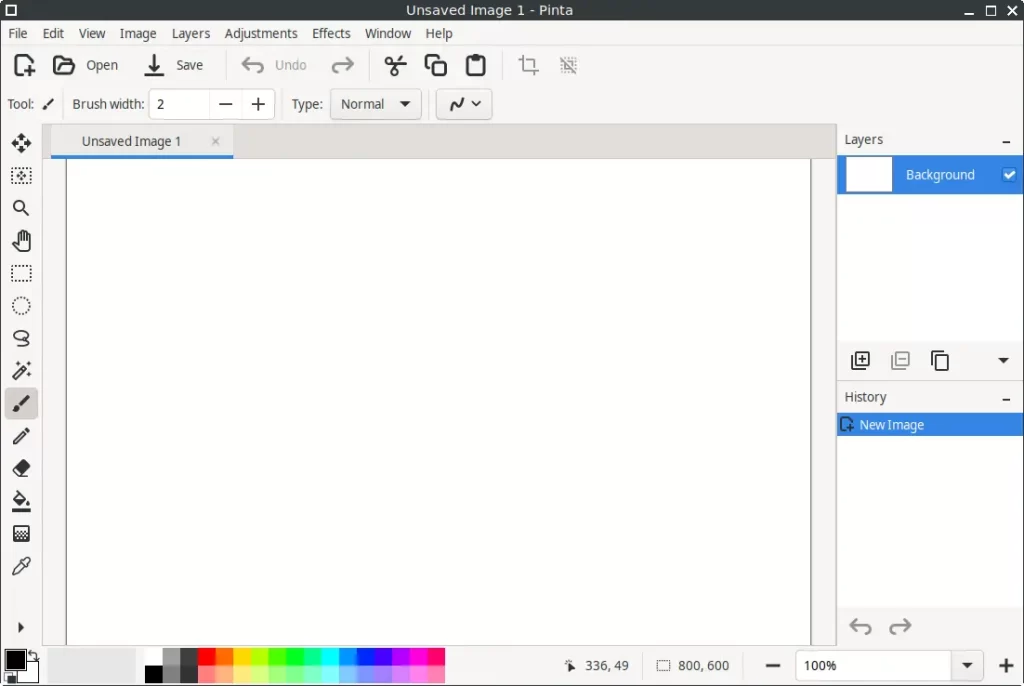
If you’re looking for a simple yet powerful image editing tool on FunOS, Pinta is an excellent choice. Designed as a lightweight alternative to more complex graphics editors, Pinta provides all the essential features you need for drawing, photo editing, and quick image adjustments. In this guide, we’ll walk you through the steps to install Pinta on FunOS, explain how to launch it, and also cover how to completely uninstall it if you no longer need it.
What is Pinta?
Pinta is a free, open-source image editing application modeled after Paint.NET, offering an easy-to-use interface with advanced features. It is designed for users who want a lightweight program that provides essential drawing and editing tools without the complexity of professional-grade software.
With Pinta, you can:
- Draw and edit images using basic tools like brushes, shapes, and text.
- Work with multiple layers for advanced image editing.
- Use powerful effects such as blur, noise, and artistic filters.
- Undo and redo unlimited times for error-free editing.
- Enhance photos with adjustments like brightness, contrast, and saturation.
Because of its simplicity, Pinta is especially suitable for beginners, casual users, and anyone who needs a fast image editor that works well on lightweight systems like FunOS.

How to Install Pinta on FunOS
Follow these steps to install Pinta on FunOS:
Step 1: Open a Terminal
You can open the terminal in three different ways:
- Click Menu in the lower-left corner of the screen, then select Terminal
- Click the Terminal icon in the Tray
- Press Ctrl + Alt + T on your keyboard
Step 2: Add the XtraDeb PPA
The Pinta package is available via the XtraDeb PPA, which provides updated versions of many desktop applications. Add the PPA by running:
sudo add-apt-repository ppa:xtradeb/appsStep 3: Update the Package List
After adding the new repository, update your package list:
sudo apt updateStep 4: Install Pinta
Now install Pinta with the following command:
sudo apt install pintaStep 5: Reload the Menu
In FunOS, newly installed applications may not appear in the menu until you reload it.
- Click the Menu button in the lower-left corner.
- Click Reload menu.
Launching Pinta
Once installed, you can launch Pinta from the menu:
- Click the Menu button in the lower-left corner.
- Navigate to the Graphics category.
- Click Pinta to start the application.
How to Uninstall Pinta on FunOS
If you decide that you no longer need Pinta, you can remove it completely from your system by following these steps:
Step 1: Open a Terminal
Use any of the three methods described earlier to open a terminal.
Step 2: Remove Pinta
Run the following command to remove Pinta:
sudo apt remove --purge pintaStep 3: Remove Any Unused Dependencies
To free up space and remove unneeded libraries:
sudo apt autoremove --purgeStep 4: Remove the XtraDeb PPA
If you don’t need any other applications from the XtraDeb PPA, you can remove it:
sudo add-apt-repository --remove ppa:xtradeb/appsStep 5: Update the Package List
Refresh your package list again to apply the changes:
sudo apt updateStep 6: Remove User Data (Optional)
If you want to completely erase all user configuration files and preferences:
rm -rf $HOME/.config/PintaStep 7: Reload the Menu
Finally, reload the FunOS menu to remove the Pinta shortcut:
- Click the Menu button in the lower-left corner.
- Click Reload menu.
Conclusion
Pinta is a versatile and user-friendly image editor that fits perfectly on FunOS, providing all the essential features you need for quick image editing tasks. With just a few terminal commands, you can install and start using it in minutes. And if you ever want to remove it, the uninstallation process is just as simple.
Whether you’re editing photos, drawing illustrations, or making quick adjustments, Pinta is a great tool to add to your FunOS system.

Leave a Reply