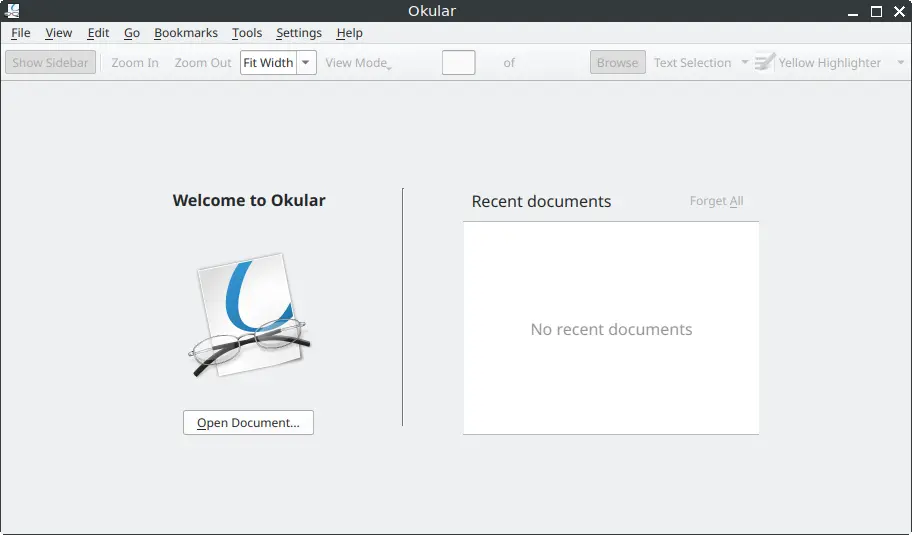
Okular is a popular document viewer that combines a simple interface with powerful features. If you need a reliable tool for viewing and annotating PDF files and other document formats, Okular is a great choice. Since FunOS is based on Ubuntu, installing Okular is straightforward using the APT package manager. This article will guide you step by step on how to install, launch, and uninstall Okular on FunOS.
What is Okular?
Okular is a cross-platform document viewer developed by the KDE community. It supports a wide range of document formats, including:
- PDF (with advanced annotation and form-filling support)
- EPUB (e-books)
- PostScript
- DjVu
- CHM
- Markdown
- Images (JPEG, PNG, TIFF, and others)
One of Okular’s most powerful features is its annotation system, which allows you to highlight text, add notes, draw shapes, and more. It’s a lightweight yet versatile application, making it a solid choice for anyone who needs more than just a basic PDF viewer.

How to Install Okular on FunOS
Work on: 22.04.5 ✅ | 24.04.3 ✅ | 25.04 ✅ | 25.10 ✅ | 26.04 ✅
Step 1: Open a Terminal
You can open the Terminal in three ways:
- Click Menu in the lower-left corner of the screen, then click Terminal
- Click the Terminal icon in the Tray
- Press Ctrl + Alt + T on your keyboard
Step 2: Update the Package List
Before installing, it’s a good practice to refresh your package list to ensure you get the latest available version:
sudo apt updateStep 3: Install Okular
Run the following command to install Okular:
sudo apt install okularStep 4: Reload the Menu
After installation, Okular may not appear immediately in the FunOS menu. To make it visible:
- Click the Menu button in the lower-left corner
- Click Reload menu
Launching Okular
Once installed, you can launch Okular by:
- Clicking the Menu button in the lower-left corner
- Navigating to the Office category
- Clicking Okular
How to Uninstall Okular on FunOS
If you no longer need Okular, you can remove it completely from your system by following these steps:
Step 1: Open a Terminal
Use any of the methods described earlier to open the Terminal.
Step 2: Remove Okular
Run the following command to remove Okular and its main files:
sudo apt remove --purge okularStep 3: Remove Any Unused Dependencies
To clean up additional packages that were installed with Okular but are no longer needed, run:
sudo apt autoremove --purgeStep 4: Remove User Data (Optional)
If you want to delete Okular’s configuration and personal data (such as annotations, settings, and history), run:
rm -rf $HOME/.local/share/okularStep 5: Reload the Menu
Finally, refresh the menu to remove the Okular entry:
- Click the Menu button in the lower-left corner
- Click Reload menu
Conclusion
Okular is an excellent document viewer for FunOS users who need more than just basic PDF reading capabilities. With its broad format support and annotation tools, it is especially useful for students, researchers, and professionals who work with digital documents on a daily basis. Installation and removal are simple, thanks to the package management system in FunOS.
By following this guide, you should now be able to install, use, and uninstall Okular easily on FunOS.

Leave a Reply