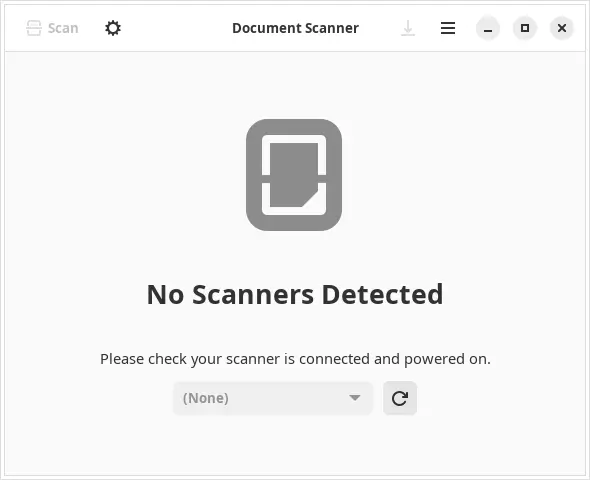
Introduction to Simple Scan
Simple Scan is a user-friendly scanning application that comes pre-installed on many Linux distributions. It’s a straightforward tool designed to help users quickly scan documents and images. On FunOS, which is based on Ubuntu, Simple Scan can be installed with just a few steps. This guide will walk you through the installation process and show you how to use Simple Scan to scan documents and images on FunOS.

Step 1: Update Your Package List
Before installing Simple Scan, it’s always a good idea to ensure that your system’s package list is up-to-date. Open a terminal and run the following command:
sudo apt updateThis command will fetch the latest package information from the repositories, making sure you have access to the latest versions of software.
Step 2: Install Simple Scan
To install Simple Scan on FunOS, use the following command in the terminal:
sudo apt install simple-scanThis command will download and install Simple Scan and its necessary dependencies.
Step 3: Reload the Menu
After installing Simple Scan, you need to reload the menu to make sure that Simple Scan appears in the application menu on FunOS.
To do this:
- Click the Menu in the lower left corner of your screen.
- Select Reload menu.
This step will refresh the menu and add Simple Scan to your list of applications.
Step 4: Launch Simple Scan
After reloading the menu, you can access Simple Scan from the application menu. Here’s how:
- Open the Menu in the lower-left corner of your screen.
- Navigate to the Graphics category.
- Click on Document Scanner to launch the application.
How to Use Simple Scan
Once you have Simple Scan installed, using it is quite intuitive. Follow the steps below to scan your documents or images.
Step 1: Connect Your Scanner
Make sure your scanner is connected to your computer. If you’re using a USB scanner, plug it in, and ensure it is turned on. For network scanners, make sure the device is on the same network as your computer.
Step 2: Open Simple Scan
Open Simple Scan from the Menu as described earlier. The application will automatically detect any connected or available scanners.
Step 3: Start Scanning
- Once Simple Scan is open, you should see a Scan button at the top.
- Click Scan to begin scanning the document or image.
- If you have a multi-page document, you can add more pages by using the Add Page button.
Step 4: Choose the Scan Type
Simple Scan allows you to choose between scanning Documents or Photos. You can select the desired type from the drop-down menu in the toolbar.
- Document mode is suitable for text-based documents.
- Photo mode is optimized for scanning images or photographs with better color reproduction.
Step 5: Save or Export the Scanned Document
Once scanning is complete, you can save the scanned image or document:
- Click on Save or Export in the toolbar.
- Choose the file format (PDF, JPEG, PNG, etc.) and the location where you want to save the scanned document.
- Give your file a name and click Save.
Step 6: Editing and Adjusting Scanned Documents
Simple Scan also offers basic editing options, such as rotating pages or cropping the scan. These options can be found in the toolbar and are useful for fine-tuning your scanned documents.
Troubleshooting
If Simple Scan doesn’t detect your scanner:
- Ensure that your scanner is properly connected.
- Verify that you have installed the necessary drivers for your scanner model.
- Try restarting the system or reconnecting the scanner device.
Conclusion
Simple Scan is a powerful yet simple tool for scanning documents and images on FunOS. With its easy-to-use interface, it’s an ideal choice for users who need a basic scanning solution. Now that you know how to install and use Simple Scan, you can digitize documents and manage your scans with ease.

Leave a Reply